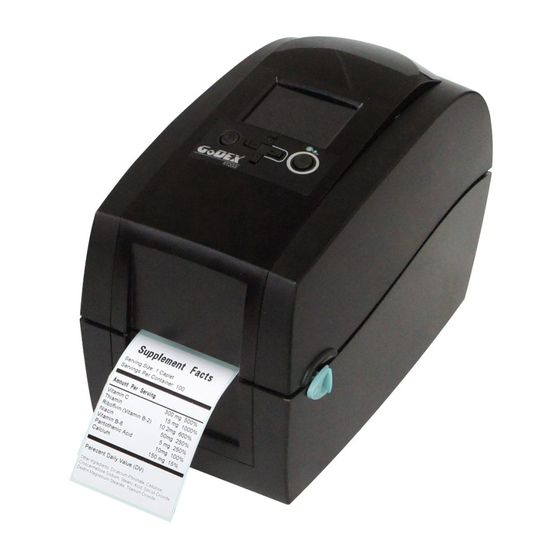
Advertisement
Getting Started
1. Plug power cord into back of printer and into wall (Do not plug
keyboard in just yet).
2. Load stickers into machine making sure the sticker is facing up and
make sure at least one sticker is hanging out of the front of the
machine.
3. Turn power to printer on by pressing the smaller button on the top
left hand side of the printer.
4. Once the display reads "Ready" press the tiny round button on the
back of the printer next to the power cord until the display reads
"Auto Sensing". It will feed out a couple of stickers and stop. Once
stopped press the feed button (the button on the top right side of
the printer) once and it should feed out a sticker to where you can
tear it off at the perforation mark on the sticker.
5. Next you will plug the keyboard into the USB port on the back of the
printer and give it a few seconds to recognize the keyboard. The
display should now show you a list of the Formats loaded into the
printer.
6. Your LCD should read "001/004", "Form Name", "First Service".
"Generic", "Last Service", "Next Service". (See next page for
format samples).
Printer Formats
Form 1/First Service
Form 2/Generic
Form 3/Last Service
Form 4/Next Service
(See Page 3 for label examples)
Setting Up and Changing Company Information
1. Your LCD screen should read Recall Label at the top followed by a
list of the form names, from here you will press "Esc" one time.
2. There should now be a list of options starting with "Shop" that is
highlighted. Press Enter.
3. Use the backspace key to erase any info that is currently loaded in
the printer and type in your company name (23 characters max).
Press Enter and the screen will return to the option list.
4. Press the down arrow one time so that "Street" is highlighted. You
will then Press Enter.
5. Use the backspace key to erase any info that is currently loaded in
the printer and type in your street address (30 characters max).
Press Enter and the screen will return to the option list.
6. Press the down arrow one time so that "City" is highlighted. You will
then Press Enter.
7. Use the backspace key to erase any info that is currently loaded in
the printer and type in your city, state, and zip (30 characters max).
Press Enter and the screen will return to the option list.
8. Press the down arrow one time so that "Phone number" is
highlighted. You will then Press Enter.
Ref:GSAP-Comgraphx.ai
Instructions for
Godex Stand Alone Printer
Open Printer
Power
Direction
Feed
Button
Keys
Button
Operation Panel
Calibration
Power
USB
Button
Jack
Port
Printer Rear Ports
Page 1
Advertisement
Table of Contents

Summary of Contents for Godex Stand Alone Printer
- Page 1 Instructions for Godex Stand Alone Printer Getting Started 1. Plug power cord into back of printer and into wall (Do not plug keyboard in just yet). 2. Load stickers into machine making sure the sticker is facing up and make sure at least one sticker is hanging out of the front of the machine.
- Page 2 Instructions for Godex Stand Alone Printer 9. Use the backspace key to erase any info that is currently loaded in the printer and type in your phone number (30 characters max). Press Enter and the screen will return to the option list.
- Page 3 Instructions for Godex Stand Alone Printer Printer Format Label Examples First Service Date: 05/01/2013 Date: 05/01/2013 Mileage: 13000 Mileage: 13000 Grade: 10w30 Grade: 10w30 message line 1 message line 1 message line 2 message line 2 Your Company Name Your Company Name...


Need help?
Do you have a question about the Stand Alone Printer and is the answer not in the manual?
Questions and answers
I have s Go Dex RT2001. I cannot get the keyboard to work.
To fix the keyboard issue on a Godex RT2001 Stand Alone Printer, follow these steps:
1. Make sure the power cord is plugged into the back of the printer and the wall outlet, but do not plug in the keyboard yet.
2. Load the stickers properly into the machine with at least one sticker hanging out of the front.
3. Turn on the printer using the smaller power button on top.
4. After the printer powers on, plug the keyboard into the USB port on the back of the printer.
5. Wait a few seconds for the printer to recognize the keyboard.
If the LCD display says “Ready” and does not respond, press the F1 key to access the form screen. If you need to return to the main format screen, press the Esc key once.
This answer is automatically generated