
Related Manuals for Community Point Source 600


Summary of Contents for Community Point Source 600
-
Page 1: Installation And Operation
I SERIES Installation and Operation Quick Start Guide Models Point Source 800 (IP8-xxxx) Point Source 600 (IP6-xxxx) Subwoofer 800 (IS8-xxxx) Subwoofer 600 (IS6-xxxx) communitypro.com... -
Page 2: Important Safety Instructions
If you have any questions or do not understand the meaning of It is always a good idea to retain the carton and these terms, do not proceed with installation. Contact your local dealer, distributor, or call Community packing materials, if possible, in the event that directly for assistance. -
Page 3: Product Naming Convention
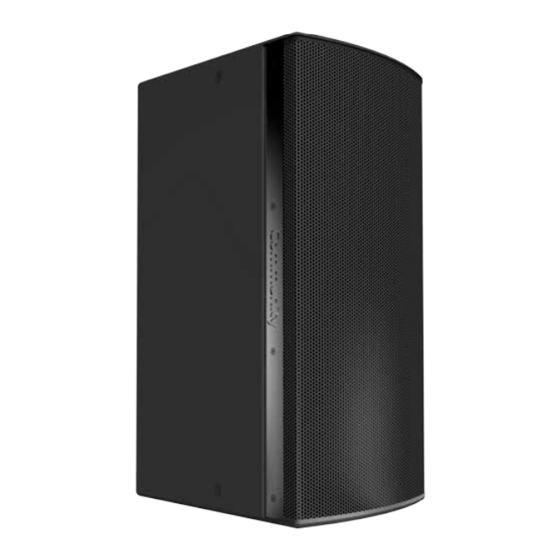
PRODUCT NAMING CONVENTION – 1 12 2 I SERIES presents a logical way of easily deciphering each model's characteristics Product Family LF Qty Form/Mode (family, type, level, number and size of woofer, I = I SERIES / = Indoor standard LF Size T = Transformer crossover bands, and horn pattern). - Page 4 PRODUCT REPRESENTATION MID-HIGH FREQUENCY LOUDSPEAKER Models: IP8-0002/xx - 3 horn patterns IP8-0002 LOW FREQUENCY LOUDSPEAKER MF/HF Input Panel Model: IP8-1151 IP8-1151 SINGLE DRIVER SUBWOOFER (TYPICAL) Models: IS8-112, IS8-115, IS8-118, IS6-112, IS6-115, IS6-118 IS8-115 Single Sub Input Panel I SERIES IP800/IP600, IS800/IS600 Quick Start Guide Page 4...
- Page 5 PRODUCT REPRESENTATION DUAL DRIVER SUBWOOFER (TYPICAL) Models: IS8-212, IS8-215, IS8-218, IS6-212, IS6-215, IS6-218 Dual Sub Input Panel IS8-218 EQUIPMENT BASICS Mounting Points Mounting Points (M10 Flat Head Screws) (M10 Flat Head Screws) Note: Weather-resistant (WR) models are ordered preconfigured for single or multi-amp connections and have a sealed cover over the input panel.
-
Page 6: Connections And Installation
The selection of appropriate function in the designated mode. See Figures 2a-2d for the jumper positions. electrical hardware to interface with the I SERIES loudspeaker lies solely with the installation professional. Community recommends that an appropriately licensed engineer, electrician,... - Page 7 LOOP IN LOOP THRU SINGLE AMP SINGLE AMP DUAL AMP Community Light & Sound, Inc. Made in the USA 333 East Fifth Street, Chester, PA 19013 USA Figure 2c. Single driver Figure 2d. Dual driver subwoofer input panel Jumper down for Single Amp operation.
- Page 8 Grille Remove the screws holding one Community grille retention bar to the 5mm x 20mm cabinet. Remove the bar and loosen Socket Head the grille. Then remove the other...
-
Page 9: Subwoofer Foot Attachment
SUBWOOFER FOOT ATTACHMENT All of the subwoofers come with four (4) rubber feet that may be Dimples Dimples attached to the top, bottom or sides of the cabinet. Each side has dimples to indicate foot positions. Determine which side will be on the floor, turn the enclosure to allow easy access to attach the feet. -
Page 10: Rigging Safety
RIGGING SAFETY IMPORTANT: The loudspeakers described in this manual are designed ATTACH SAFETY CABLE and intended to be mounted to differing building surfaces using a variety of rigging hardware, means and methods. Installation of loudspeakers Attach a safety cable to one of should only be performed by trained and qualified personnel. -
Page 11: I Series Modular Mounting Systems
I SERIES MODULAR MOUNTING SYSTEMS Refer to the I SERIES Accessory Guide for more information about the wide range of modular mounting brackets and kits that are available. IUB1122, IUB1152, IUB1153: U-brackets - mount and BFR22H / BFR22V: BalancePoint™ Horizontal or SBR54: Subwoofer behind BalancePoint™... -
Page 12: Loudspeaker Cabinet Painting Procedure
LOUDSPEAKER CABINET PAINTING PROCEDURE I SERIES cabinets are available in standard colors of Black and White; custom colors may be ordered as Configured-to-Order items. The cabinet finish is a resilient water-based paint that makes an excellent substrate to accept most types of paints, allowing custom colors to be applied in the field. -
Page 13: Grille Cloth Replacement
GRILLE CLOTH REPLACEMENT Apply a fine mist of spray adhesive to the inside surface of the grille including the inside corners. Do not clog the perforations. Warning: The grille edges are sharp! Use care when handling Position the grille cloth so that the side with the tighter, smoother weave faces the unprotected edges of the the rear side of the grille. -
Page 14: Performance And Specifications
(DSP ) must be used with all I SERIES loudspeakers. /64: 60° x 40° /96: 90° x 60° Community's dSPEC226 processor(s) and Resyn® software contain all of the /66: 60° x 60° /99: 90° x 90° information (high pass filters, limiters, factory tunings) and DSP settings IP8-1152/xx High Power 15"... -
Page 15: Customer Support
For more information on installing and operating your I SERIES loudspeaker, please refer to Community’s website at www.communitypro.com. For application support, service or warranty information, refer to Community’s website or contact Community at 610-876-3400 or toll-free (within the US and Canada) at 800-523-4934. WARRANTY INFORMATION TRANSFERABLE WARRANTY “(LIMITED)”... - Page 16 ©2016 Community Professional Loudspeakers # 113258 v: 08FEB2016 Community Professional Loudspeakers 333 East Fifth Street, Chester, PA 19013-4511 USA Phone (610) 876-3400 • Fax (610) 874-0190 www.communitypro.com...
Need help?
Do you have a question about the Point Source 600 and is the answer not in the manual?
Questions and answers