Community Distributed Design DS5 Installation And Operation Manual
Distributed design series surface mount loudspeakers
Hide thumbs
Also See for Distributed Design DS5:

Related Manuals for Community Distributed Design DS5


Summary of Contents for Community Distributed Design DS5
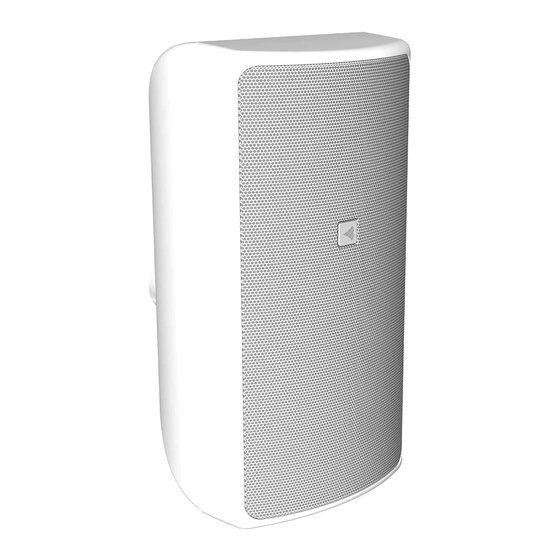
- Page 1 Distributed Design Series ™ Surface Mount Loudspeakers Installation and Operation Manual Model Driver Diameter Description 5.0" 127 mm full-range 8.0" 203.2 mm full-range DS8SUB 8.0" 203.2 mm subwoofer...
-
Page 2: Table Of Contents
Each model is shipped as a matched pair of completely assembled loudspeakers, including everything needed for standard installations. The DS5 and DS8 are full-range models, each with high and low frequency drivers and built- in crossover networks. The DS8SUB subwoofer... -
Page 3: Packing List & Feature Identification
For a given Please note that once the shipment has left model, this is what’s included: your dealer or the Community factory, the responsibility for damage is always borne by • Surface Mount Loudspeaker Cabinets (Qty 2) the freight company. -
Page 4: Important Safety Instructions
If you have any questions or do not understand the meaning of these terms, do not proceed with installation. Contact your local dealer, distributor, or call Community directly for assistance. These terms are defined below: Distributed Design Series... - Page 5 Veuillez lire la ne procédez pas à l’installation. Contactez section sur le câblage et l’installation pour des votre detaillant, distributeur, ou Community informations supplémentaires. directement pour assistance. Les termes sont définies ci-dessous:...
-
Page 6: Infin-A-Ball™ Mounting System
Infin-A-Ball™ Mounting System Community’s Infin-A-Ball™ (IAB) mounting system allows low-profile mounting and precise aiming over a broad tilt–swivel range. The IAB ball-mount receptacle is factory pre-attached to a recess in the cabinet, and after placing the loudspeaker onto the IAB bracket, you need only to twist the included hex wrench to lock any position. -
Page 7: Installation And Wiring
Installation and Wiring 1. Connect incoming input wires (and optional loop-thru wires) from wall to 4-pole Euroblock screw terminals concealed in the base of the Infin-A-Ball bracket.* *Note: Check local codes Input Wires to determine if a wall box (not included) or metal plate is required for the integrated wiring. - Page 8 Vertical mounting 5. Adjust the cabinet position by rotating and tilting as desired. Then firmly tighten the locking screw with the provided hex wrench. Horizontal mounting 6. Using a small slot-blade screwdriver (like the one provided) you can pry the logo plate out a few millimeters, then rotate it 90°...
- Page 9 The selection of appropriate electrical and mounting hardware to interface with Distributed Design Series Surface Mount Loudspeakers lies solely with the installation professional. Community recommends that an appropriately licensed engineer, electrician, or other professional identify and select the appropriate conduit, fittings, wire, etc.
-
Page 10: Optional Wall Box Mounting
If necessary, you can mount the IAB bracket approximately as shown here. The DS-WMP wall mount plate shown may be ordered as an option from Community. Use appropriate mounting hardware and fasteners, and secure per the steps below,... -
Page 11: Specifications
Note: See specification sheet for further details. Transferable Warranty "(Limited)" Distributed Design Series™ Surface Mount Loudspeakers are designed and backed by Community Professional Loudspeakers. For complete Community warranty information within the USA, please refer to the Warranty Card enclosed with the product. In other areas of the world please contact your local Community distributor. - Page 12 Community Professional Loudspeakers 333 East Fifth Street, Chester, PA 19013-4511 USA Phone: (610) 876-3400 • Fax: (610) 874-0190 www.communitypro.com ©2013 Community Professional Loudspeakers All Rights Reserved. v: 9MAY2013...
Need help?
Do you have a question about the Distributed Design DS5 and is the answer not in the manual?
Questions and answers