Table of Contents
Advertisement
Quick Links
Download this manual
See also:
Instruction Manual
Advertisement
Table of Contents

Subscribe to Our Youtube Channel
Related Manuals for Speco VIP2D2


Summary of Contents for Speco VIP2D2
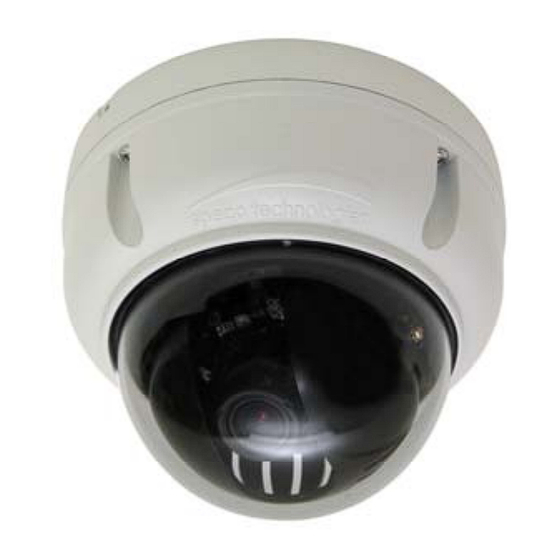
- Page 1 Quick Installation Guide VIP2D2M Motorized Full-HD IR VP Dome Network Camera & VIP2D2 Full HD VP Dome Network Camera Please read this manual thoroughly before use, and keep it handy for future reference.
-
Page 2: Quick Installation Guide
Quick Installation Guide 1. Description The Network Camera supports the network service for a sensor image with progressive scan, which can be monitored on a real-time screen regardless of distances and locations. By using its dedicated program, many users are able to have an access to the Network Camera at once or a single user can monitor various network cameras at the same time. -
Page 3: Installation
Quick Installation Guide • Contents in the installation CD 1. The Network Camera User’s Manual 2. The Speco Manager User’s Manual 3. The Speco VMS User’s Manual 4. The Speco Manager Installation software 5. The Speco VMS Installation software Note: Check your package to make sure that you received the complete system, including all components shown above. -
Page 4: Connecting Alarms
Quick Installation Guide Micro SD memory slot on the Board Card Slot for Micro SD memory: Socket “J15” • Connecting to the RJ-45 Connect a standard RJ-45 cable to the network port of the network camera. Generally a cross-over cable is used for directly connection to PC, while a direct cable is used for connection to a hub. -
Page 5: Heater Kit Installation(Optional)
Quick Installation Guide 1. Connect the OSD Controller to the Service Monitor port of the network camera. 2. Connect Service Monitor and the Video Output port of the OSD Controller. 3. Press the SET button to access main Menu. 4. Change Camera ID, and IP Address. You can change the Name or Title and IP address of the camera. -
Page 6: Network Connection And Ip Assignment
IP address. So, it is necessary to allocate an IP address to the device with the “Speco Manager” utility on the CD. The factory default IP is “192.168.30.220”. Connect the Network Camera / device to the network and power up. -
Page 7: Operation
Quick Installation Guide 3. Operation The Network Camera can be used with Windows operating system and browsers. The recommended browsers are Internet Explorer, Safari, Firefox, Opera and Google Chrome with Windows. 3.1 Access from a browser Start a browser (Internet Explorer). Enter the IP address or host name of the Network Camera in the Location/Address field of your browser. -
Page 8: Setting The Admin Password Over A Secure Connection
Quick Installation Guide 3.3 Setting the admin password over a secure connection To gain access to the product, the password for the default administrator user must be set. Thi s is done in the “Admin Password” dial og, which is displayed when the n etwork is accessed camera... - Page 9 Quick Installation Guide The Pause button pause the video stream being played. The Snapshot button takes a snapshot of the current image. The location where the image is saved can be specified. The digital zoom activates a zoom-in or zoom-out function for video image on the live screen.
-
Page 10: Network Camera Setup
Quick Installation Guide • Adjusting Zoom: Click “–“ button to zoom out and click “+” button to zoom in. The focus is moved slightly after adjusting zoom; adjust the focus again, as necessary. • Adjusting Focus: Click “–“ button for far focus and click “+” button to near focus. •... - Page 11 Quick Installation Guide • Using the Reset Button Follow the instructions below to reset the Network Camera to the factory default settings using the Reset button. Power off the Network Camera by disconnecting the power adapter. Open the top cover of camera. Press and hold the Reset button (SW1) on the board with your finger while reconnecting the power.
- Page 12 Quick Installation Guide VIP2D2M Motorized Full-HD IR VP Dome Network Camera Printed in Korea 50303447A...
Need help?
Do you have a question about the VIP2D2 and is the answer not in the manual?
Questions and answers