Table of Contents
Advertisement
Quick Links
Download this manual
See also:
Instruction Manual
Advertisement
Table of Contents

Summary of Contents for Speco VIP2C1P
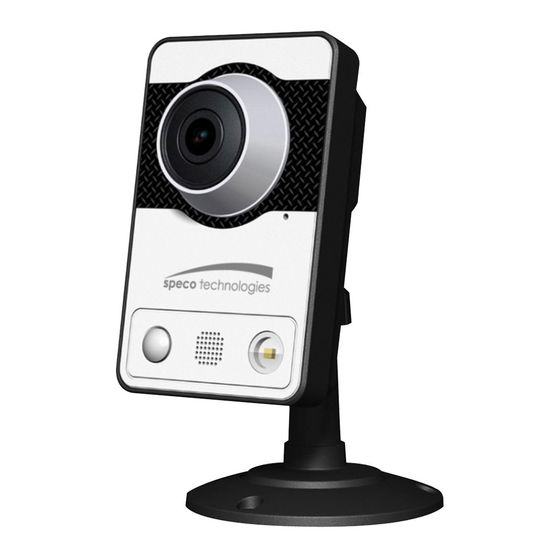
- Page 1 Quick Installation Guide VIP2C1N / VIP2C1P HD Mini Cube Network Camera Please read this manual thoroughly before use, and keep it handy for future reference.
- Page 2 1. Description The Network Camera supports the network service for a sensor image with progressive scan, which can be monitored on a real-time screen regardless of distances and locations. By using its dedicated program, many users are able to have an access to the Network Camera at once or a single user can monitor various network cameras at the same time.
- Page 3 • Rear View Name Description The camera is equipped with a PIR Sensor that has a maximum PIR Sensor(option) range of 5 meters for detecting movement in the dark. The camera is equipped with a Microphone and Speaker. Two- Microphone/Speaker way audio support allows for remote users to listen in on an area (option) and communicate with visitors or intruders.
-
Page 4: Installation
2. Installation 2.1 Connection • Connecting to the RJ-45 Connect a standard RJ-45 cable to the network port of the network camera. Generally a cross-over cable is used for directly connection to PC, while a direct cable is used for connection to a hub. -
Page 5: Network Connection And Ip Assignment
“Speco Manager” utility on the CD. (Default IP 192.168.30.220) Connect the Network Camera / device to the network and power up. Start Speco Manager utility (Start>All programs>Speco Manager>Speco Manager), the main window will be displayed, after a short while any network devices connected to the network will... - Page 6 Select the camera on the list and click right button of the mouse. You can see the pop-up menu below. Select Assign IP. You cam see a Assign IP window. Enter the required IP address. Note: For more information, refer to the Speco Manager User’s Manual.
-
Page 7: Operation
3. Operation The Network Camera can be used with Windows operating system and browsers. The recommended browsers are Internet Explorer, Safari, Firefox, Opera and Google Chrome with Windows. Note: To view streaming video in Microsoft Internet Explorer, set your browser to allow ActiveX controls. -
Page 8: Access From The Internet
3.2. Access from the internet Access from the internet once connected, the Network Camera is accessible on your local network (LAN). To access the network camera from the Internet you must configure your broadband router to allow incoming data traffic to the network camera. To do this, enable the NAT-traversal feature, which will attempt to automatically configure the router to allow access to the network camera. -
Page 9: Control Toolbar
The protocol drop-down list allows you to select which combination of protocols and methods to use depends on your viewing requirements, and on the properties of your network. 2) Control toolbar The live viewer toolbar is available in the web browser page only. It displays the following buttons: The Stop button stops the video stream being played. -
Page 10: Resetting To The Factory Default Settings
When accessing the Network Camera for the first time, the “Admin Password” dialog appears. Enter your admin name and password, set by the administrator. Note: If the password is lost, the Network Camera must be reset to the factory default settings. See “3.6 Resetting to the Factory Default Settings”. - Page 12 VIP2C1N / VIP2C1P HD Mini Cube Network Camera 50303439A Printed in Korea...


Need help?
Do you have a question about the VIP2C1P and is the answer not in the manual?
Questions and answers