Table of Contents
Advertisement
Quick Links
Download this manual
See also:
Manual
Advertisement
Table of Contents

Subscribe to Our Youtube Channel
Related Manuals for Speco VIP1D1


Summary of Contents for Speco VIP1D1
- Page 1 Quick Installation Guide VIP1D1 HD Indoor DOME CAMERA Please read this manual thoroughly before use, and keep it handy for future reference.
-
Page 3: Installation Steps
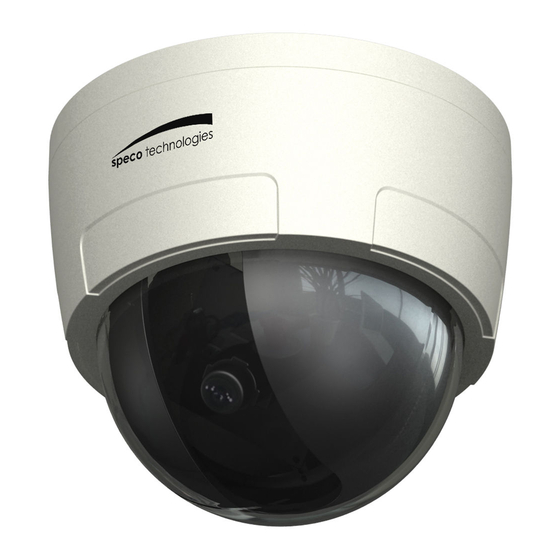
1. Description This manual applies to the VIP1D1 network camera. The Network Camera supports the network service for a sensor image with progressive scan, which can be monitored on a real-time screen regardless of distances and locations. By using its dedicated program, many users are able to have an access to the Network Camera at once or a single user can monitor various network cameras at the same time. - Page 4 • Front View Name Description Allows wide area to be monitored Lens 26pin camera extension cable Extension Cable • Side View • Bottom View Name Description Micro SD slot for local recording Micro SD Slot Amber : On System Booting Status LED Green : Normal Operation AI: Alarm Input, G: Ground, AO: Alarm Output...
-
Page 5: Installation
2. Installation 2.1 Connection • Connecting to the RJ-45 Connect a standard RJ-45 cable to the network port of the network camera. Generally a cross-over cable is used for directly connection to PC, while a direct cable is used for connection to a hub. -
Page 6: Network Connection And Ip Assignment
“Speco Manager” utility on the CD. Connect the Network Camera / device to the network and power up. Start Speco Manager utility (Start>All programs>Speco Manager>Speco Manager), the main window will be displayed, after a short while any network devices connected to the network will be displayed in the list. -
Page 7: Operation
3. Operation The Network Camera can be used with Windows operating system and browsers. The recommended browsers are Internet Explorer, Safari, Firefox, Opera and Google Chrome with Windows. 3.1 Access from a browser Start a browser (Internet Explorer). Enter the IP address or host name of the Network Camera in the Location/Address field of your browser. -
Page 8: Access From The Internet
3.2. Access from the internet Access from the internet Once connected, the Network Camera is accessible on your local network (LAN). To access the video encoder from the Internet you must configure your broadband router to allow incoming data traffic to the video encoder. To do this, enable the NAT-traversal feature, which will attempt to automatically configure the router to allow access to the video encoder. -
Page 9: Control Toolbar
The resolution drop-down list allows you to select the most suitable one out of video resolutions to be displayed on live view page. The protocol drop-down list allows you to select which combination of protocols and methods to use depends on your viewing requirements, and on the properties of your network. -
Page 10: Resetting To The Factory Default Settings
When accessing the Network Camera for the first time, the “Admin Password” dialog appears. Enter your admin name and password, set by the administrator. Note: If the password is lost, the Network Camera must be reset to the factory default settings. See “3.6 Resetting to the Factory Default Settings”. - Page 12 VIP1D1 HD Indoor DOME CAMERA Printed in Korea 50303449A...
Need help?
Do you have a question about the VIP1D1 and is the answer not in the manual?
Questions and answers