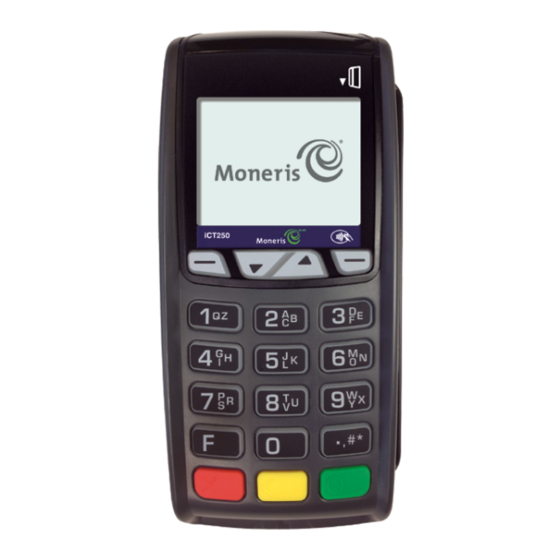
Moneris iCT250 Manual
Hide thumbs
Also See for iCT250:
- Reference manual (64 pages) ,
- Getting starded manual (38 pages) ,
- User manual (37 pages)
Table of Contents
Advertisement
Quick Links
Advertisement
Table of Contents

Summary of Contents for Moneris iCT250
- Page 1 Setting up Your Terminal Moneris iCT250 03/13)
-
Page 2: Important: Read First
If you ordered the optional external PINpad, check to confirm that you received the iPP320 PINpad and cables. If your terminal will be communicating with the Moneris host over High-Speed Ethernet, please review the Moneris IP Readiness Checklist (available at moneris.com/checklist) and ensure that your Ethernet service is ready to support your terminal. -
Page 3: Hardware Setup
Internet service at your for the terminal. Sharing location. the line with another (If necessary, please refer device (e.g. a fax machine) to the Moneris IP Readiness can cause communication Checklist available at problems. If using a splitter, moneris.com/checklist.) test both devices and... - Page 4 Connect the external iPP320 PINpad Optional) a. Turn the PINpad over LATCH so that the back panel is facing you. b. Plug the PINpad cable PINPAD CABLE into the USB port on the PINpad (raise the latch). c. Fold the latch down and press to secure the cable.
- Page 5 Install the paper roll a. Lift the printer latch up, and then pull back to PRINTER LATCH (PULLED UP) open the lid and expose the paper well. b. Insert the paper roll into the paper well with the loose end unrolling from the bottom of the roll towards the front of the terminal.
- Page 6 IMPORTANT: You must use the exact power adaptor and cables provided by Moneris to work with the Moneris iCT250 terminal. Failure to do so may affect the operability of, or cause damage to, the equipment. a. Wait for the terminal to display “TERMINAL SETUP REQUIRED”.
-
Page 7: Communications Setup
Communications setup 1. Do one of the following based on your requirements: • If you are using Dynamic IP as default, proceed to Using Dynamic IP below. • If you are using Static IP as default, proceed to Using Static IP on page 7. - Page 8 Using Static IP: Contact your Internet Service Provider (ISP) to gather the following information: terminal’s IP address, Mask ID, Gateway address, and DNS address. 1. Press the key twice, key in 08, and press the key. 2. Press the key to select COMMS TYPE. 3.
-
Page 9: Initialization And Logon
00302 1 888 358 8602 00304 1 888 332 8433 4. Wait while the the terminal communicates with the Moneris host. Over the next few moments, the screen will display “SENDING”, “RECEIVING”, and “PROCESSING”. • If “CLEAR TERMINAL STORAGE?” appears, press the to select YES. -
Page 10: Additional Options
Additional options All instructions in this section begin at the terminal’s READY screen. Enabling the external PINpad This option enables an external PINpad if attached. 1. Unplug the terminal’s power cable from the power source and then replug it to restart the hardware. 2. -
Page 11: Changing Printer Options
4. The screen will return to the GENERAL PARAMETERS menu. 5. Press the key twice to return to the READY screen. Note: To change the default values for the tip and cashback options, refer to the Moneris iCT250 Operating Manual. Visit moneris.com/manuals to download a copy. Changing printer options The printer is set up to automatically print the second receipt 10 seconds after it prints the first receipt. -
Page 12: Changing The Terminal Language
Moneris iCT250 Operating Manual. Visit moneris.com/manuals download a copy. End-of-day processes For detailed instructions, please refer to the Moneris iCT250 Using Your Terminal guide included in this package. Online statements and reports Check your monthly statement online using Merchant Direct ®... -
Page 13: Troubleshooting
3. Make sure the communication cables are properly plugged in (router/switch/hub/internal wiring, etc.). If you are not sure, refer to the Moneris IP Readiness Checklist (available at moneris.com/checklist). 4. At the “TERMINAL SETUP REQUIRED” screen, confirm that the Ethernet icon is coloured green. - Page 14 Notes...
- Page 16 Neither Moneris or any of its affiliates nor any of our or their respective licensors, licensees, service providers or suppliers warrant or make...


Need help?
Do you have a question about the iCT250 and is the answer not in the manual?
Questions and answers