
Related Manuals for Casio KL-HD1


Summary of Contents for Casio KL-HD1
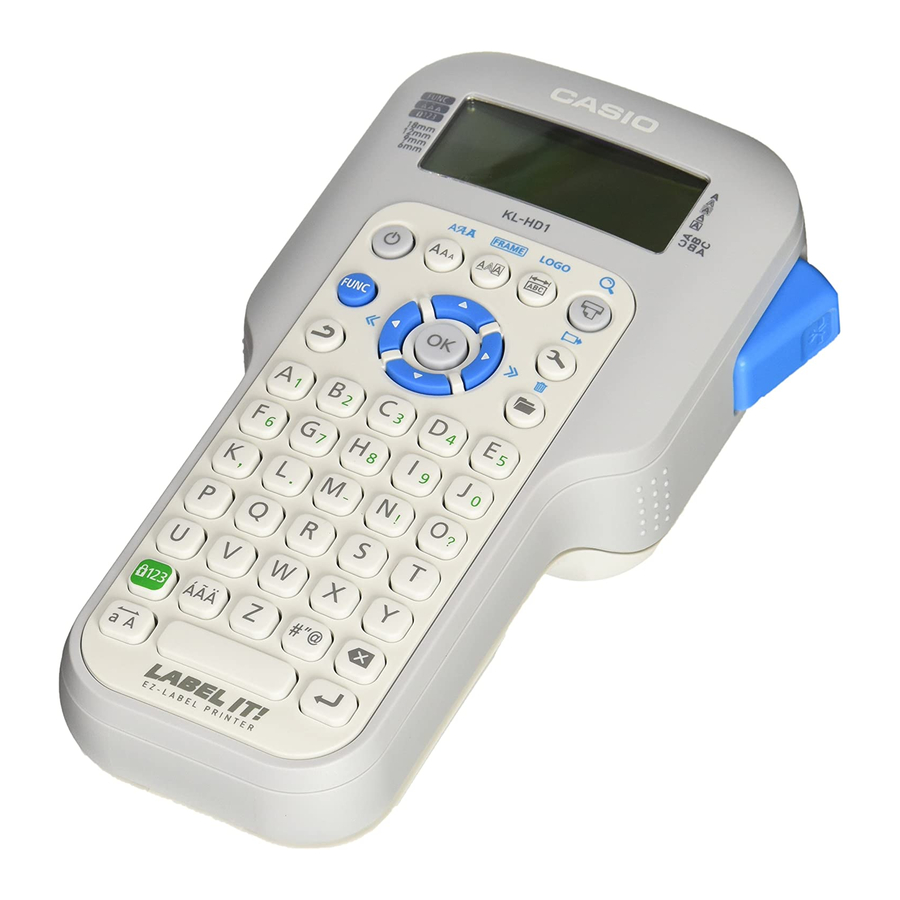
- Page 1 KL-HD1 User’s Guide Supported Tape Widths RJA532737-001V02...
- Page 2 Important! Be sure to keep all user documentation handy for future reference.
-
Page 3: Table Of Contents
Read This First! Contents CASIO COMPUTER CO., LTD. shall not be held liable for any loss or Safety Precautions ............... 2 claims by you or any other person or entity that may arise through the use of this printer. Operating Precautions ..............4 Reproduction of this manual in any form, either in part or its entirety, is forbidden without the express permission of CASIO COMPUTER CO.,... -
Page 4: Safety Precautions
Safety Precautions Warning Smoke, abnormal odor, overheating, and other Thank you for purchasing this quality CASIO product. abnormalities Before using it, be sure to read the following Safety Precautions. Keep the manual in a convenient location for future reference when necessary. - Page 5 Warning Caution Disassembly and Modifi cation Batteries Never try to take this product apart or modify it in any way. Misuse of batteries can cause them to leak, resulting in Doing so creates the risk of electric shock, burn injury, and damage to nearby objects, or to explode, creating the risk of other personal injury.
-
Page 6: Operating Precautions
Operating Precautions Caution Loading and replacing batteries Observe the following precautions to ensure that the printer provides you with The springs inside of the battery compartment have sharp the years of trouble-free operation for which it is designed. edges. Take care that you do not touch the springs with your Avoid using the printer in areas exposed to direct sunlight, and in areas fi... -
Page 7: Part 1 Getting Ready
Power Supply Part 1 Getting Ready The printer can run on six AA-size alkaline batteries. Be sure to use alkaline batteries only. Important! Replacing Batteries Be sure to read this section before attempting to use the printer. A handy low battery power indicator lets you know when battery power is getting too low for proper operation. -
Page 8: Resetting The Memory
1. Turn off the printer. Turning the Printer On or Off 2. While pressing the location of the up arrow ( ), lift up the printer cover to Press to turn the printer on or off. open and remove it. When you turn on the printer, the tape width selection screen will appear. -
Page 9: Auto Power Off Function
Auto Power Off Function 3. Remove the stopper from a new tape cartridge Stopper and check to see that the tape is ready to use. If you do not perform any key operation for about six minutes, the printer will turn off automatically. -
Page 10: Part 2 Inputting Characters And Symbols
6. Load the tape cartridge into the printer, making sure that the tape and ink ribbon pass between the head and roller. Part 2 Inputting Characters and Symbols Roller Important! You can input up to 80 characters per label. Further input becomes impossible after you input the 80th character. -
Page 11: Display Symbols And Indicators
Display Symbols and Indicators 4. When you reach the end of a line of text, press to input a newline mark. Before getting into actual input, you should fi rst become acquainted with the A newline operation is indicated on the display by the symbol. -
Page 12: Part 3 Deleting And Inserting Characters
Part 3 Deleting and Inserting Characters Part 4 Fonts, Character Sizes and Character Styles Moving the Cursor Selecting a Font To make the cursor do this: Do this: Your printer gives you a choice of eight fonts (examples shown below). The Move left Press . -
Page 13: Character Size
You can specify a font for the text you have just input or you can specify a Character Size default font that is used automatically whenever you create a new label. You can select from among four different character sizes: Extra large, Large, Medium, and Small. -
Page 14: Part 5 Printing
Character Styles Part 5 Printing There are six character styles that you can assign: normal, bold, outline shading, underline, and box. Examples of each are shown below. Style Indicator Sample Printing Precautions Normal None Never turn power off while printing is being performed. Make sure that the tape outlet is not blocked before you start printing. - Page 15 Important! To feed the Tape Check to make sure that printing is completely stopped before cutting the 1. Press FUNC and then (FEED). tape. Cutting the tape while printing is in progress can cause tape jams and This will feed the tape approximately 19mm ( ").
-
Page 16: Part 6 Confi Guring Form Settings
Tape Length Setting Part 6 Confi guring Form Settings You can use either of the methods below to specify the tape length. AUTO: Automatically adjusts tape length in accordance with the number of characters. You can use the procedure in this section to confi gure direction, mirror, FIX: Maintains a fi... -
Page 17: Part 7 Using Frames
Part 7 Using Frames Part 8 Creating and Printing a Label with a Logo The printer comes with a selection of built-in frames that you can use in your Your printer comes with 60 built-in logos that you can incorporate into your tape labels. -
Page 18: Part 9 Memory
To delete stored text Part 9 Memory 1. While the input screen is on the display, press to select DELETE. 2. Press 3. Press OK. 4. Use to select the text you want to delete and then press OK. You can store two blocks of text in memory, containing up of 80 characters. This will display the message “DELETE? OK/CANCEL”... -
Page 19: Part 10 Confi Guring The Printer Setup
Part 10 Confi guring the Printer Setup Part 11 Reference The printer has a SET UP screen that you can use to confi gure a variety of Cleaning the Printer Head and Roller basic settings. A dirty printer head and roller can result in poor print quality. If you have problems with print quality, use the following procedure to clean the printer To confi... -
Page 20: Troubleshooting
Troubleshooting • Printing Tape does not come out when is pressed. • Power Supply Possible Causes Action Page Nothing appears on the display. Tape cartridge Securely close the printer cover. Possible Causes Action Page compartment cover is not Battery power is low or the Load a fresh set of AA-size alkaline closed completely. - Page 21 • Using Labels Ink ribbon is being fed from the tape outlet along with the tape. Possible Causes Action Page Label will not adhere to a surface. Tape cartridge loaded Remove the tape cartridge and Possible Causes Action Page while the ink ribbon is check to make sure the ink ribbon is The backing paper is still Peel the backing paper from the...
- Page 22 6mm ( ") tape...1 line contact your retailer or your one line while a 6mm 9mm ( ") tape...1 line nearest CASIO service center. ") or 9mm ( ") 12mm ( ") tape...1 line tape cartridge is 18mm ( ") tape...Up to 2...
- Page 23 Built-in Logos ● PRICE Labels ● SIGN Labels...
- Page 24 ● WORK Labels ● ATTENTION...
- Page 25 General Specifi cations Power supply: Six AA-size alkaline batteries Rated voltage: 9V DC Power consumption: 1A (9W) Model: KL-HD1 Auto Power Off: Approximately six minutes after last key operation. Dimensions: 202(H) 112(W) 60(D) mm (7 "H "W "D) Input Weight: Approximately 340 g (12 oz) excluding batteries Keyboard Layout: Alphabetic (ABCD) Ambient Temperature: 10°C to 35°C (50°F to 95°F)
-
Page 26: Appendix
Appendix Accented Characters APP-1... - Page 27 APP-2...
- Page 28 Symbols Illustrations ● SYMBOL ● ILLUST 1 ● DINGBAT ● NUMBER ● GREEK APP-3...
- Page 29 ● ILLUST 2 Frames APP-4...
- Page 30 APP-5...
- Page 31 Manufacturer: CASIO COMPUTER CO., LTD. 6-2, Hon-machi 1-chome, Shibuya-ku, Tokyo 151-8543, Japan Responsible within the European Union: CASIO EUROPE GmbH Casio-Platz 1, 22848 Norderstedt, Germany www.casio-europe.com...
- Page 32 CASIO COMPUTER CO., LTD. 6-2, Hon-machi 1-chome Shibuya-ku, Tokyo 151-8543, Japan MO1502-B Printed in China/Imprimé en Chine © 2015 CASIO COMPUTER CO., LTD.
Need help?
Do you have a question about the KL-HD1 and is the answer not in the manual?
Questions and answers