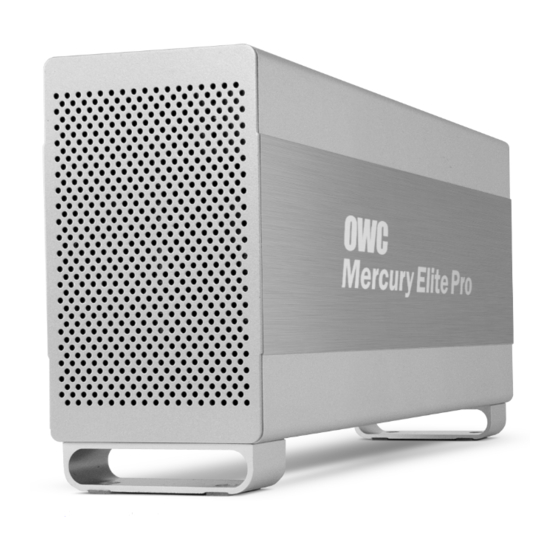
OWC MERCURY ELITE PRO DUAL Assembly Manual & User Manual
Hide thumbs
Also See for MERCURY ELITE PRO DUAL:
- User manual ,
- Assembly manual (24 pages) ,
- Assembly manual & user manual (16 pages)
Table of Contents
Advertisement
Quick Links
Advertisement
Table of Contents

Summary of Contents for OWC MERCURY ELITE PRO DUAL
- Page 1 M E R C U R Y E L I T E P R O D U A L Assembly Manual & User Guide...
-
Page 2: Table Of Contents
2.3.1 Changing the RAID Mode 2.3.2 RAID Modes 2.4 Drive Failure 2.4.1 Replacing Drives SUPPORT RESOURCES ................3.1 Formatting 3.2 Troubleshooting 3.3 About Data Backup 3.4 Online Resources 3.5 Contacting Technical Support OWC MERCURY ELITE PRO DUAL TABLE OF CONTENTS... -
Page 3: Introduction
The images and descriptions may vary slightly between this manual and the unit shipped. Functions and features may change depending on the firmware version. Please visit the product web page for the most recent product specifications. OWC MERCURY ELITE PRO DUAL INTRODUCTION... -
Page 4: Front View
4. DC IN — Connect the included power supply here. 5. ON/OFF Switch — Turn power to the Elite Pro Dual on and off with this switch. Security Slot — Connect a 6. Kensington ® security tether here. OWC MERCURY ELITE PRO DUAL INTRODUCTION... -
Page 5: Usage Notes
2. A message will appear, detailing the devices that the “Eject” icon controls, i.e., “Safely remove...” Click on this prompt. 3. You will then see a message that says, “Safe to Remove Hardware.” It is now safe to disconnect the Elite Pro Dual from the computer. OWC MERCURY ELITE PRO DUAL INTRODUCTION... -
Page 6: Device Setup
DEVICE SETUP 2.1 Quick Start Follow the steps below to use the OWC Drive Guide utility to format your Elite Pro Dual for Mac (OS X 10.4 and later) or Windows (XP and later). If you installed your own drives, please use the formatting method you are most familiar with or check Section 3.1 for a link to our online formatting tips. - Page 7 3. When removed from the outer enclosure, the inner chassis will appear as shown below. There will also be a packet of screws inside (not shown). Remove this packet and use the screws as directed in subsequent assembly steps. OWC MERCURY ELITE PRO DUAL DEVICE SETUP...
- Page 8 SATA connector on the hard drive. Make sure the SATA connectors are firmly seated. NOTE: Make sure that the flat red cable is twisted as shown (below-right) in order to avoid interfering with the exhaust fan. OWC MERCURY ELITE PRO DUAL DEVICE SETUP...
- Page 9 The screw holes at the front of the outer enclosure are close to the silicone feet, while the screw holes at the rear of the outer enclosure are farther away from the silicone feet. REAR FRONT OWC MERCURY ELITE PRO DUAL DEVICE SETUP...
- Page 10 Use the four smaller screws to fasten the inner chassis to the outer enclosure, as shown below. The assembly of the Elite Pro Dual is now complete. OWC MERCURY ELITE PRO DUAL DEVICE SETUP...
-
Page 11: Raid Settings
NOTE: changing the RAID mode for the Mercury Elite Pro Dual requires an active USB or FireWire connection. See Section 2.3.2 - “RAID Modes” for more information on each RAID mode that can be used, and how it differs from the others. -
Page 12: Drive Failure
In the event that one of the drives fails, the corresponding drive LED will turn solid red. If the Mercury Elite Pro Dual was configured as a RAID 0 or Span, the data on the array is lost and the volume is no longer usable. In a span, only the data stored on the failed drive is lost, although data recovery software will be required to recover the data from the other drive in the Span. - Page 13 NOTE: The Mercury Elite Pro Dual needs an active data signal to remain powered on. If it is disconnected from the computer, or if the computer goes to sleep or turns off, the device will power off. To minimize the total rebuild time, it is recommended to keep the device connected to the computer (with the computer powered on), and disable any hard drive sleep settings on the computer for the duration of the rebuild process.
-
Page 14: Support Resources
Elite Pro Dual is the sole responsibility of the user, and under no circumstances may OWC, its parents, partners, and affiliates be held liable for loss of the use of data including compensation of any kind or recovery of the data. -
Page 15: Contacting Technical Support
8am - 8pm (CT) Monday - Friday 9am - 4pm (CT) Saturday (866) 692-7100 (North America only) +1 (815) 338-4751 (International) Live chat is available during normal business hours at: www.owcdigital.com/support Email support is available at: www.owcdigital.com/support OWC MERCURY ELITE PRO DUAL SUPPORT RESOURCES... - Page 16 The material in this document is for information purposes only and subject to change without notice. While reasonable efforts have been made in the preparation of this document to assure its accuracy, OWC and its officers and employees assume no liability resulting from errors or omissions in this document, or from the use of the information contained herein.


Need help?
Do you have a question about the MERCURY ELITE PRO DUAL and is the answer not in the manual?
Questions and answers