OWC Mercury Elite Pro Assembly Manual & User Manual
Hide thumbs
Also See for Mercury Elite Pro:
- User manual ,
- Assembly manual (24 pages) ,
- Assembly manual & user manual (16 pages)
Table of Contents
Advertisement
Quick Links
Advertisement
Table of Contents

Related Manuals for OWC Mercury Elite Pro


Summary of Contents for OWC Mercury Elite Pro
- Page 1 Mercury Elite ™ Assembly Manual & User Guide...
-
Page 2: Table Of Contents
DEVICE SETUP ....................3 2.1 QUICK START 2.2 ASSEMBLY 2.3 USB EXPANSION PORT SUPPORT RESOURCES ..................8 3.1 FORMATTING 3.2 UNMOUNTING DRIVES 3.3 TROUBLESHOOTING 3.4 ABOUT DATA BACKUP 3.5 ONLINE RESOURCES 3.6 CONTACTING TECHNICAL SUPPORT OWC MERCURY ELITE PRO TABLE OF CONTENTS... -
Page 3: Introduction
USB 2.0 - Windows XP or later IMPORTANT: Many USB devices, including other types of 3.5” drive enclosures, will require their own power supply when connected to the USB expansion port. See Section 2.3 of this manual for more information. OWC MERCURY ELITE PRO INTRODUCTION... -
Page 4: Rear View
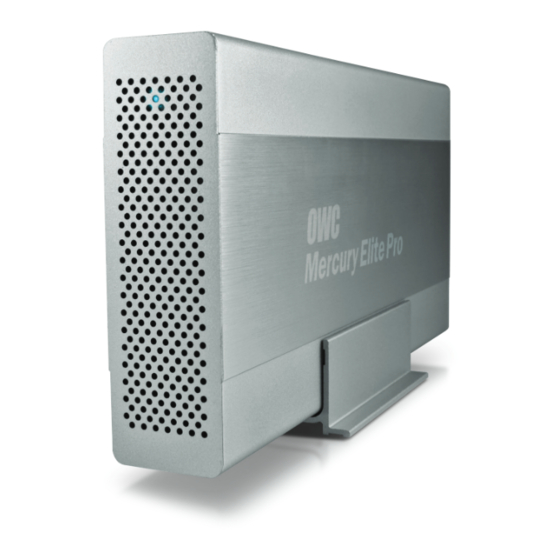
5. USB Expansion Port 1.5 USAGE NOTES LED - The Mercury Elite Pro has an LED mounted behind the front cover. The LED emits a solid, white light when the unit is powered on and it flashes during hard drive activity. -
Page 5: Device Setup
Mac (OS X 10.4 and later) or Windows (XP and later). If you do not wish to use Drive Guide to format your Mercury Elite Pro, you can use the formatting utility of your choice instead. See Section 3.1 of this manual for more formatting options. - Page 6 3. When removed from the outer case, the inner chassis will appear as shown below. Remove the packet of screws and use them as directed later in the assembly instructions. OWC MERCURY ELITE PRO DEVICE SETUP...
- Page 7 5. Using the four screws from the packet you removed from the inner chassis, fasten the hard drive to the inner chassis. There are two screw holes on each side of the inner chassis, circled below in red. OWC MERCURY ELITE PRO DEVICE SETUP...
- Page 8 7. Once the front grill of the inner chassis sits flush with the edge of the outer case, turn the Mercury Elite Pro on its side. Use the two smaller screws you removed in Step 1, and re- fasten the outer case to the inner chassis.
-
Page 9: Usb Expansion Port
Follow the steps below to use the USB expansion port on the Mercury Elite Pro. 1. Make sure the Mercury Elite Pro is connected directly to your computer via the included USB 3.0 cable, as well as to the included power supply. -
Page 10: Support Resources
Then, verify that both ends of your data cable are securely plugged into the computer and the Mercury Elite Pro. You can also connect the Mercury Elite Pro to a different computer. Note: If a USB device connected to the USB expansion port does not work as expected, you can try connecting the device directly to a computer, as well. -
Page 11: About Data Backup
To ensure that your files are protected and to prevent data loss, we strongly suggest that you keep two copies of your data: one copy on your Mercury Elite Pro and a second copy on your internal drive or another storage medium, such as an optical backup, or on a second external storage unit. - Page 12 Other World Computing, Inc. Other World Computing and OWC are trademarks of New Concepts Development Corporation, registered in the U.S. Patent and Trademark Office and/or in Canada. The OWC logo, Other World Computing logo, Mercury Elite, OWC Digital, and OWC Drive Guide are trademarks of New Concepts Development Corporation.
Need help?
Do you have a question about the Mercury Elite Pro and is the answer not in the manual?
Questions and answers