Table of Contents
Advertisement
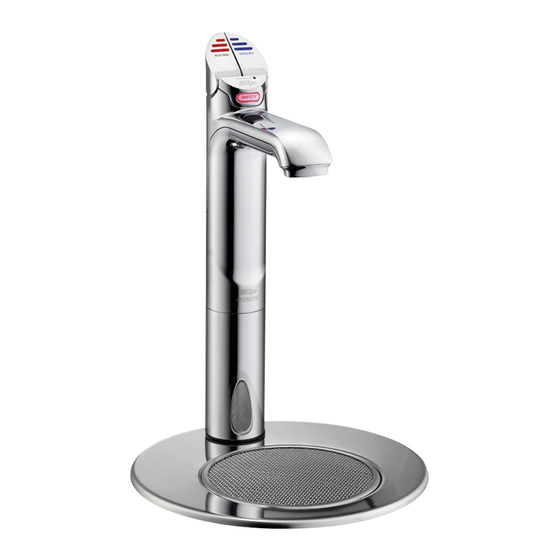
Domestic HydroTap
Filtered boiling and chilled drinking water for kitchens.
This Installation Instruction covers the following Domestic HydroTap models
Domestic models:
30009UK - DOMHB1: HydroTap Boiling Only, Unfiltered
37697UK - DOMBA1: HydroTap Boiling & Ambient
437677UK- DOMBC1: HydroTap Domestic Compact Boiling & Chilled
Hydro Tap Installation and Operating Instructions - 89026UK - June 2009
Installation and Operating Instructions
®
HydroTap
HydroTap with disabled lever kit
Page 1 of 24
Advertisement
Table of Contents

Related Manuals for Zip HydroTap 30009UK


Summary of Contents for Zip HydroTap 30009UK
- Page 1 Installation and Operating Instructions ® Domestic HydroTap Filtered boiling and chilled drinking water for kitchens. This Installation Instruction covers the following Domestic HydroTap models Domestic models: 30009UK - DOMHB1: HydroTap Boiling Only, Unfiltered 37697UK - DOMBA1: HydroTap Boiling & Ambient 437677UK- DOMBC1: HydroTap Domestic Compact Boiling &...
-
Page 2: Before Installation
Installation Checklist Before Installation: Read the instructions Note: Not all fittings are supplied with the appliance kit. Isolation valves are not supplied Check the water pressure to determine if you require a pressure reduction valve or flow restrictor added or removed from the kit. Check the water quality to determine if extra filtration will be required. -
Page 3: Table Of Contents
Contents Read These Warnings First ......4, 5 Models covered by these instructions ....6 Special tools required . -
Page 4: Read These Warnings First
This way up operation. Lifting Take care when lifting the Zip HydroTap undersink unit. Some units may exceed safe lifting limits. Do not lift without assistance. The weights of the units are given in the table under the heading “Installation Requirements”. - Page 5 Warning: Zip HydroTaps are designed to operate within 1ºC to 2ºC of set point for boiling water. For the Domestic Compact model only, the chilled water set point can be adjusted in 1ºC increments as follows: 7-11º ; 8-12º ; 9-13º or 10-14ºC.
-
Page 6: Models Covered By These Instructions
Domestic models covered by these instructions Model Height Depth Width Weight empty kg’s Weight full kg’s 30009UK 11.5 37697UK 437677UK Special tools required In addition to normal tools, the following will be required: • 35mm diameter sheet metal hole punch for sink tops. (not supplied) •... -
Page 7: Installation Requirements
Installation Requirements Before installing ensure that the following have been provided at the installation site: • Sufficient space in the cupboard to install the undersink unit in accordance with these Installation Instructions. A table of dimensions is given above. NOTE: Add 65mm to the Depth of the undersink unit to allow for Water and Electrical connections. -
Page 8: Installation Procedure
Before positioning the heater connect the braided water inlet hose (supplied) to the cold water inlet on the unit. This is located at the rear of the unit. Position the Zip HydroTap undersink unit as close as possible to directly beneath the Zip HydroTap tap head. -
Page 9: Step C - Connecting The Tap
Step D - Connecting the water supply To prevent sediment from entering the Zip HydroTap at connection, flush water through the supply line thoroughly before connection to the Zip HydroTap. Open the access door and check that the filter is in place and secure. Connect the water supply to the undersink unit using the attached flexible hose. -
Page 10: Step E - Testing And Commissioning
Installation procedure continued Step E - Testing and commissioning (applies to all models except HT boiling only) NOTE : Filter Flush Mode (filtered models only) New hose sets supplied with the The display screen will show which model you have. unit should be used. - Page 11 Hydro Tap Installation and Operating Instructions - 89026UK - June 2009 Page 11 of 24...
- Page 14 Page 14 of 24 Hydro Tap Installation and Operating Instructions - 89026UK - June 2009...
-
Page 15: Step F - Temp. And Set Point Adjustment
0.5ºC increments between 68º - 100ºC. Note: the Maximum setting of 100ºC is not recommended for normal use. Do not raise temperature above 98.5ºC without consulting Zip first to discuss the service issue. -
Page 16: Font Installation Procedure
Font installation procedure Position the Font template (provided) on the bench area. Ensure the position you select is within the length of the supply tube and USB cable fixed to the Tap Head Assembly. These cannot be extended 2. Check again for correct positioning. The supply hoses must have constant fall back to the tank assembly. -
Page 17: Operating The Tap
This indicates that the chilled water is not at the right temperature. Wait up to 20 minutes. When the chilled water is at the right temperature, the light will stop flashing. Note: The Zip HydroTap is designed to dispense chilled water in the temperature range 7°C to 14°C. -
Page 18: Child Safety Lock
Child safety lock Child Safety Lock (HT boiling only models) Pressing the safety lock rapidly three times will either activate or de-activate the safety lock. Indicator light ON means the lock is active, indicator OFF means inactive. Lever Operation Press or pull lever Boiling Water Lever Depressing the “Red”... -
Page 19: Setting The Energy Saver Timer
Setting the Energy Saver Timer (Model: 437677UK ) Plus Adjust Button Menu Plus Button Minus Adjust Button Menu Minus Button Normal Operation (not available on HT boiling only series) Set Time To change time, press either Menu or Menu button until Set Time is on the display screen. Press Adjust button to increase time or Adjust button to decrease time. -
Page 20: Boiling Water Isolation
Boiling Water Isolation (Model 437677UK) The HydroTap is equipped with an additional safety mode that allows protection against accidental operation by Infirmed or disabled persons. 1. On the LCD scroll through the menu to Hot Isolation. 2. Press adjust to activate. 3. -
Page 21: Replacing The Filter
16. Close the door or refit the front cover to secure the appliance. Warning: If the Zip HydroTap is switched off for a long period of time (e.g. More than a weekend), run water through the chilled water outlet for at least 5 minutes before consumption. -
Page 22: Cleaning
ON. Tap loom is not connected to Check loom connection. HydroTap unit. Possible internal fault. Contact local Zip Service Provider. Program in OFF cycle Check LCD for information. No water flow. Water supply isolated. Check water supply is on. -
Page 23: Typical Undersink Layout
Typical undersink layout Domestic Compact model 437677UK shown NOTE: The pressure limiting valve (supplied) must be fitted between the external service valve and the appliance Typical Boiling Only / Boiling Ambient unit Domestic Compact model 437677UK installation Hydro Tap Installation and Operating Instructions - 89026UK - June 2009 Page 23 of 24... -
Page 24: Warranty & Contact Information
Furthermore, this warranty does not displace any statutory warranty, but, to the extent to which Zip is entitled to do so, the liability of Zip under any statutory warranty will be limited at Zip’s option to the replacement of the appliance...
Need help?
Do you have a question about the HydroTap 30009UK and is the answer not in the manual?
Questions and answers