Table of Contents
Advertisement
Quick Links
Advertisement
Table of Contents

Related Manuals for Spagna Vetro PSM


Summary of Contents for Spagna Vetro PSM
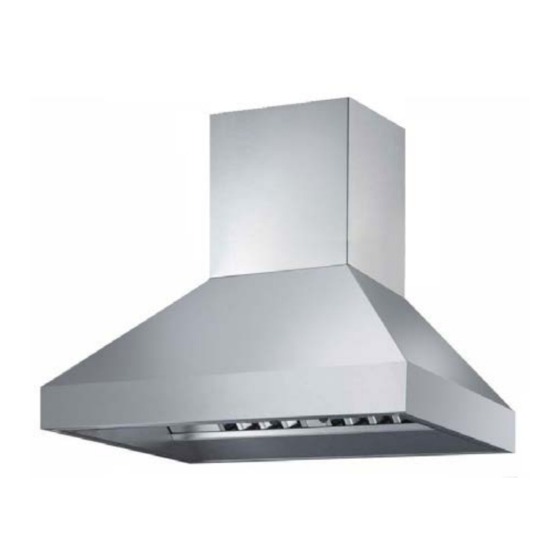
- Page 1 Installation Guide and Users Manual SPAGNA VETRO Pro Series Hoods IMPORTANT: Model: PSM Read and save these instructions. NOTICE: Installer: Leave this guide with the homeowner Homeowner: Keep this guide for future reference Wall Mount Range Hood Rev. 3046u.2a...
-
Page 2: Important Safety Notice
Important Safety Notice Read all Instructions before Installing and operating this appliance • The installation in this manual is intended for qualified installers, service technicians or persons with similar qualified background. Installation and electrical wiring must be done by qualified profession- als and in accordance with all applicable codes and standards, including fire-rated construction. - Page 3 Important Safety Notice Table of Contents Read all Instructions before Installing and operating this appliance INSTALLATION USE AND CARE Tools needed............3 Troubleshooting...........17 • Clean ventilating fan frequently. Parts supplied...........4 Use and care information.......18 • Always use appropriate cookware and utensils size. Venting requirements........5 Specifications..........18 •...
-
Page 4: Venting Requirements
Parts supplied: Venting Requirements Height & Clearance Professional Range Hood : Model PSM • Vent system must terminate to the outside Mounting (roof or side wall). Maximum* ceil- Bracket • DO NOT terminate the vent system in an at- ing clearance Standard 110”... -
Page 5: Venting Methods
Venting Methods IMPORTANT: • A minimum of 8” round duct (purchased separately) must be used to maintain maximum airflow efficiency. • This range hood is factory set for venting through the roof or wall. For non-vented (re-circulating) installa- • Always use rigid type metal/aluminum ducts if available to maximize airflow when connecting to provided tions, see Ductless Conversion on Page 7. -
Page 6: Charcoal Filter Installation
Charcoal Filter Installation Preparation WARNING NOTE: THIS RANGE HOOD CANNOT BE RECIRCULATED Excessive Weight Require three or more person to move and install this range hood. Spinal or other bodi- ly injuries could occur if it is not followed. Advanced Preparations: 1. - Page 7 Installation Installation WARNING (Continued) Installations (refer to Page 4 for parts): 7. Connect the range hood to a designated standard outlet (please Measure the distance between stove top and the bottom of Excessive Weight refer the product label for the suitable voltage of this unit) range hood.
Need help?
Do you have a question about the PSM and is the answer not in the manual?
Questions and answers