
Related Manuals for GeChic OnLap 1302


Summary of Contents for GeChic OnLap 1302
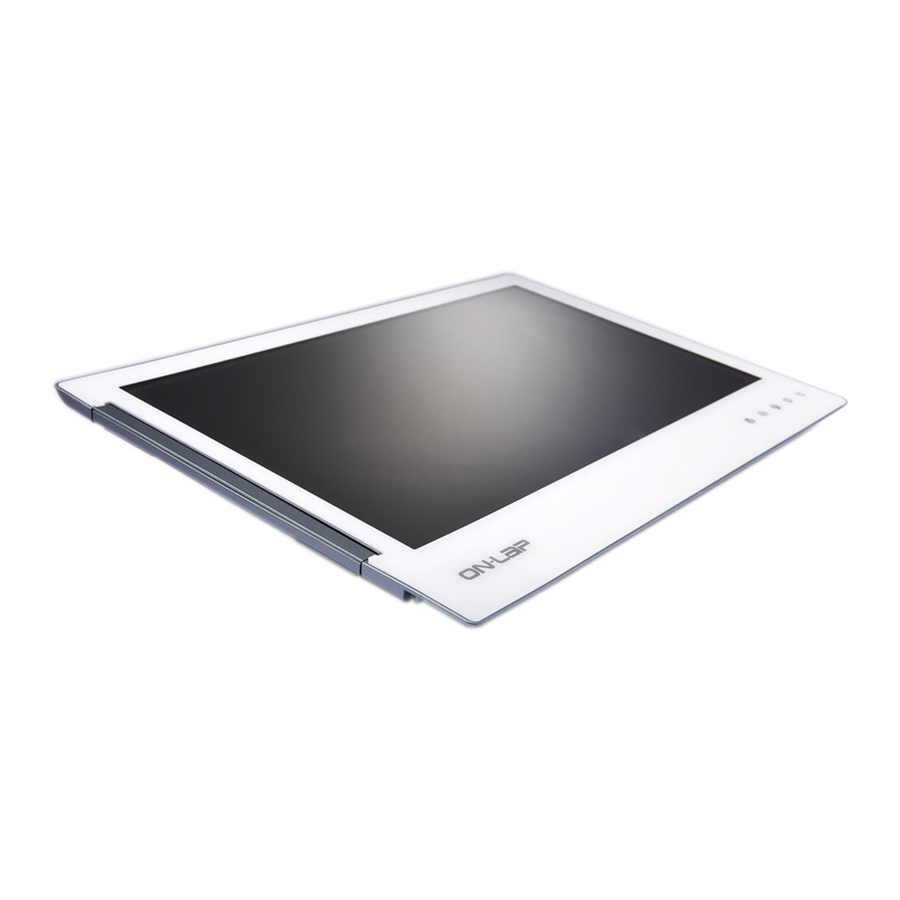
- Page 1 Monitor Monitor Monitor Monitor 1302 / 1501 User Manual GeChic Corporation 13F-4, No.367, Gongyi Road, West District, Taichung City 403 Taiwan (R.O.C.) Customer Service: service@gechic.com www.gechic.com Facebook Page : www.facebook.com/gechicen...
- Page 2 Table of Contents Chapter 1 Content Descrip on 1. The cable may be damaged if you pull it out by force. Please push forward the Sec on 1 No ces for using On-Lap Monitor protruding part between the video and power cable connector and the back cover of the monitor to get out the connector by finger p.
- Page 3 Please read this Manual carefully and observe the opera on instruc ons and precau onary notes. Do retain this document for future reference. 1. The Product may be severely damaged from overturning or falling. Please do not place on a shaky or unstable table, cupboard or trolley. Do not use the On-Lap Monitor on a moving vehicle.
- Page 4 (Refer to Sec on 2 of Chapter 3 for monitor display se ng.) A er powering on the laptop, go to Windows’ "Control Panel" to make the If you wish to use the HDMI port on the laptop, please use Digital Video and USB- monitor extension se ng.
- Page 5 As illustrated, place the On-Lap Monitor on Stand Bricks It is recommended that you place the ver cal standing On-Lap Monitor to the right II. Note: Center the On-Lap Monitor for close fi ng with side of the laptop for a be er viewing angle. As illustrated, connect the USB power Stand Bricks II.
- Page 6 2. Rotate the On-Lap Monitor clockwise so that it is parallel to the laptop, open the laptop monitor and the On-Lap Monitor at the same me, as illustrated. 3. Adjust the angle of the On-Lap Monitor. A recommended angle is between 180° Fig.: Moun ng the Holder Plate and 225°.
- Page 7 Remove the On-Lap Monitor from the laptop. As illustrated, rotate clockwise and open the On-Lap Monitor, press down on the 1. Ini al use: when the On-Lap’s USB power cable is connected to a 5V DC power posi oning clip, and pull forward the On-Lap Monitor along the Holder Plate to source, On-Lap will automa cally switch on.
- Page 8 This se ng requires the conversion cable from the Digital AV adaptor to HDMI Resolu on se ng– Windows XP system connector to connect with the digital video cable of On-Lap ; or use the Mini Display- Port- USB power cable available for purchase from GeChic.] ● Click on Start ●...
- Page 9 If user’s digital camera, smartphone, or other devices support DVI output, then it can be used with On-Lap [Note: Actual result depends on product video signal output format and use, not all prod- ucts can make On-Lap display full screen.] Before using digital camera, please purchase 5V portable ba ery, and HDMI to mini- HDMI adapter.
- Page 10 Color Se ng - Brightness ● to launch the OSD panel. Press Note: The hot keys are capaci ve sensing bu ons which are ac vated by gentle touch- ing. Do not press too hard or too fast con nuously. Repeated pressing of a bu on will ●...
- Page 11 6. Image Adjustment: applicable only for VGA input signal ● Press to launch the OSD panel. Scenario Monitor State Displays GeChic protec on ● Press to select , press to enter. System is launched without digital or analog input source screen ●...
- Page 12 Resolu on Display Mode The On-Lap Monitor conforms to VESA DDC standard and supports VESA DDC2. DDC2B is a bi-direc onal data channel based on I C protocol. The host can request EDID infor- ma on over the DDC2B channel. The On-Lap Monitor is able to inform the host system of its iden ty, and depending on the level of DDC used, communicate addi onal infor- ma on about its display capabili es.
Need help?
Do you have a question about the OnLap 1302 and is the answer not in the manual?
Questions and answers