KTM 500 EXC AUS Manuals
Manuals and User Guides for KTM 500 EXC AUS. We have 5 KTM 500 EXC AUS manuals available for free PDF download: Owner's Manual, Setup Instructions
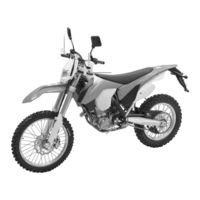
KTM 500 EXC AUS Owner's Manual (136 pages)
2014
Brand: KTM
|
Category: Motorcycle
|
Size: 4 MB
Table of Contents
-
6 Controls
16-
Clutch Lever16
-
Shift Lever20
-
Kick Starter20
-
Side Stand21
-
-
-
Setup Menu25
-
Exc Six Days30
-
Setup Menu33
-
-
-
-
-
Advertisement
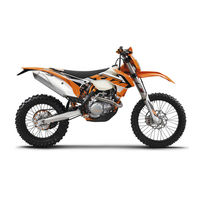
KTM 500 EXC AUS Owner's Manual (136 pages)
Brand: KTM
|
Category: Motorcycle
|
Size: 7 MB
Table of Contents
-
6 Controls
16-
Clutch Lever16
-
Shift Lever20
-
Kick Starter20
-
Side Stand20
-
-
-
Setup Menu25
-
-
-
-
-
-
20 Storage
115 -
22 Blink Code
118

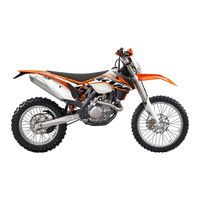
KTM 500 EXC AUS Owner's Manual (119 pages)
Brand: KTM
|
Category: Motorcycle
|
Size: 4 MB
Table of Contents
-
-
Type Label16
-
Key Number16
-
6 Controls
18-
Clutch Lever18
-
Horn Button18
-
Light Switch18
-
Speedometer20
-
Overview20
-
Shift Lever27
-
Kick Starter27
-
Side Stand28
-
-
-
-
-
-
Advertisement
KTM 500 EXC AUS Owner's Manual (122 pages)
2012
Brand: KTM
|
Category: Motorcycle
|
Size: 4 MB
Table of Contents
-
Controls13
-
Clutch Lever13
-
Speedometer16
-
Shift Lever23
-
Kick Starter24
-
Side Stand24
-
-
-
-
-
Silencer X56
-
Brakes67
-

KTM 500 EXC AUS Setup Instructions (31 pages)
Brand: KTM
|
Category: Motorcycle
|
Size: 2 MB
Table of Contents
Advertisement