Daikin Altherma 3 H HT EPRA14-18DV7 Manuals
Manuals and User Guides for Daikin Altherma 3 H HT EPRA14-18DV7. We have 7 Daikin Altherma 3 H HT EPRA14-18DV7 manuals available for free PDF download: Installer's Reference Manual

Daikin Altherma 3 H HT EPRA14-18DV7 Installer's Reference Manual (316 pages)
Table of Contents
-
General10
-
Water13
-
Electrical13
-
Installation17
-
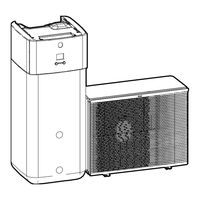
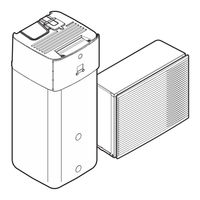
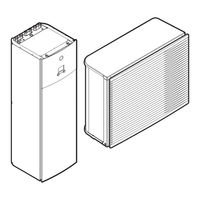
Outdoor Unit22
-
Indoor Unit25
-
Single Room35
-
Running Current122
-
Switch Box124
-
Top Cover124
-
Configuration142
Advertisement
Daikin Altherma 3 H HT EPRA14-18DV7 Installer's Reference Manual (316 pages)
Table of Contents
-
General10
-
Water13
-
Electrical13
-
Installation17
-
Outdoor Unit22
-
Indoor Unit25
-
Single Room36
-
In this Chapter106
-
Running Current126
-
Switch Box128
-
Top Cover128
-
Configuration146

Daikin Altherma 3 H HT EPRA14-18DV7 Installer's Reference Manual (316 pages)
Table of Contents
-
General10
-
Water13
-
Electrical13
-
Outdoor Unit22
-
Indoor Unit25
-
Single Room35
-
Configuration142
Advertisement
Daikin Altherma 3 H HT EPRA14-18DV7 Installer's Reference Manual (312 pages)
Table of Contents
-
General10
-
Water13
-
Electrical13
-
Outdoor Unit21
-
Indoor Unit24
-
Single Room35
Daikin Altherma 3 H HT EPRA14-18DV7 Installer's Reference Manual (308 pages)
Table of Contents
-
General10
-
Water13
-
Electrical13
-
Outdoor Unit22
-
Indoor Unit26
-
Single Room36
-
Configuration138
Daikin Altherma 3 H HT EPRA14-18DV7 Installer's Reference Manual (288 pages)
Table of Contents
-
General10
-
Water13
-
Electrical13
-
Outdoor Unit22
-
Indoor Unit25
-
Outdoor Unit28
-
Single Room34
Daikin Altherma 3 H HT EPRA14-18DV7 Installer's Reference Manual (284 pages)
Table of Contents
-
General10
-
Water13
-
Electrical13
-
Outdoor Unit22
-
Indoor Unit26
-
Configuration123
-
Possible Screens128
Advertisement