Table of Contents
Advertisement
Quick Links
Advertisement
Table of Contents

Subscribe to Our Youtube Channel
Summary of Contents for Lumens dc260
- Page 1 DC260 Visual Presenter Quick Start Guide English -...
-
Page 2: Package Content
1. Package Content DC260 Quick Start Guide User Manual Remote control Base Installation Guide Software Bag VGA Cable USB Cable C-Video Cable Remote Control Microscope Adapter Holder Power Cord Padded Carry Bag RS232 Adapter (Optional) (Optional) Appearance may vary with country/region. -
Page 3: Product Overview
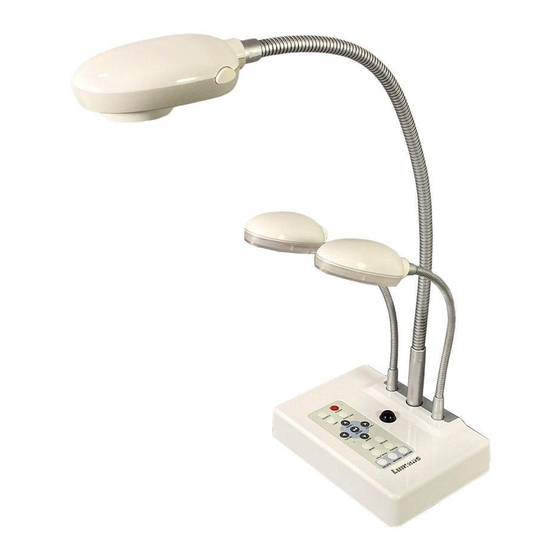
2. Product Overview 4. LED indicator 1. Lamp 3. Control panel 2. Remote sensor 5. Lens 6. DIP switch (Bottom) English -... - Page 4 2.1 Relative Position of the Presenter and DC260 DC260 Presenter Document 2.2 Recommended Distance About 470mm distance between camera and the desktop is recommended. English -...
- Page 5 2.3 Incorrect Use English -...
-
Page 6: System Diagram
3. System Diagram Television Monitor Projector Microphone LCD TV SD Card Speaker English -... -
Page 7: Mounting The Dc260 At Desktop
<Note> Appearance of power cord may vary with countries/regions. 5.2 Step 2: Connecting with components 5.2.1 Connecting to a Projector or Monitor Connect the VGA Out on the DC260 to the VGA IN on the projector or the monitor using the VGA cable. 5.2.2 Connecting to a TV 1. - Page 8 [Source] / [Record] / [Capture] / [Delete] / [PBP] / [Slide Show] functions in C-Video mode. 3. Restart the DC260 DIP Switch setting will not be available until restarting the DC260. 5.2.3 Connecting to a LCD TV/ PDP Using the HDMI cable to connect a LCD TV/ PDP...
-
Page 9: Connecting To A Computer
Connecting to a computer through USB queue Please refer to Connect to USB port then install the supplied program. DC260 user manual 4.6 Installing driver and application queue. 電腦 Connecting to a computer through RS232 (RS232 Adapter is optional) 5.2.5 Connecting to Speaker... - Page 10 5.2.6 Connecting to Microphone Microphone English -...
-
Page 11: Start Using The Dc260
When using the remote control, aim at the receptor on the DC260, and press the power button. Once DC260 is turned on, the LED on the control panel will flash a few times and stay lit. Please contact your distributor if the LED is not <Note>...


Need help?
Do you have a question about the dc260 and is the answer not in the manual?
Questions and answers