Table of Contents
Advertisement
Advertisement
Table of Contents

Related Manuals for Kapture KPT-500


Summary of Contents for Kapture KPT-500
- Page 1 2” Full HD Dash Cam Car DVR with Park Mode USER MANUAL KPT-500...
- Page 3 • Only use the included cables to power and charge the KPT- 500. • Please do not attempt to adjust the KPT-500 position or settings whilst you are operating your vehicle. • Ensure you are using your KPT-500 within your countries’ road laws.
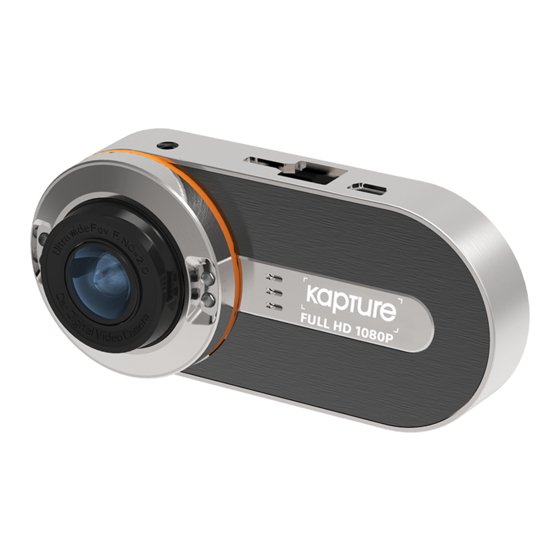
- Page 4 2. Product Details 1. Wide angle Lens 9. Micro SD Card Slot 2. Infrared LEDs 10. MODE Button 3. Speaker 11. OK/Record Button 4. AV Out Port 12. MENU Button 5. Mounting Socket 13. UP Button 6. Mini USB Port 14.
- Page 5 The Auto On/Off feature will power the KPT-500 up and begin recording as soon as it receives power from the USB Mini connection (eg. when you start your car) 4.
- Page 6 OK button. d. The KPT-500 is optimised for Micro SD Cards class 4 and above with a capacity up to 32GB. e. The on board ‘G- Sensor’ registers any activity that could be an accident and saves the footage as a ‘Locked’...
- Page 7 ‘Day’ lighting modes by pushing the DOWN button. 6. Computer Connection: Videos and Photos can be retrieved from the KPT-500 by either connecting the camera directly to your computer using the included Mini USB Cable or by connecting the Micro SD Card using a Micro SD Card adapter (not included).
- Page 8 SETUP menu. 9. Set Loop Recording Your KPT-500 has the ability to record in a Loop mode, which means older blocks of video files will be overwritten once the memory card becomes full. You can set the amount of video block time the KPT-500 will record for before a new video file is started.
- Page 9 Ensure you are not currently recording. If the red circle record indicator is flashing at the top left of the KPT-500’s screen, push the OK button to stop recording. c. Push the MENU button taking you to the VIDEO menu.
- Page 10 If activity is detected, the KPT-500 will record 60 seconds of footage. To set park mode on your KPT-500 follow the directions below: a. Ensure you are not currently recording. If the red record indicator is flashing at the top left of the KPT-500’s...
- Page 11 Ensure you are not currently recording. If the red circle record indicator is flashing at the top left of the KPT-500’s screen, push the OK button to stop recording. c. Push the MENU button taking you to the VIDEO menu.
- Page 12 OK button. Footage can be manually locked by pressing the MENU button protecting it from being recorded over. When the KPT-500 is not recording in this mode, the UP button can be used to quickly mute and un-mute the on board microphone.
- Page 13 WVGA 848x480 space. VGA 640x480 Loop recording Loop Recording’ defines the length of time the KPT-500 Off / 1 Min / records before creating a new 2 Mins / 3 Mins / 5 Mins file. Using the Off setting will...
-
Page 14: White Balance
14. Still • This screen is used to take still photos. • In this screen the down button is used to toggle the Day/ Night lighting mode. 1. STILL Mode 7. Photo Number 2. Exposure 8. Resolution/MP 3. White Balance 9. - Page 15 Menu Select Settings Remark The Sequence setting will set the KPT-500 to take a Sequence Off / On sequence of 3 photos every time the shutter is triggered. Sets the quality of the image. Lower quality images are more Image Quality High quality / Normal / Fine space efficient.
- Page 16 15. Playback In this screen the UP and DOWN buttons are used to navigate your videos and photos, and the OK button is used to play and pause selected videos. 1. PLAYBACK Mode 5. Current Date 2. Video/Photo Name 6. Current Time 3.
- Page 17 Off / 3 mins / 5 mins / powers down (even when the Screen Saver 10 mins screen powers down in screen saver mode the KPT-500 will keep recording). Mute control for key beeps. Beep Sound Off / On Language *Select Language* Select Menu language.
-
Page 18: Product Specification
17. Product Specification 2.7" Screen Lens 120° Imaging Sensor 3.0MP Camera Rotation 180° Minimum Light 1 Lux Video Resolution FHD 1080P / HD 1080P / HD 720P / 480P Video Format .AVI Frames 30 Fps 12M / 10M / 8M / 5M / 2M / 1.3M / VGA Image Resolution Photo Format .JPG... - Page 19 Warranty Terms & Conditions Our goods come with guarantees that cannot be excluded under the Australian Consumer Law. You are entitled to a replacement or refund for a major failure and for compensation for any other reasonably foreseeable loss or damage. You are also entitled to have the goods repaired or replaced if the goods fail to be of acceptable quality and the failure does not amount to a major failure.
- Page 20 www.kapturecam.com.au www.kapturecam.co.nz...
Need help?
Do you have a question about the KPT-500 and is the answer not in the manual?
Questions and answers