Table of Contents
Advertisement
Advertisement
Table of Contents

Related Manuals for Kapture KPT-1240


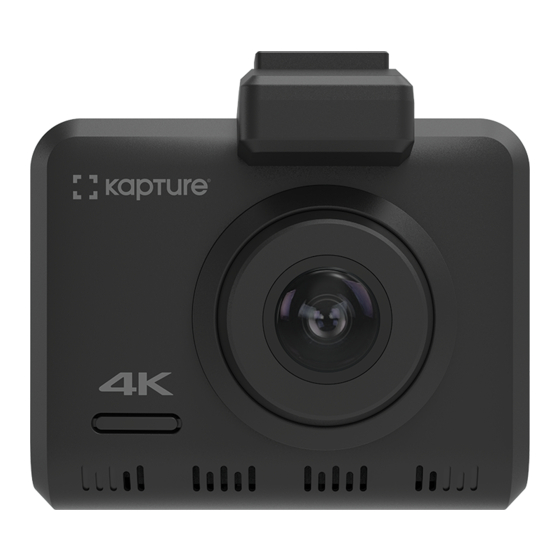
Summary of Contents for Kapture KPT-1240
-
Page 3: Table Of Contents
4.4.3 Rear Camera Features ..........14 CONNECTING TO POWER ............15 LED INDICATOR ................16 POWERING THE KPT-1240 ON/OFF ........... 16 Auto Power On/Off ..............16 Manual Power On ..............17 Manual Power Off ..............17 Reset The Car DVR ..............17 INITIAL SETTINGS ................ - Page 4 REAL TIME ROAD ALERTS ............18 Speed Camera Alert ..............19 Blackspot Alert ................. 19 School Zone Alert ..............19 Railway Crossing Alert ............19 Check speed Alert ..............19 10.0 INTERFACE ..................20 10.1 Video Mode ................20 10.2 Video Menu ................21 10.3 Setup Menu ................24 10.4 Photo Mode ................26 11.0 VIDEO/PHOTO PLAYBACK ............
-
Page 6: Caution
CAUTION • Ensure you are using your Car Dash Cam within your countries’ road laws. Please make sure you are familiar with your local road legislation before use. • Avoid leaving your Dash Cam in direct sunlight for extended periods of time in an unventilated space. •... -
Page 8: Product Information
60°C. • Only use the included cables to power and charge the KPT-1240. • Please do not attempt to adjust the KPT-1240 position or settings whilst you are operating your vehicle. • Please clean the windshield thoroughly removing all dust and dirt particles before fixing the adhesive mount. -
Page 9: Package Contents
• Ensure you are using your KPT-1240 within your countries’ road laws. Please make sure you are familiar with your local road legislation before use. -
Page 10: Product Overview
PRODUCT OVERVIEW Menu/Mode Button 10. Reset Up Button 11. Microphone Lock Recording Button 12. Speaker 4. Down Button 13. Lens Rec/Ok Button 14. Slot for Mount ON/OFF Power Button 15. Cam/Rear Camera In* Micro SD Card slot* 16. LCD Screen 8. -
Page 11: Button Functions And Indicators
BUTTON FUNCTIONS AND INDICATORS Instruction Press to open the Video Mode, Press again to open General Settings Menu. Menu / Mode Button Press and hold to switch between Record, Photo and Playback mode. In the Settings menu use the Up Button to toggle between the settings. -
Page 19: Manual Power On
MANUAL POWER ON Hold the Power button on the lower right hand side of the camera until the Kapture start up screen appears. MANUAL POWER OFF Press the Power button on the lower right hand side of the car DVR. After powering down the device please wait for 10 seconds before turning the Car DVR back on. -
Page 23: 10.2 Video Menu
Loop Off / 3, 5 or 10 Loop Recording defines the Recording Minutes length of time the KPT-1240 records before creating a new file. Using the Off setting will record the longest possible loops under the file size of 1 GB (around 5 minutes). - Page 24 VIDEO MENU CONT' Menu Select Settings Description Exposure -2.0/-1.7/-1.3/- Exposure compensation 1.0/-0.7/-0.3 allows you to adjust and control the level of exposure, /0.0/ when in driving in low light, +0.3/+0.7/+1.0/ the exposure value (such as + +1.3/+1.7/+2.0 1EV, + 2EV) can be increased to highlight the clarity of the picture.
- Page 25 VIDEO MENU CONT' Menu Select Settings Description Date On/Off Turning this setting off will Stamp lead to no date stamp on the recorded video. Default: On GPS Stamp On/Off Turning this setting off will lead to no GPS Coordinates and Speed stamp on the recorded video.
-
Page 26: 10.3 Setup Menu
Menu. Auto LCD Off/1/3/5 Minutes Auto Screen Saver setting determines the amount of time before the display screen turns off. (KPT-1240 will keep on recording even the display is Off). Default: 1 Min Keypad On/Off Mutes Key button beeps. Sound... - Page 27 SETUP MENU CONT' Menu Select Settings Description License Plate Input License Input your car number plate Plate and it will be watermarked on the recorded footage. Up and Down Keys to change input. M Key to select next. OK Key to exit. Alert Speed Camera, To turn on selected alerts.
-
Page 29: Photo Mode
Photo Mode Battery charging status Captured images remaining in memory 8. White Balance Resolution Exposure 4. Picture Sharpness SD Card Menu Select Settings Description Resolution 12 M / 10M / 8M Higher resolution gives your / 5M / 3M / 2M/ Photos more detail but uses 1.3M and VGA more storage space. -
Page 32: 14.0 Warranty Terms & Conditions
14.0 WARRANTY TERMS & CONDITIONS Our goods come with guarantees that cannot be excluded under the Australian Consumer Law. You are entitled to a replacement or refund for a major failure and for compensation for any other reasonably foreseeable loss or damage. You are also entitled to have the goods repaired or replaced if the goods fail to be of acceptable quality and the failure does not amount to a major failure. -
Page 33: 15.0 Notes
15.0 NOTES...
Need help?
Do you have a question about the KPT-1240 and is the answer not in the manual?
Questions and answers