Advertisement
z
Optical VGA/Audio/RS-232
Extender
User's Manual
AVFX-100-TR
Doc No. : OEB-V130903 / Rev1.1
Doc No. : OE-DP130903 / Rev1.1
www.opticis.com
Manual Contents
__________________________________________
Manual Contents
Pictorials
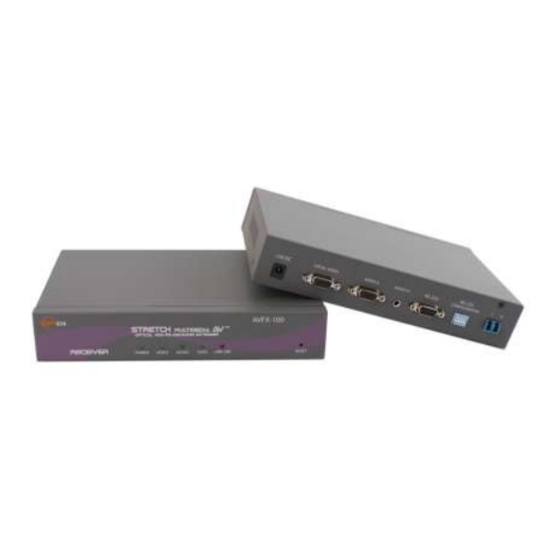
Figure 1 - Overall Digital Video/Audio and Serial I/O
Optical Extender
Figure 2 - Connection of Transmitter Module
Figure 3 - Connection of Receiver Module
Figure 4 - Connection of Duplex LC Optical Fibers
Figure 5 - Connection of AC/DC Power Adaptor
1-0
1-1
1-2
1-3
1-6
1-7
1-8
1-9
1-1
1-3
1-4
1-4
1-5
Advertisement
Table of Contents

Related Manuals for opticis AVFX-100-TR


Summary of Contents for opticis AVFX-100-TR
- Page 1 Optical VGA/Audio/RS-232 Extender Pictorials User’s Manual Figure 1 – Overall Digital Video/Audio and Serial I/O AVFX-100-TR Optical Extender Figure 2 – Connection of Transmitter Module Figure 3 – Connection of Receiver Module Figure 4 – Connection of Duplex LC Optical Fibers Figure 5 –...
- Page 2 Option: Duplex LC Patch Cord (single mode or multi-mode glass fiber). AC/DC Power Adapter Technical Advisory The power of AVFX-100-TR is designed to supply to each module of Transmitter and Receiver modules by plugging to each of the power plugs.
- Page 3 Installation Step 4 By the same way as above, connect the Receiver module to the display by Important: Please use the installation procedure below. Improper or no VGA copper cable and to the audio output equipments such as media operation may result if the start-up sequence is not correctly followed. receiver or speaker by audio cable.
- Page 4 RS-232 Baud rate and AUTO Installation Notice: Please DO NOT look directly into the LC receptacles of Transmitter, while it is powered on, although it is regulated strictly enough to operate under the Laser Class 1, classified by CDRH/FDA for eye safety. The baud rate could be installed with DIP switch 1,2,3.(switch 4 is only Auto function) Step 6...
- Page 5 Check if the PC and display are powered on and properly booted. Audio: 3.5mm Stereo audio Jack Reset the AVFX-100-TR using Reset button on Transmitter and Receiver. RS232C: supports D-sub 9 Pin connectors for RS232C. ...
- Page 6 Opticis warrants this Digital Video/Audio and Serial I/O Optical Extender to be free from defects in workmanship and materials, under normal use and service, for a period of one (1) year from the date of purchase from Opticis or its authorized resellers.
Need help?
Do you have a question about the AVFX-100-TR and is the answer not in the manual?
Questions and answers