Table of Contents
Advertisement
Quick Links
Advertisement
Table of Contents

Related Manuals for Genexis DRG488


Summary of Contents for Genexis DRG488
- Page 1 DRG488 User manual...
- Page 3 Content DRG488 overview Installation of the DRG488 Connecting the DRG488 Box content: • DRG488 product • Four (4) self-adhesive footpads • Two angle brackets • Six (6) screws • Power adapter • DRG488 user manual...
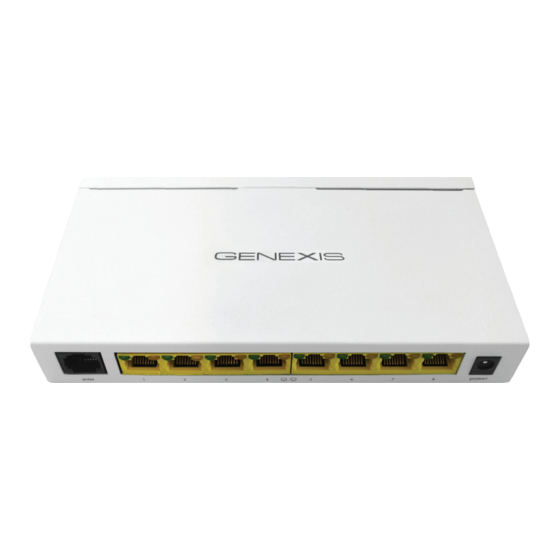
- Page 4 1. DRG488 overview User interfaces Interface Description WAN port Ethernet LAN ports Power connector SFP port LAN LEDs Power LED Uplink LED Reset pinhole LED & button functionality Reset Button Description Activity Description Reboot Press reset button for less than...
- Page 5 If in a closet, ensure there is ade- quate airflow. Step 2: Placement options The DRG488 installation kit provides parts that allow you to place the DRG in various locations. Select the procedure best suited to your operating environment:...
- Page 6 Drill the necessary holes in the wall for sup- Attach both angle brackets to the screw holes porting the DRG. The fixing-screw positions on the side of the DRG488, using the supplied are shown below. A drilling template is pro- screws.
- Page 7 Using the SFP fiber uplink Note: Use a fiber patch cable to connect the DRG488 to If the power LED does not light up and there the broadband network by gently pushing the fiber is no obvious problem, please contact the connector into the ‘SFP’...
- Page 8 Europe-EU Declaration of Conformity Hereby, Genexis BV declares that this product is in compliance with the essential requirements and other relevant provisions of Directive 1999/5/EC. Copyright © Genexis BV 2014 rev.1...
Need help?
Do you have a question about the DRG488 and is the answer not in the manual?
Questions and answers