Table of Contents
Advertisement
Scan for video instructions
IMPORTANT:
KEEP THIS BOOKLET IN THE PLACE PROVIDED ON THE CHILD RESTRAINT
Instructions for Installation & Use - Series No. 8300/A/2013
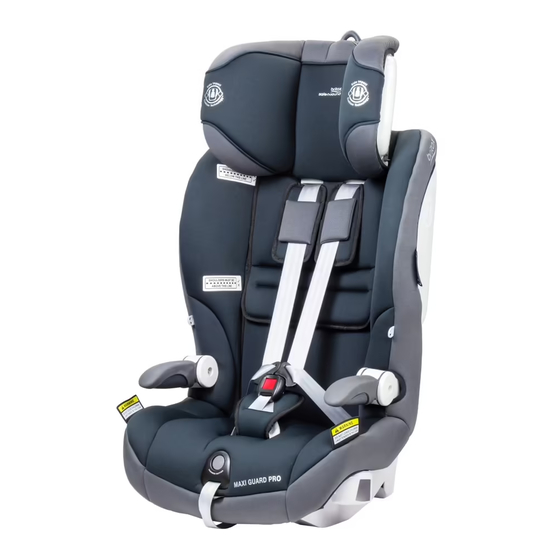
MAXI GUARD SICT
HARNESSED CAR SEAT
Instructions for Installation & Use
Series No. 8300/A/2013
™
FORWARD
FACING
6 months to
8 years (approx)
Advertisement
Table of Contents

Related Manuals for Britax MAXI GUARDSICT8300 A 2013 series


Summary of Contents for Britax MAXI GUARDSICT8300 A 2013 series
- Page 1 MAXI GUARD SICT ™ HARNESSED CAR SEAT Scan for video instructions Instructions for Installation & Use Series No. 8300/A/2013 FORWARD FACING 6 months to 8 years (approx) IMPORTANT: KEEP THIS BOOKLET IN THE PLACE PROVIDED ON THE CHILD RESTRAINT Instructions for Installation & Use - Series No. 8300/A/2013...
- Page 2 SEATBELT QUICK SETUP SEATBELT QUICK SETUP Instructions for Installation & Use - Series No. 8300/A/2013 Instructions for Installation & Use - Series No. 8300/A/2013...
- Page 3 INTRODUCTION INTRODUCTION Chỉ được sử dụng ở vị trí hướng mặt về phía trước cho em nào có vai ở trên vạch ghi độ cao của To be used only in a forward-facing position by a child whose shoulders are above the lower shoulder vai ở...
- Page 4 INTRODUCTION INTRODUCTION 肩膀超过靠下肩高标记的婴儿(大约6个月的宝宝)只采用前向式安装,直到儿童肩膀达 के व ल उस शिशु द् व ारा मात् र सामने की दिशा की स् थ िति मे ं प् र योग किया जाना चाहिए जिसके कन् ध े कन् ध े के निचले भाग से ऊपर आ गए 到靠上的肩高标记(大约8岁的儿童)。...
- Page 5 Carefully read all the instructions for installation in this book. If in doubt about the method of installation, HOW TO INSTALL consult Britax or agent or a child restraint fitter or, in New Zealand, to consult the agent for the vehicle. THIS RESTRAINT MUST BE ATTACHED TO A CHILD RESTRAINT UPPER ANCHORAGE POINT IN THE CAR.
- Page 6 IMPORTANT : • Fit the restraint firmly to the car seat. • Regularly check the restraint components, straps and other fitments for correct function and condition. • Fit the harness firmly to the child. Seek prompt repair. • A loose restraint or harness is dangerous. •...
-
Page 7: Shoulder Height Markers And A Growing Child
Front of Vehicle From approximately 6 months of age to approximately 4 years of age. However, Britax recommends that you keep your child in a rearward facing restraint for as long as possible (up to approx 12 months). Change to the next type of booster seat or vehicle seatbelt when shoulders reach the upper shoulder Marker A height marker when the headrest is in the highest position. -
Page 8: Shoulder Height Markers
SHOULDER HEIGHT MARKERS SHOULDER HEIGHT MARKERS AND THE NEXT SEAT Next type of restraint that can be used in the car for your child. IMPORTANT: Follow this advice. When your child has outgrown the seat, you can then either use: Marker A Smaller Toddler - LOWER SHOULDER HEIGHT MARKER Use a booster seat suitable for children up to 8-10 years of age and a The child’s shoulders must be... -
Page 9: Special Features
SPECIAL FEATURES SPECIAL FEATURES 17 21 Harness Tongues Harness Buckle 16. Path for the car's Lap-sash seatbelt or lap only seatbelt 17. Car's Upper Anchorage fitting 18. Top Tether Strap Adjuster 19. Top Tether Storage Pocket (attached to cover) 1. AHR Easy Adjust Headrest Lever 9. -
Page 10: How To Install
If the car seatbelt does not remain firm in everyday use, then contact the retailer, or Britax Safe-n-Sound customer service for a gated 3-bar slide (order No. 0215). Slot Anchor plate Ensure that the child restraint is not over reclined. - Page 11 Some vehicle seat fabrics (particularly velours) may be damaged by a child restraint used continuously. Anchorage Point anchorage point making sure to remove as We recommend the use of the Britax Safe-n-Sound™ Messy Mat or other protection under and behind many twists as possible. the seat to keep the vehicle seat in good condition.
- Page 12 HOW TO INSTALL HOW TO INSTALL TO REMOVE RESTRAINT FROM VEHICLE G. Pull the top tether adjustment strap (C) to remove any slack but do not tighten. A. Disengage seatbelt tongue from buckle and Always secure the loose end of the top tether remove from restraint.
-
Page 13: How To Use
HOW TO USE HOW TO USE ADJUSTING SHOULDER HARNESS STRAP HEIGHT ADJUSTING AHR EASY ADJUST™ HEADREST AND HARNESS STRAP HEIGHT Correct fitment of the harness is very important as it restrains the child in the restraint. The harness must fit firmly around the upper A. - Page 14 HOW TO USE HOW TO USE C. Release the AHR Easy Adjust Headrest B. Fit either harness buckle tongue into the harness buckle Tongue Lever so that it locks into position. Ensure followed by the other tongue. A click is heard when the Lift the lever that it has locked in position by gently last tongue is fully engaged.
-
Page 15: Care And Maintenance
If the harness buckle cannot be returned to its original machine washable (gentle cycle), cold water only, rinse well and dry on a flat surface. Do not tumble dry, working condition then contact BRITAX Customer Service for bleach or dry-clean. - Page 16 Lift elastic over headrest wings while peeling away headrest cover. water and gently remove. VERY IMPORTANT : Peel headrest Only replace the cover with BRITAX Safe-n-Sound cover over supplied replacement cover with identical shoulder headrest wings height markers or a replacement cover meeting AS/NZS 8005.
- Page 17 CARE & MAINTENANCE CARE & MAINTENANCE TO REPLACE COVER: E. Unhook the elastic loops at the bottom of the Unhook the elastic loops at the Attach the elastic loops at the restraint located under the front of the restraint, back of the restraint back of the restraint A.
-
Page 18: Accessories & Features
If an aftermarket accessory is used that is not recommended by Britax Safe-n-Sound then ensure that the accessory is for this restraint and compliant with AS/NZS 8005 and stated as suitable for use with this child restraint. - Page 19 ACCESSORIES & FEATURES ACCESSORIES & FEATURES EZ BUCKLE SYSTEM (WHERE FITTED) MESSY MAT™ SEAT PROTECTOR INSTRUCTIONS (IF SUPPLIED) EZ Buckle system retains the harness buckle in a forward position and Short Messy Mat™ Long Messy Mat™ Place ribbed or pocket end of the prevents the child from sitting on the buckle when boarding.
-
Page 20: Installation Of Car's Upper Anchorage Point
Some vehicles may have an anchor fitting fitted by the vehicle manufacturer. If Length 300mm (Use Britax Safe-n-Sound part 0035). anchorage points cannot be found refer to car manufacturer or local child restraint fitting station or traffic Length 600mm (Use Britax Safe-n-Sound part 0036). - Page 21 CAR INSTALLATION ACCESSORIES inspection to find the best, correct position for the placement of structure (From retailers of Britax Safe-n-Sound products) the upper anchorage point, and for the correct attachment bolt Reinforcing length and use of spacers. In New Zealand, consult the agent EXTRA ANCHOR KITS: Available for using the restraint in additional cars.
-
Page 22: In Case Of Crash
To assist you in making an accident insurance claim cut the following statement and The Britax Safe-n-Sound Crash Exchange Program is a voluntary program designed to ensure that our include it with your claim. children are safe and that any seat that may have experienced a severe crash is taken out of the market. - Page 23 The BRITAX Safe-n-Sound trademark is the property of Britax Childcare Holdings Ltd, UK. We reserve the right to alter this product without notice. © 1995-2014 Britax Childcare Pty. Ltd. This product is covered by Australian and overseas patent applications. Part No.2201483/B...
Need help?
Do you have a question about the MAXI GUARDSICT8300 A 2013 series and is the answer not in the manual?
Questions and answers