QOLSYS IQ PANEL Quick Install Manual
Hide thumbs
Also See for IQ PANEL:
- Installation manual (112 pages) ,
- User manual (31 pages) ,
- Quick install manual (2 pages)
Advertisement
Quick Links
IQ PANEL QUICK INSTALL GUIDE
INCLUDED IN BOX
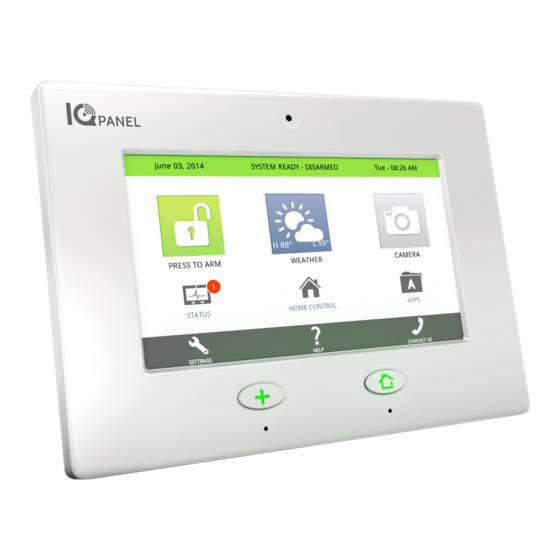
IQ Panel
12v Power Supply
Step 1
Step 2
Remove retainer screw
Pull back plate off
from panel top
gently
WARNING: DO NOT CONNECT TO A RECEPTACLE CONTROLLED BY A SWITCH OR HIGH VOLTAGE
Adding Security
or Image Sensors
Settings
(default passcode is 1111)
Adding
Z-Wave Devices
Settings
Settings
System Settings
Select the desired network.
Enter Wi-Fi password if required.
FOR MORE DETAILED INSTRUCTIONS REFER TO THE IQ PANEL
INSTALLATION MANUAL ON
IMPORTANT:
Security Signaling Residential Fire Alarm and Security Equipment
ONLY USE
ETL Listed
PROVIDED
Conforms to ANSI/UL Standards
POWER
SUPPLY
Document#: IQPANEL-QG-10-13
Revision Date: 11/4/13
Qolsys Part #: QS-9004-VRZ
Step 3
Step 4
Mount back plate to
Hook panel stabilizer
wall
strap onto back plate
Security
AutoLearn
"Tamper" Sensor
Installation
Sensors
Sensor
Add
Z-Wave
Device
Installation
Devices
Settings
User
Management
Type Name
Type User Code
Select user type
DEALERS.QOLSYS.COM
Qolsys Inc.
QS-9004-VRZ
Conforms to ANSI/UL Std. S985. 1023. & 1635
Certified to ULC Sub. C1023 & ULC Std. S545
Step 5
Step 6
Connect wires.
Connect power supply
DCIN+ to Positive
Positive to +
DCIN- to Negative
Negative to -
NOTE: Image Sensors are placed in
"pairing mode" by removing and
replacing the batteries or pressing
the button inside the hole on the
front of the sensor.
by opening case
NOTE: If the device does
not learn in you may need
to "Delete Device" first.
See installation manual
Press "Learn" button
Touch "Pair"
on device
Apps
Photo
Frame
Photo Frame App
Qolsys Inc. proprietary. Reproduction without permission is not permitted.
SUPPORT
GOT QUESTIONS?
?
CONTACT TECH SUPPORT
!
TechSupport@Qolsys.com
Step 7
Step 8
Plug in power supply
Connect battery
and secure with
NEVER DISCONNECT
AFTER INSTALLATION
retaining screw
OK
Make adjustments
as needed
for detailed steps
Make adjustments
as needed
Insert SD Card in slot on
back.
Photos must be less than 1MB in size
and saved in "DCIM" or "Photos" folder
CAUTION
DO NOT
!
DISCONNECT
BATTERY
Disconnecting the battery may
result in data corruption, panel
failure, and a void of warranty.
Step 10
Step 9
Tilt panel upward onto
Replace retainer screw
and tighten
back plate until it snaps
in place
Repeat this process with
Touch Add
each additional sensor
Repeat this process with
Touch Pair
each additional device
Touch "Load from SD Card"
Replace all or add to library
Edit photo frame settings
Test Photo Frame
Advertisement

Related Manuals for QOLSYS IQ PANEL


Summary of Contents for QOLSYS IQ PANEL
- Page 1 IQ PANEL QUICK INSTALL GUIDE INCLUDED IN BOX SUPPORT CAUTION FOR MORE DETAILED INSTRUCTIONS REFER TO THE IQ PANEL INSTALLATION MANUAL ON DEALERS.QOLSYS.COM DO NOT IMPORTANT: GOT QUESTIONS? Security Signaling Residential Fire Alarm and Security Equipment ONLY USE DISCONNECT ETL Listed...
- Page 2 ALL IN ONE. ALWAYS CONNECTED PANEL CDMA CELLULAR SMART TILT SOCKET Z-Wave Outlets with Always know when Energy Reporting your garage is open...
Need help?
Do you have a question about the IQ PANEL and is the answer not in the manual?
Questions and answers