Table of Contents
Advertisement
Installation and Operating Instructions
Read this entire manual before you install and use your new room heater. If this room heater is
not properly installed, a house fire may result. To reduce the risk of fire, follow the installation
instructions. Failure to follow instructions may result in property damage, bodily injury, or
even death.
Contact local building officials about restrictions and installation/inspection-requirements
in your area.
MORSØ JERNSTØBERI A/S . DK-7900 NYKØBING MORS
E-Mail: stoves@morsoe.com · Website: www.morsoe.com
A French version of the manual can be downloaded at www.morsona.com
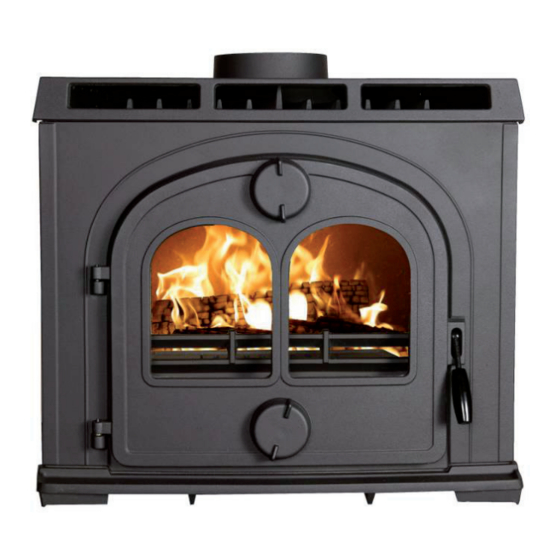
1710 Insert
For use in North America
Save these instructions
1
Advertisement
Table of Contents

Related Manuals for Morso 1710 Insert


Summary of Contents for Morso 1710 Insert
-
Page 1: Installation And Operating Instructions
Installation and Operating Instructions 1710 Insert For use in North America Read this entire manual before you install and use your new room heater. If this room heater is not properly installed, a house fire may result. To reduce the risk of fire, follow the installation instructions. -
Page 2: Table Of Contents
July 1, 1990 Before you start firing Lighting and loading intervals The Morsø 1710 Insert have been tested by OMNI-Test Laboratories, Inc. The test standards are ANSI/UL-1482 for the United States and ULC S627 for Canada. Maintenance Exterior maintenance The stove is listed for burning wood only. -
Page 3: Installation Of Your Morsø Stove
There are numerous ways of building a chimney. We will just describe a couple of mountings of the insert. The MORSØ 1710 insert can be installed as described below. The 1710 can also be used as a build-in stove with masonry/chimney construckted for the size of the outer c. -
Page 4: The Chimney / Flue System
1.1 The chimney / flue system material until the bottom becomes horizontal. It is an advantage to fasten the box by two screws Wall Note that the flue system must be independently secured and must not rely on the stove for drilled through the bottom 2-3 cm. -
Page 5: Flue Connection
1.2 Flue Connection The stove is supplied from the factory with a flue collar fitted to the top plate. The flue collar is from the factory prepared for fitting the enlosed 6 inche adapter. Use a 24 MSG black or blue chimney connector or listed double wall chimney connector. Refer to local codes and the chimney manufacturer’s instructions for precautions required for passing a chimney through a combustible wall or ceiling. -
Page 6: Positioning The Stove
1.4 Positioning the stove Note: Acid Protection CLEARANCE TO COMBUSTIBLE SURFACES REQUIREMENTS: If acid-washing the masonry around the stove, protect the stove surface with an acid-proof The floor in front of the fireplace requires thermal projection of 1 inch (25 mm) thick muneral cover fiber millboard with a value ofk=84 BYU/IN FT²... -
Page 7: Operation
n principle 2.0 Operation Your stove has four air supplies: Primary air is controlled by the upper air controler of the door. The air eventually washes at high 2.1 Before you start firing speed down the back face of the door glass. This super-heated air helps with the combustion of volatile gases produced by the fire. - Page 8 10. A new charge of wood can be added by 9. Once the new fuel has taken, adjust the 4. After the paper/fire lighters have 3. Fully open the upper air controler so repeating steps 6 & 7. primary air amount to the desired setting; caught fire, leave the fire door ajar about that the primary air supply can enter the 1 inch, so that the chimney draws well...
-
Page 9: Maintenance
Reasons for dirty glass Draft conditions · Fuel too wet If smoke or fumes come out of your stove when lightning up and reloading, or if the fire simply · Logs too large or not split will not respond, a poor draft is almost certainly to blame. (In a very few cases, there may be ·... -
Page 10: Cleaning The Stove And The Flue
6. Finally, give each of the bolts an extra half turn or so. The glass should held tight enough by that A good routine is to clean the flue after each heating season in any case, and inspect prior to the cleaning will not dislodge it. -
Page 11: Leaving The Stove For Extended Periods
If you do experience a chimney fire, act promptly and: 3.5 Parts diagram for the model Morsø 1710 Insert Close the air control. Get everyone out of the house. Call the Fire Department. Annual maintenance Before the heating season, perform a thorough cleaning, inspection and repair: Thoroughly clean the chimney and chimney connector. -
Page 12: Parts List
3.6 Parts list for the model Morsø 1710 Insert 3.6 Parts list for the model Morsø 1710 Insert Pos.No. Parts Pos.No. Parts Door 44160321 Screw Front grate 44161200 Washer Air Conductor 44161300 Screw Attachment for front grate 44161400 Screw Draft Reducer... - Page 13 Morsø Jernstøberi A/S - 19.08.2013 - 72170200...
Need help?
Do you have a question about the 1710 Insert and is the answer not in the manual?
Questions and answers