
Related Manuals for Griven KALEIDO GR 0410 MSD 575 W


Summary of Contents for Griven KALEIDO GR 0410 MSD 575 W
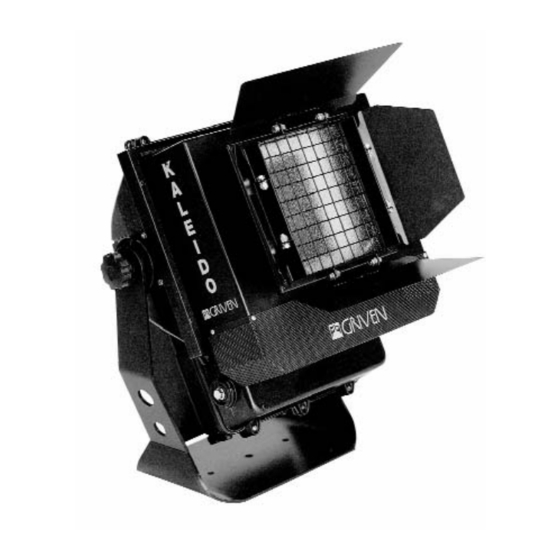
- Page 1 Foglio di Istruzioni Instructions KALEIDO GR 0410 MSD 575 W FI-0410 Rev. 02 27.09.06...
-
Page 2: Table Of Contents
INDICE INDICE Pag. 1.0 CONTENUTO DELL’IMBALLAGGIO 2.0 SICUREZZA 3.0 INSTALLAZIONE DEL PROIETTORE 3.1 Montaggio della Lampada 3.2 Posizionamento del Proiettore 3.3 Installazione 3.4 Installazione del Paraluce 3.5 Collegamento elettrico 3.6 Lettura del Display ed uso dei comandi 4.0 USO DEL PROIETTORE 4.1 Funzionamento con DMX 4.2 Funzionamento in automatico 4.3 Master-Slave... -
Page 3: Contenuto Dell'imballaggio
1.0 CONTENUTO DELL’IMBALLAGGIO Controllate attentamente il contenuto del cartone e, in caso di danni al prodotto, contattate il Vs. trasportatore. Nell’imballaggio del presente proiettore sono contenuti i seguenti prodotti: n° 1 Foglio di Istruzioni n° 1 proiettore Kaleido n° 2 spine XLR 3 poli (1 maschio+1 femmina); 2.0 SICUREZZA Prima di effettuare qualsiasi operazione sul proiettore, sconnettere fisicamente la linea di alimenta- zione staccando la spina (ad esempio durante la sostituzione della lampada). -
Page 4: Posizionamento Del Proiettore
3.2 Posizionamento del proiettore Kaleido è dotato di una forcella con base d’ appoggio (fig.1), che permette una stabile collocazione a terra. Per qualsiasi tipo di installazione, si rac- comanda di non capovolgere mai il proiettore; questo è possibile perchè la staffa di sostegno può... -
Page 5: Lettura Del Display Ed Uso Dei Comandi
3.6 LETTURA DEL DISPLAY ED USO DEI COMANDI Il colore del led indica lo stato del proiettore. La luce verde indica lo stato operativo. La luce rossa indica lo stato di impostazione o modifica. Quando il proiettore è in stato operativo il display indica il numero dell’indirizzo DMX del proiet- tore (001 fino a quando non verrà... -
Page 6: Uso Del Proiettore
4.0USO DEL PROIETTORE 4.1 Funzionamento con DMX Il proiettore KALEIDO per poter funzionare con una centralina DMX deve essere settato in MASTER OFF. Per far questo agite sul pulsante Select, quando sul display compare la scritta 1.ON premere il tasto (+) oppure (-) per ottenere la scritta 1.OF. A questo punto premete (ENTER) ed il proiettore è... -
Page 7: Funzionamento In Automatico
4.2 FUNZIONAMENTO IN AUTOMATICO Il proiettore KALEIDO per poter funzionare in modo automatico deve essere settato in MASTER ON. Per far questo agite sul pulsante Select, quando sul display compare la scritta 1.OF premere il tasto (+) oppure (-) per ottenere la scritta 1.ON. A questo punto premete (ENTER) ed il proiettore è... -
Page 8: Master-Slave
4.3 Master-Slave E’ possibile settare più proiettori KALEIDO in modalità Slave per fare in modo che seguano il programma eseguito da un proiettore Master. Il proiettore Master deve essere settato in Master ON, i proiettori Slave in Master Off (con indirizzo 1 e le opzioni 2, 3 e 4 in OFF). Slave Slave Slave... -
Page 9: Informazioni Tecniche
6.0 INFORMAZIONI TECNICHE KALEIDO MSD 575 W Dimensioni max di ingombro L490 x P365 x H535 proiettore Dimensioni max di ingombro L490 x P500 x H535 proiettore + paraluce a 4 alette Peso proiettore Materiale della carcassa Alluminio e acciaio galvanizzato T ensione nominale Frequenza nominale 50/60... -
Page 10: Packing
1.0 PACKING Check carefully the content of the box and in case of damage contact your forwarder immediately. The following items are included in the box: n° 1 instructions leaflet; n° 1 KALEIDO unit; n° 2 XLR 3 poles plugs (1 male + 1 female); 2.0 SAFETY Disconnect the lantern from mains supply before servicing the unit or replacing the lamp. -
Page 11: Mounting Position
3.2 Mounting position KALEIDO is fitted with a support base which allows a steady position on the floor or attached to a trussing system. The KALEIDO unit must not be hung upside down; Both fixing yoke and support base allow a complete movement of 180° to help easy installation. -
Page 12: Display And Control Panel Use
3.6 DISPLAY AND CONTROL PANEL USE The led colour indicates the projector mode. The green led indicates the operating mode. The red light indicates the setting or the zapping mode. When the projector is in the operating mode the display indicates the projector DMX addressing number, which is 001 when the unit leaves the factory. -
Page 13: Use Of The Lantern
4.0 USE OF THE 4.1 DMX function 4.1 DMX function To access the unit through a DMX controller KALEIDO must be set to MASTER OFF. Push SELECT; when 1.ON is displayed push (+) or (-) to obtain 1.OF. Now press ENTER. The unit is set to MASTER OFF. -
Page 14: Automatic Mode
4.2 AUTOMATIC MODE KALEIDO has to be set to MASTER ON to be accessed in automatic mode: push. (SELECT), when 1.OF is displayed push (+) or (-) to obtain 1.ON. Now press (ENTER) . The unit is set to MASTER ON. The unit starts working in automatic mode and is ready for the programming pro- cedure. -
Page 15: Master-Slave
4.3 Master -Slave More KALEIDO units can be set to ‘SLAVE’option to follow the ‘MASTER’ unit in synchrony. The ‘MASTER’ unit must be set to MASTER ON; the ‘SLAVE’ units must be set to ‘MASTER OFF’(with address number 1 and options 2,3 and 4 set to OFF). Master Slave Slave... -
Page 16: Technical Information
6.0 TECHNICAL INFORMATION KALEIDO MSD 575 W L490 x P365 x H535 Size L490 x P500 x H535 Size with 4-leaf barndoor Weight Body Aluminium and galvanised steel body Operating Voltage Operating Frequence 50/60 Operating Amperage Power Absorbed Suggested Lamp MSD 575 W Socket GX 9,5 Optic Sistem... - Page 20 WORLD LIGHTING CHALLENGE Professional Lighting Manufacturer Via Bulgaria, 16 - 46042 CASTEL GOFFREDO (MN) Telefono 0376/779483 - Fax 0376/779682 - 0376/779552 http://www.griven.com/ e-mail griven@griven.com http://www.griven.it/ e-mail griven@griven.it...
Need help?
Do you have a question about the KALEIDO GR 0410 MSD 575 W and is the answer not in the manual?
Questions and answers