Table of Contents
Advertisement
Quick Links
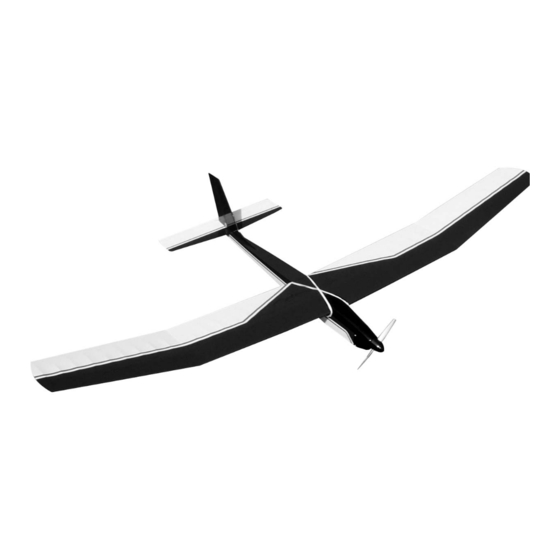
Electra ARF
The
sailplane was designed to be a gentle trainer for the beginning R/C modeler, yet possess an electric motor to so
that it can be flown almost any where.
thermals) so that long flight times are easily achieved.
Electra ARF
mal. . The
through these instructions and familiarize yourself with this booklet.
If this is your first electric plane, then you will need make a decision. Do you want to turn on the motor and fly till the bat-
tery runs out of power (2 channel radio required)? Or do you want to use an electric speed control that will let you stop and
start the electric motor when you want too (3 to 4 channel radio required). Both methods are included in this booklet. You
will need to do some soldering of wires but the Electra ARF will perform great either way you build it.
While this aircraft is an excellent first choice for novice pilots, a radio-controlled model is not a toy and is not intended for
persons under 16 years old. Keep this kit out of the reach of younger children, as it contains parts that could be danger-
ous. A radio-controlled model is capable of causing serious bodily injury and property damage. It is the buyer's respon-
sibility to build this kit correctly and to properly install the motor, radio, and all other equipment. Test and fly the finished
model only in the presence and with the assistance of another experienced R/C flyer. the model must always be operat-
ed and flown using great care and common sense, as well as in accordance with the Safety Code of the Academy of
Model Aeronautics (5151 Memorial Drive, Muncie, IN 47302), 1-800-435-9262). We suggest you join the AMA and
become properly insured prior to flying this model. Also, consult with the AMA or your local hobby dealer to find an
experienced instructor in your area. Per the Federal Communications Commission, you are required to use only those
radio frequencies specified "for Model Aircraft".
CARL GOLDBERG PRODUCTS, LTD.
'Copyright 2003
Electra ARF
Electra ARF
has good penetration into the wind and can really "cruise" when desired. Before starting to build, read
P.O. Box 818 Oakwood, GA 30566 Phone # 678-450-0085 www.carlgoldbergproducts.com
is a very efficient machine, she reacts quickly to rising air ( called lift, or
can circle very tightly without falling off so stay in the ther-
WARNING
ARF
Advertisement
Table of Contents

Related Manuals for Carl Goldberg Products Electra


Summary of Contents for Carl Goldberg Products Electra
- Page 1 (3 to 4 channel radio required). Both methods are included in this booklet. You will need to do some soldering of wires but the Electra ARF will perform great either way you build it.
-
Page 2: Limited Warranty
“servo reversing” switches which allow you to reverse the response of the servo. This simplifies radio installation and is Carl Goldberg Products takes pride in the care and attention worth considering. Exponential or dual rates are popular features given to the manufacture of components for its model airplane which , if used properly, can help smooth out the flight of a sen- kits. -
Page 3: Parts Identification
You will need a area approximately 18” x 80” in order to build (2) Pushrod Connectors the Electra ARF. Place a sheet of waxed paper or plastic kitchen (1) Wood wing Joiner wrap over the work area to prevent CA from sticking to your table. - Page 4 Spread the epoxy in the joiner pockets and in the dowel hole and spread a thin layer of epoxy along one side of the entire center joint area. Immediately proceed to the next step. Working rapidly, so that the epoxy does not set before you are finished, slide the wing joiner into Trial fit the stab in place on the fuselage.
-
Page 5: Fin Assembly
Remove the stab from the fuse and, working 1/4" Remove the rudder from the fin and set to the side. inside the drawn lines, carefully remove the cover- ing from the bottom of the stab. BE CAREFUL TO AVOID CUTTING THE WOOD Mark the center of the elevator and remove the ele- vator from the stab Spread epoxy on both the bottom of the stab and... -
Page 6: Mounting Rudder And Elevator
Installing the Radio Use masking tape to secure the fin and triangle in position until the epoxy is thoroughly dry. Make sure not to glue the triangle! Collect the following items: Mounting Rudder and (2) Servos with screws(Supplied with Radio) (2) Servo Arms Elevator (1) fuselage... - Page 7 This will allow you to run the motor till the battery runs out of power. 20 Amp Fuse Here Your Electra ARF comes with a 20 amp fuse in the wire that runs from the battery plug and the motor. This fuse will prevent the motor from...
-
Page 8: Safety Precautions
We will be showing the installation of Great BATTERY HAZARD! Planes ElectriFly C-30 Mini ESC. Follow the The battery size used to power the Electra ARF motor instructions that come with your speed control stores a lot of electrical energy. Be careful to prevent shorting it out. - Page 9 Radio Layout Installing Cowl and Prop #4 SET SCREW LARGE WASHER Thread a #4 socket set screw in the prop mount and turn a few times. Open the spinner supplied by carefully insert- ing a small screwdriver straight into each of the slots.
- Page 10 ALLEN WRENCH Warning: A spinning propeller can cause injury. Wear safety glasses and operate away from spectators. Align the spinner cone with the prop/backplate and press pins firmly into the holes. One way to do this is to have the cone pointing downward on a table and press until all pins are seated.
-
Page 11: Radio Check
BALANCING ( Center of Gravity) While the wing is rubber banded in place on the fuselage measure back from the leading edge of the wing 3-1/2” to 3-3/4” to find the center of gravity. With everything installed, mount the wing and carefully check the Center of Gravity (CG). - Page 12 AL ESSENTIAL TO YOUR SAFETY AND THE MAX- When you over-charge a battery, the temperature rises IMUM PERFORMANCE OF YOUR ELECTRA! quickly and there is potential for EXPLOSION, or at Please take the time to read this section very careful- least battery damage (Figure B).
-
Page 13: Battery Equalization
“TREAT YOUR RADIO RIGHT AND IT WILL DO THE SAME FOR YOU!” by Hal deBolt Today's RC systems are very well engineered and constructed. However, they will remain only as good as the way in which they are USED. Always follow the rules of proper usage and all manufacturer's instruc- tions for your particular piece of equipment. -
Page 14: Learning To Fly
FLYING THE ELECTRA snugged down, receiver and battery wrapped in foam LEARNING TO FLY rubber, etc. Prop and spinner must be tight. The receiv- er antenna must be extended, not coiled up inside the Flying R/C is both fun and challenging. As with other model. -
Page 15: Hand Launching
In this amount of time, Electra will gain several hundred feet of altitude and The Electra must be hand launched. This is easy to do, will allow you time to get oriented and familiar with the... - Page 16 Take things slow and easy and you’ll be able to enjoy fly- turn, bringing the plane around until you have it pointed ing your Electra for years to come. directly into the wind. Be patient and keep your glide steady and gentle, with the wings level. 7. A controlled landing into the wind is your prime concern.
Need help?
Do you have a question about the Electra and is the answer not in the manual?
Questions and answers