ACTi ACM-4200 Series Quick Installation Manual
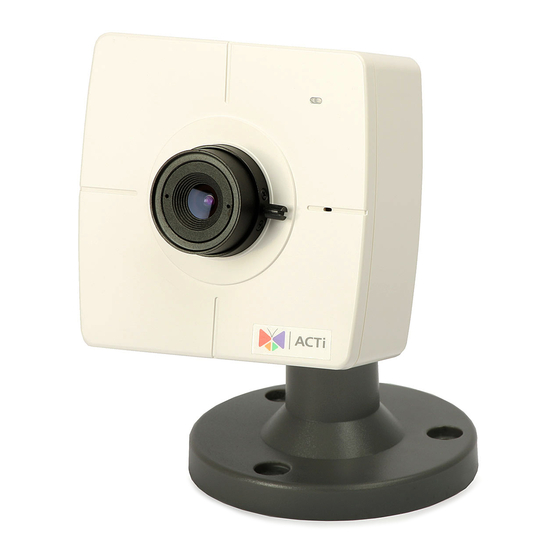
Megapixel ip cube camera
Hide thumbs
Also See for ACM-4200 Series:
- Hardware user manual (13 pages) ,
- Quick installation manual (11 pages)
Table of Contents
Advertisement
Quick Links
Advertisement
Table of Contents

Subscribe to Our Youtube Channel
Related Manuals for ACTi ACM-4200 Series


Summary of Contents for ACTi ACM-4200 Series
-
Page 1: Quick Installation Guide
Megapixel IP Cube Camera ACM-4200 Ver. 090730 Quick Installation Guide... -
Page 2: Getting Started
Getting Started PACKAGE CONTENTS ACM-4200 series Power Adaptor (Option) Product CD Camera Stand Warranty Card Accessory... -
Page 3: Physical Description
PHYSICAL DESCRIPTION Action LED Indicator The LED will light up after IP camera has successfully completed the boot process Built-in Microphone Sensitivity: -42dB ± 3dB(0dB=1V/Pa at 1KHz) S/N Ratio: More than 58dB Directivity: Omni-directional... - Page 4 Power Input Please use power supply of input DC 3.3V only. Reset Button Step 1: Switch off IP device by disconnecting the power cable Step 2: Press and continue to hold the Reset Button. Reconnect the power cable while continuing to hold the reset button. Step 3: Keep holding the reset button depressed around 6 seconds, then release the reset button.
-
Page 5: Basic Connections
BASIC CONNECTIONS Follow the procedures below to connect the IP device to the respective apparatuses. 1. Connect the power adaptor to IP device 2. Connect IP device’s ethernet port to an Ethernet (RJ45 connectors). If your IP device has PoE built-in, you can regard it as a PD and connect it directly to a PSE device like PoE switch. -
Page 6: Quick Tour
Quick Tour This section guides you with a quick tour on this IP device. 2.1 Configure this IP Device 2.1.1 Make sure network environment Default IP of this IP device is 192.168.0.100. Please make sure this IP device and your PC are on the same network segment before running the installation. Please set the settings as below. - Page 7 2.1.2 Open Internal Explorer with IP address NOTE: If your web browser is earlier than IE6, then download IE6 is recommended. NOTE: This IP device default IP address is set to 192.168.0.100 2.1.3 Login with default administrator’s account & password NOTE: Default administrator account is set to Admin, password is set to 123456, and click...
- Page 8 2.1.4 Preview the video 2.1.5 Set the new IP address...
- Page 9 *IP Address : The default IP address is 192.168.0.100. *Subnet Mask : The default subnet mask is 255.255.255.0 *Click button NOTE: In your Client PC, please make sure the setting of Network Connections Type is set to Auto Negotation, since this IP device follows MII standard.
Need help?
Do you have a question about the ACM-4200 Series and is the answer not in the manual?
Questions and answers