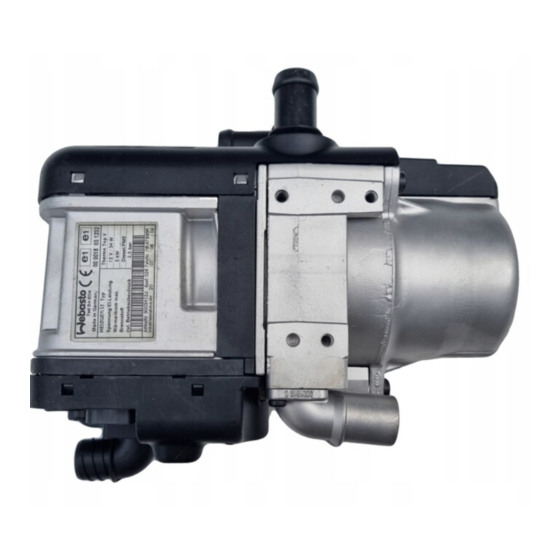
Webasto Thermo Top V Operation And Maintenance Instructions
Mercedes benz m-klasse (br 164) / m class (mr 164) mercedes benz gl-klasse (br 164) / gl class (mr 164) mercedes benz r-klasse (br 251) / r class (mr 251)
Hide thumbs
Also See for Thermo Top V:
- Operating and servicing manual (115 pages) ,
- Workshop manual (46 pages) ,
- Operation and maintenance instructions (38 pages)
Table of Contents

Related Manuals for Webasto Thermo Top V


Summary of Contents for Webasto Thermo Top V
- Page 1 Bedienungs- und Wartungsanweisung Operation and Maintenance Instructions Thermo Top V Mercedes Benz M-Klasse (BR 164) / M Class (MR 164) Mercedes Benz GL-Klasse (BR 164) / GL Class (MR 164) Mercedes Benz R-Klasse (BR 251) / R Class (MR 251)
-
Page 2: Table Of Contents
Content General Information ........15 Maintenance and Safety Instructions . -
Page 3: General Information
Operation and Maintenance Instructions Thermo Top V for Mercedes Benz M, ML, R Class General Information Dear Webasto customer, We assume that the operation of your new heater unit was explained to your complete satisfaction by the Workshop/Service station that installed it. In these operating instructions we would like to give you an overview once again of the use of the Thermo Top V heater unit. -
Page 4: Maintenance And Safety Instructions
Maintenance and Safety Instructions Within the scope of the European Directive 70/156/EWG type approvals have been granted for the Thermo Top V water heating unit in accordance with Directives 2001/56/EG (Heating) and 72/245/EWG (EMC). The unit must be installed in accordance with the accompanying installation instructions. - Page 5 Before using the unit again, have it checked by trained Webasto personnel. • be operated for 10 minutes at least once each month with a cold engine and the lowest blower setting.
- Page 6 Liability Waiver • Not following the installation instructions and the information contained therein release Webasto from liability. This also applies for non-specialist repairs or when original spare parts are not used. This will result in voiding the type approval of the heater unit and consequently the general...
-
Page 7: Heater Unit Operation
Heater Unit Operation According to the equipment fitted, the heater unit can be operated from the vehicle display, by a pushbutton or radio control Telestart. The heater unit can also be operated via the telephone with the Webasto Thermo Call option. NOTE: We recommend that the heating time is adjusted according to the driving time. -
Page 8: Use
With the Webasto Telestart T80, the heater unit can be switched on and off wirelessly at a range of up to 600 m. When switching on and off, the transmitter should be held as high as possible and vertical (see picture). -
Page 9: Programming The Telestart Transmitter
Programming the Telestart Transmitter 1. Place batteries into the battery compartment of the transmitter. 2. Remove fuse 1A (black) from the heater's fuse holder (voltage interruption). 3. Wait at least 5 seconds. 4. Replace fuse in heater's fuse holder and within 5 seconds press the OFF button on the transmitter for at least 1 second. -
Page 10: Switching On The Heater
Switching on the heater Hold the transmitter with the aerial upright and press the ON button until the LED lights up (approx. 1 second). The operation indicator extinguishes: – After the preset operating time has elapsed. – After switching off with Telestart or pushbutton. Switching off the heater Hold the transmitter with the aerial upright and press the OFF button until the LED lights up (approx. -
Page 11: Switching On Via The Vehicle Display
Switching on via the Vehicle Display Press the Menu button on the left of the steering wheel until "Settings" appears. M Models: Press the Menu button again and then with the up/down arrow keys choose the "Heating" menu option. R Models: From the "Settings"... - Page 12 Use the +/- buttons on the right of the steering wheel to select the switch on times and the arrow keys and +/- buttons to program the switch on time(s). Before parking the vehicle, set the following settings: The temperature selection is to be set on both sides to "High“.
-
Page 13: Switching Off Via The Vehicle Display
Switching off via the Vehicle Display The auxiliary heating cannot be switched off via the vehicle display, but only using the pushbutton. If the auxiliary heating is switched on via the vehicle display, the pushbutton does not light. To switch off, press the pushbutton 2x. Indication When the auxiliary heating is switched on with the pushbutton or the Telestart, the pushbutton lights as an indicator. -
Page 14: Battery Change
Battery change See also page 21: Programming the Telestart Trans- mitter. Note Return batteries of our products after use at the point of purchase or in its immediate vicinity. Re- turning them is free. As end user you are legally obliged to return used batteries. -
Page 15: Troubleshooting
If there is a malfunction, the heater unit switches to defect lock mode; there is no error message on the timer display. Before you visit a Webasto Service station, try to clear the defect lock. You can rectify the following faults yourself:... -
Page 16: Fault Reset
The heater unit is fuse (yellow) the left of the fuse (yellow) switched on transmitter Note: The heater unit is switched on when the fuse is replaced. If this action does not correct the fault, please contact a Webasto Service station. - Page 18 Webasto AG Postfach 80 D - 82131 Stockdorf Germany Hotline: +49 (0)1805 - 707 400 (€ 0.14 aus dem deutschen Festnetz) Bei mehrsprachiger Ausführung ist e-mail: kundencenter@webasto.de Deutsch verbindlich. http://www.webasto.com In multilingual versions the German Subject to modification language is binding.
Need help?
Do you have a question about the Thermo Top V and is the answer not in the manual?
Questions and answers