Table of Contents
Advertisement
Quick Links
Download this manual
See also:
User Manual
Quick Guide
XX270-20-00
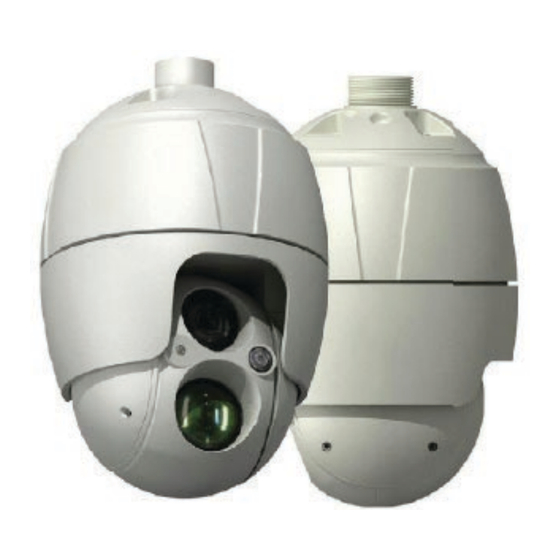
SN680D-WNIR Network
PTZ Dome
Vicon Industries Inc.
Tel: 631-952-2288 Fax: 631-951-2288 Toll Free: 800-645-9116
24-Hour Technical Support: 800-34-VICON (800-348-4266) UK: 44/(0) 1489-566300
Vicon Industries Inc. does not warrant that the functions contained in this equipment will meet your requirements or that the
operation will be entirely error free or perform precisely as described in the documentation. This system has not been designed
to be used in life-critical situations and must not be used for this purpose.
www.vicon-security.com
Document Number: 8009-8270-20-00
Issued: 714
Product specifications subject to change without notice.
Copyright © 2014 Vicon Industries Inc. All rights reserved.
Advertisement
Table of Contents

Related Manuals for Vicon SN680D-WNIR


Summary of Contents for Vicon SN680D-WNIR
- Page 1 24-Hour Technical Support: 800-34-VICON (800-348-4266) UK: 44/(0) 1489-566300 Vicon Industries Inc. does not warrant that the functions contained in this equipment will meet your requirements or that the operation will be entirely error free or perform precisely as described in the documentation. This system has not been designed to be used in life-critical situations and must not be used for this purpose.
- Page 2 WNIR of Camera Dome. This unit should only be installed by a qualified technician using approved materials in conformance with federal, state, and local codes. Read these instructions thoroughly before beginning an installation. Always refer to Vicon’s website to assure you have the most up-to-date manual, www.vicon-security.com.
-
Page 3: Key Features
SN680D-WNIR Quick Installation Guide 1.2 Key Features Brilliant video quality The network camera offers the highly efficient H.264 video compression, which drastically reduces bandwidth and storage requirements without compromising image quality. Motion JPEG is also supported for increased flexibility. -
Page 4: Installation Procedure
SN680D-WNIR Quick Installation Guide 2. Installation 2.1 Installation Procedure An optional mounting kit, either a wall mount (V660-HDB242) or ceiling mount (V660-HDB241), is required to install the dome camera. The wall or ceiling mount must be attached to a structural object such as hard wood or concrete that will support the weight of the mount and dome camera. - Page 5 SN680D-WNIR Quick Installation Guide 1) Installation - Wall Mount A wall mounting plate is supplied with the wall mount; this must be attached to a structural object such as concrete that will support the weight of the mount and dome camera.
- Page 6 SN680D-WNIR Quick Installation Guide 2) Installation - Ceiling Mount The ceiling mounting plate must be attached to a structural object such as concrete that will support the weight of the mount and Dome Camera. 1. Select a suitable mounting location...
-
Page 7: Basic Configuration Of Camera System
SN680D-WNIR Quick Installation Guide 2.2 Basic Configuration of Camera System CONNECTOR COLOR DESCRIPTION DC JACK BLACK 12 VDC Ethernet, RJ-45 port RJ-45 BLACK compatible with 10/100Mbps BLACK AUDIO INPUT GRAY AUDIO OUTPUT GRAY 3P Cable ALARM INPUT BLUE ALARM OUTPUT... - Page 8 SN680D-WNIR Quick Installation Guide 2.3 Connections Connecting the Network Connect a standard RJ-45 cable to the network port of the camera. Generally a cross-over cable is used for directly connection to PC, while a direct cable is used for connection to a hub.
-
Page 9: Network Connection & Ip Assignment
SN680D-WNIR Quick Installation Guide 2.4 Network Connection & IP assignment The network camera is designed for use on an Ethernet network and requires an IP address for access. Most networks today have a DHCP server that automatically assigns IP addresses to connected devices. -
Page 10: Operation
SN680D-WNIR Quick Installation Guide 3. Operation The network camera can be used with Windows® operating system and browsers. The recommended browsers are Internet Explorer®, Safari®, Firefox®, Opera™ and Google® Chrome® with Windows. Note: To view streaming video in Microsoft Internet Explorer, set your browser to allow ActiveX controls. -
Page 11: Access From The Internet
SN680D-WNIR Quick Installation Guide 3.2 Access from the internet Once connected, the network camera is accessible on your local network (LAN). To access the network camera from the Internet you must configure your broadband router to allow incoming data traffic to the network camera. To do this, enable the NAT traversal feature, which will attempt to automatically configure the router to allow access to the network camera. - Page 12 SN680D-WNIR Quick Installation Guide 1) General controls Live View Page Setup Page Help Page The video drop-down list allows the selection of a customized or pre- programmed video stream on the live view page. Stream profiles are configured under Setup > Basic Configuration > Video & Image. For more information, please see “3.5.1 Basic Configuration >...
-
Page 13: Network Camera Setup
SN680D-WNIR Quick Installation Guide 3) Video Streams The network camera provides several images and video stream formats. Your requirements and the properties of your network will determine the type you use. The Live View page in the network camera provides access to H.264 and Motion JPEG video streams, and to the list of available video streams. -
Page 14: Resetting To The Factory Default Settings
SN680D-WNIR Quick Installation Guide 3.6 Resetting to the Factory Default Settings To reset the network camera to the original factory settings, go to the Setup > System > Maintenance web page (described in “3.5.7 System > Maintenance” of User’s Manual) or use the Reset button on the network camera, as described below: ... - Page 15 SN680D-WNIR Quick Installation Guide...
- Page 16 Vicon Industries Inc. Internet Address: www.vicon-security.com...
Need help?
Do you have a question about the SN680D-WNIR and is the answer not in the manual?
Questions and answers