
Subscribe to Our Youtube Channel
Related Manuals for Zodiac PF 11M


Summary of Contents for Zodiac PF 11M
- Page 1 Installation instructions PF 6M-8M-11M-13M-15M Heat pump for swimming pool Réf. : N.C.003.B.EN - Ver. 12-2009...
-
Page 2: Table Of Contents
1. Installation .................... 2 1.1 Generals ......................2 1.1.1 Cautions ........................2 1.1.2 General terms of delivery ................... 2 1.1.3 Storage and transport conditions ................3 1.1.4 Field of application ..................... 3 1.1.5 How it works ....................... 3 1.2 Technical characteristics .................. -
Page 3: Installation
1. Installation 1.1 Generals Carefully read this manual before installing, performing maintenance on or troubleshooting this device! The symbol indicates the presence of important information that must be taken into account to avoid injurying people or damaging the device. The symbol indicates the presence of useful information serving as a guideline. -
Page 4: Storage And Transport Conditions
1.1.3 Storage and transport conditions The appliance must be transported upright on its pallet. 1.1.4 Field of application Exclusive use: heating swimming pool water It must not be used for anything else. 1.1.5 How it works Compressor Water 28 °C Air 15 °C Air 10 °C Water 26 °C... -
Page 5: Operating Conditions
1.3 Operating conditions Operating range: between 5 °C and 38 °C of air temperature between 5 °C and 32 °C of water temperature Maximum temperature limited at 32°C to protect the pool liner. 1.4 Installation Do not pick up the unit by the outside case, use the base to lift the unit. The installation and the hydraulic and electrical connections must be done to standards in force and especially standard NF C 15 100 for France (equivalent to EC I 364). -
Page 6: Installing The Appliance
1.4.3 Installing the appliance installed the 5 anti-vibration studs (supplied, see §1.1.2), put onto a stable, solid (concrete slab type) and level surface, preserve from risks of flooding due to condensation produced by the appliance whilst it is operating (see §1.4.4) Fixing holes Possibility of fixing the appliance to the ground, using the holes in the base of the... -
Page 7: Electric Connections
V1-V2-V3: by-pass valves V5-V4: setting valves (optional) *minimum distance electrical protection boxes Condensation drainage: Caution: your appliance can drain several litres of water per day, and you are strongly advised to connect the drainage to the sewer. ... - Page 8 If the power cable is damaged, it must be replaced by a qualified technician or in a Zodiac Pool Care Europe technical station. 1.4.5.3 Cable sections supply cable section: for cables of a maximum length of 20 metres (calculation base: 5A/mm²), ...
- Page 9 The minimum wire gauge for connection of the priority heating function is: 2x1.5 mm², of type RO2V or equivalent in countries outside the European Community, and with an outer diameter between 8 and 13 mm. Remove the plug (upper the cable gland) and fit the cable gland for passage of the cable into the unit.
-
Page 10: Starting Up
1.5 Starting up 1.5.1 Presentation of the regulation : controller “on” indicator : priority heating output enabled indicator : “on/off” or stand-by : compressor “on” (steady) or timed (blinking) indicator : display required water temperature or setting : defrost in progress (steady) or : setting values timed (blinking) indicator 1.5.2 Checks before operating the appliance... -
Page 11: Checking
If valves 4 and 5 are not present, open valve 2 completely and half close valve 3. switch on the electrical supply to the heat pump, When the regulator is first switched on, the following information messages appear: “REXX” then “MAPX”. ... -
Page 12: Troubleshooting
retighten these connections one turn to avoid penetration of foreign bodies into the condenser, cover the heat pump with a micro-breathing overwintering cover (optional accessory, see §3.2). To avoid damaging the appliance with condensation, do not cover it hermetically. 2. -
Page 13: Display The Values Of Sensors St1-St2-St3 And St4
Display Designation Cause Solution Reset 1 - check the pool 1- emulsion of air Automatic hydraulic circuit and water passed in (if less than 4 Refrigerant 2 - check the flow the appliance, “dbP” or “dHP” circuit high rate controler 2- bad water flow, faults per hour) or pressure... -
Page 14: Malfunctions Of The Appliance
2.2 Malfunctions of the appliance 2.2.1 The appliance does not work Causes Verification / solution No display Check the supply voltage and the fuse The pool temperature is above the temperature Increase the temperature setpoint. setpoint. A message is on the screen. Check the meaning of message §2.1 2.2.2 The appliance operates but the water temperature does not rise Causes... -
Page 15: Maintenance
3. Maintenance 3.1 Maintenance instructions A general servicing of the appliance is recommended when wintering and restarting, to check the proper operation of your appliance, maintain its performance and to prevent some breakdowns. ensure no foreign bodies obstruct the fan grid ... -
Page 16: Recycling The Product
3.3 Recycling the product Your appliance is reaching the end of its working life. You would like to get rid of it or replace it. Please do not throw it into the dustbin or into your local council’s selective sorting containers. When this symbol appears on a new appliance, it means that the equipment must not be thrown away and that it will be collected selectively so that it can be reused, recycled or recovered. - Page 17 CONFORMITY CERTIFICATE Z.P.C.E. declares that the herewith products or ranges: Swimming pool Heat pumps: Power First 6M-8M-11M-13M-15M are in conformity with the provisions: of the ELECTROMAGNETIC COMPATIBILITY directive 2004/108/EC. of the LOW VOLTAGE directive 2006/95/EC. ADDITIONAL RECOMMENDATIONS In relation with the Pressurised Equipment Directive (PED-97/23/CE) 1.
-
Page 18: Electric Diagram
Electric diagram PF 6M-8M... - Page 19 PF 11M-13M-15M...
-
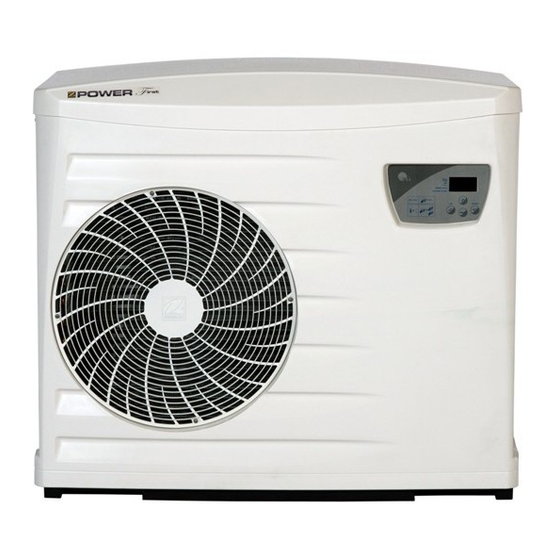
Page 21: Dimensions And Description
Dimensions and description English Base Front pannel cowl Technical door Back pannel Post Grid Regulator Ø1” ½ water pool inlet ... - Page 24 Plaque signalétique – Product name plate Votre installateur – Your installer Chauffage et déshumidification de piscines – Heating and dehumidification of pools Zodiac Pool Care Europe – Boulevard de la Romanerie – BP 90023 49180 Saint Barthélémy d’Anjou cedex – France www.zodiac-poolcare.com...
Need help?
Do you have a question about the PF 11M and is the answer not in the manual?
Questions and answers