
Related Manuals for Comelit HDCAM360A


Summary of Contents for Comelit HDCAM360A
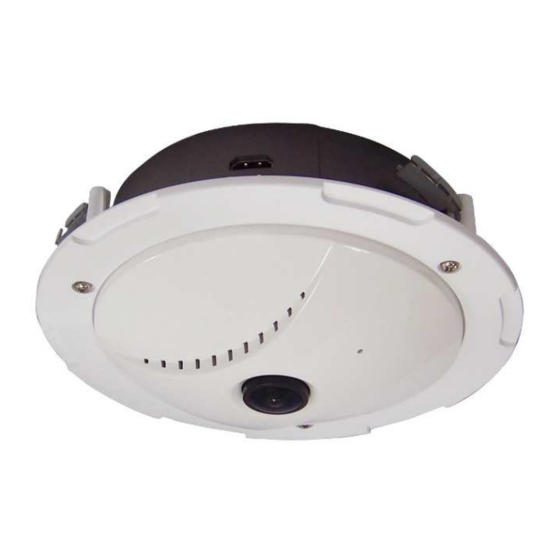
- Page 1 FISH-EYE HD-SDI CAMERA, 5 MEGAPIXEL ART. HDCAM360A Please read this manual thoroughly before use, and keep for future reference Via Don Arrigoni, 5 24020 Rovetta S.Lorenzo (Bergamo) http://www.comelitgroup.com e-mail: export.department@comelit.it...
-
Page 2: Safety Precautions
SAFETY PRECAUTIONS Please read before using The lightning flash with arrowhead symbol, within an equilateral triangle, is intended to alert the user to the presence of insulated dangerous Voltage within the product’s enclosure that may be sufficient magnitude to constitute risk of electrical shock to persons. The exclamation point within an equilateral triangle is intended to alert the user to the presence of important operation and maintenance (servicing) instructions in the... - Page 3 Product Feature HD CCTV 5 Mega Pixel. SDI output. HDMI output. CVBSx4 output. 360° and 180° panorama view. Virtual PTZ function. Auto Pan Function. Multiple screen display. Privacy mask. 10. Motion tracking. 11. Built-in microphone.
-
Page 4: Ntsc Or Pal
Specifications Model 360° panoramic camera Signal System NTSC or PAL Pick up device 1/3.2” Color CMOS QSXGA (5Mega Pixel : 2592x1944) image sensor Synchronizing Internal Scanning System 2:1 Interlace S/N Ratio More than 51dB Electronic Shutter x3; x2; x1; AUTO; 1/100; 1/120; 1/250 White Balance Auto Diagonal... - Page 5 Connections: ① ① ① ① ① ① ① ① ① label 1 Camera 1 CVBS (BNC) output Camera 2 CVBS (BNC) output label 2 Camera 3 CVBS (BNC) output label 3 label 4 Camera 4 CVBS (BNC) output RS485 cable Purple + / White - RCA cable Audio output to speaker or DVR audio input...
- Page 6 Package contents Camera Ceiling cover Ceiling screws Wall screws...
- Page 7 This 360° camera can be installed into different co nfiguration thanks to its rich connection. You will have an overview of different scenario in the next pages. A) Scenario without DVR The camera uses the SDI connector output or the HDMI connector to a HD-SDI monitor that has RS485 built in connector.
- Page 8 RS485 connection with keyboard The 360° camera is set in protocol and baud rate 9600. PELCO-D User can use keyboard, DVR or any RS485 device to control 360° camera. Ex.: Keyboard RS 485 port RS 485 cable Purple + positive RS 485 port 1 White - negative RJ 11 pin 3 +, pin --...
- Page 9 like PTZ dome to do Up / Down / Left / Right movement. Controls on screen in mode 5: 1. Press 1 + CAM to call camera 1 and after use joystick to move. 2. Press 2 + CAM to call camera 2 and after use joystick to move. 3.
- Page 10 RS485 remote controller...
- Page 11 Before to control the device, please set the RS485 parameters. Press RS485 set button into RS485 menu. Press to change control mode LCD mode: user operates the function by remote control. See LCD key define DVR mode: user operates the function by remote control. See DVR key define PTZ mode / 360°...
- Page 12 Remote controller key define Key Define LCD power ON / OFF RS485 menu setup LCD / DVR / CAM OSD item select Up / Down / Left / Right key DVR playback status LCD / DVR / CAM control mode switch Call desire LCD / DVR / CAM Device Menu Displays the LCD source information LCD volume setup...
- Page 13 Picture in picture screen source exchange Picture ratio selection: Under / Full / Over Channel sequence Quad screen selection 9 split screen selection 16 channel selection Jump to playback mode Manual recording Jump to time search of playback mode Jump to backup mode CAM (P/T/Z dome;...
- Page 14 ZOOM Control PTZ dome’s lens zoom in and out PRESET Set a Preset point Call a Preset point Clear a Preset point...
- Page 15 RS485 connection with DVR RS 485 port RS485 + RS 485 cable Purple + positive RS485 - White - negative Protocol configuration: please go to your DVR RS485 (PTZ) setting. Select the camera and 360° It depends on which channel SDI is connected. If camera is on channel 1, please make sure the address is from 1 to 4, choose protocol PELCO-D and baud rate 9600.
- Page 16 Main menu structure Item Selection Description Submenu Auto exposure Submenu Auto white balance setting BRIGHTNESS 1 ~ 9 Picture brightness adjust SATURATION 1 ~ 9 Picture saturation adjust Submenu Motion detection setting MASK Submenu Picture mask zone setting NOISE 00~09 Picture noise reduction setting REDUCTION AUTO: means that camera will...
- Page 17 AE submenu 50 Hz / 60 Hz 50 Hz / 60 Hz SHUTTER x3; x2; x1; AUTO; 1/100; 1/120; 1/250 SPEED Return AWB submenu AUTO: the system automatically adjusts the auto white balance OFF: the auto white balance is disabled AWC SET To enable it, press direction one time it will...
- Page 18 MASK submenu MASK MASK MODE OFF/ON AREA XPOS 0001~1943 YPOS 0001~1943 WIDTH 0000~1943 HEIGHT 0000~1943 RETURN COLOR TRANSP RETURN PATTERN submenu PATTERN MODE1 Camera 1 + 360° view MODE2 Camera 2 + 360° view MODE3 Camera 3 + 360° view MODE4 Camera 4 + 360°...
- Page 19 Pattern Mode 7: in this mode user can choose among 4 different angle of view, each can have horizontal and vertical flexibility range View 120° 140° 160° 180° available Verticale range Horizontal range SYSTEM submenu CAMERA1 ON / OFF CAMERA2 ON / OFF CAMERA3 ON / OFF...
- Page 20 Command list For camera 1 to 4 it is possible to define 3 Preset points that will be use for the Preset Cruise (76 + Preset) and the Preset Sequence display (66 + Preset) To define Preset 1 on camera 1: Call camera 1 Select your preset view by adjusting with the joystick Press 1 then press PRESET button 3 sec until you hear a bip (OSD will display...
- Page 21 Pattern description: Preset Preset Motion PATTERN cruise sequence tracking MODE 1 MODE 2 MODE 3 MODE 4...
- Page 22 PATTERN Preset Preset Motion cruise sequence tracking MODE 5 MODE 6 MODE 7 MODE 8...
- Page 23 PATTERN Preset Preset Motion cruise sequence tracking MODE 9 MODE 10 MODE 11 MODE 12 MODE 13...
- Page 24 Dimensions Via Don Arrigoni, 5 24020 Rovetta S.Lorenzo (Bergamo) http://www.comelitgroup.com export.department@comelit.it e-mail:...
Need help?
Do you have a question about the HDCAM360A and is the answer not in the manual?
Questions and answers