Table of Contents
Advertisement
Quick Links
Advertisement
Table of Contents

Related Manuals for Eldat RCU08


Summary of Contents for Eldat RCU08
- Page 1 Operating Instructions Universal-Receiver 2-Channel IP66 RCU08...
-
Page 2: Table Of Contents
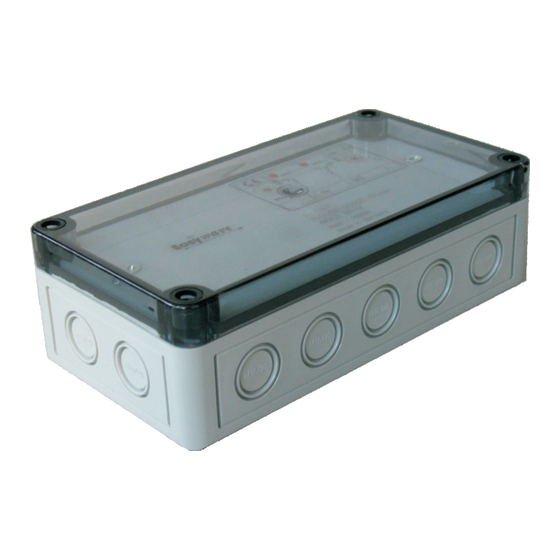
(normally open and Function two way contact) Max. contact duty: see Table of Loads The Universal-Receiver RCU08 provides two re- lay outputs. These can be used to control either Degree of Protection: IP66 two lamps or one motor for e.g. awn- Operating Temperature: -20 °C to +60 °C... -
Page 3: Start-Up
Universal Receiver RCU08 can The following operating modes can be se- be disturbed by several factors:... -
Page 4: Mounting
Start-Up Mounting 1. Screw off the housing cover of the unit. Lift 5. Fix the circuit board to the bottom of the out the electronic components and remove housing with the screws and washers the protective cover. provided and mount the protective cover. 2. -
Page 5: Connection Diagram
Start-Up Connection Diagram Light Control Awning Control/ Fan Control Bridge between X4 and X5 necessary! Table of Loads Type of Load Symbol Max. Duty Motors 230 V, 50 Hz 4,0 A / 920 VA Resistive load: 10,0 A / 2.300 VA bulbs, 230 V halogen lamp etc. -
Page 6: Operation
Operation To perform a test run the device can be operated In order to operate the receiver with radio manually using the selection buttons. For this transmitters the transmission code of a press and hold the selection button (>1.6 s) until transmitter has to be memorized for the desired the device is switched. -
Page 7: Selecting The Operation Mode/Time Function And Memorizing Transmission Codes
Programming 4.2 Selecting the Operation Mode/ Time Function and Memorizing Transmission Codes 230V ~ 50Hz select 1 select 2 During programming the device is µ µ under voltage! Programming may only be performed with the protective cover prog. installed! 1. Briefly press the „prog.“ button. The acknow- ledgment signal can be heard in short intervals and the LED for switching output 1 lights up. -
Page 8: Functions
Programming 4.2.1 Functions Transmitter Button Operation Switching Mode of Operation Control Time Time Light Control switching output 1 or 2 2-button not limited O F F switching output 1 or 2 1-button not limited switching output 1 or 2 O F F 1-button not limited switching output 1 or 2... -
Page 9: Time Functions
Programming 4.2.2 Time Functions Light Control Awning - / Fan Control Operating Time Switching Time Operating Time Switching Time unlimited 1.5 s 0.5 s 150 s 90 s 30 s 15 s 10 s 0.4 s 20 s 1.5 s unlimited 30 s 1.5 s... -
Page 10: Deleting Specific Transmission Codes
Programming Deleting Specific Transmission Codes 1. Press the „prog.“ button for at least 1.6 s. The 230V ~ 50Hz select 1 select 2 acknowledgment signal can be heard in a µ µ double rhythm. 2. Select the switching output (relay) for which prog. -
Page 11: General Information
Do not use solvent-based cleaning agents. 1999/5EG. These can damage your health and destroy The declaration of conformity is available on the surface of the housing. the internet at: www.eldat.de Disposal Warranty Within the statutory warranty period we Waste electrical products may not be... - Page 12 Customer Service If, despite correct handling, faults or malfunctions occur or if the product was damaged, please contact the company at the address below: ELDAT GmbH Im Gewerbepark 14 D-15711 Zeesen Deutschland Telefon: +49 (0) 3375-9037-310 Fax: +49 (0) 3375-9037-90 E-Mail: info@eldat.de...
Need help?
Do you have a question about the RCU08 and is the answer not in the manual?
Questions and answers