
Related Manuals for ELECRAFT KBPF3


Summary of Contents for ELECRAFT KBPF3
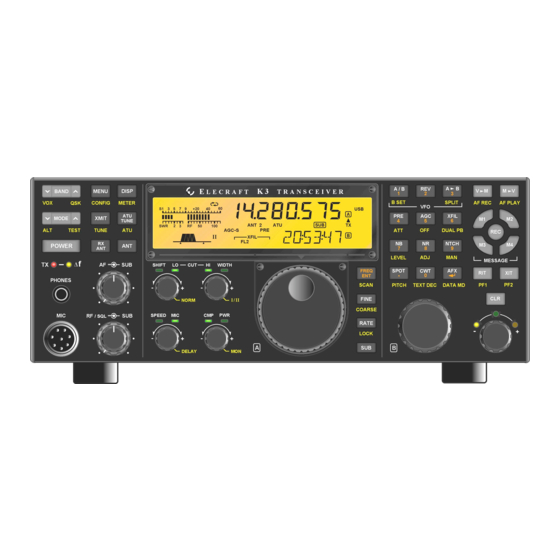
- Page 1 ® LECRAFT 160 – 6 M ERFORMANCE ETER RANSCEIVER KBPF3 G ENERAL OVERAGE ECEIVE PTION NSTALLATION NSTRUCTIONS Rev D, June 24, 2008 Copyright © 2008, Elecraft, Inc. All Rights Reserved...
-
Page 2: Table Of Contents
Installing KBPF3 Standoffs on KRX3 Board ....................9 Installing the KBPF3 on the KRX3 Board....................10 Installing the KBPF3 in the K3 Main Receiver ....................11 Installing the Standoffs on the K3 RF Board ....................11 Installing the KBPF3 Board on the K3 RF Board..................13 Reassembly ............................... -
Page 3: Introduction
KRX3 subreceiver may be equipped with the KBPF3. The KBPF3 consists of a single circuit board supported by two threaded standoffs. It plugs into the K3 RF board that covers the bottom of the K3 chassis enclosure, or the KRX3 Subreceiver board inside the shielded enclosure. -
Page 4: Preventing Electrostatic Discharge Damage
What is covered: During the first year after date of purchase (or if shipped from factory, date product is shipped to customer), Elecraft will replace defective or missing parts free of charge (post-paid). We will also correct any malfunction to kits or assembled units caused by defective parts and materials. Purchaser pays inbound shipping to us for warranty repair, we pay shipping to return the repaired equipment to you by UPS ground service or equivalent to the continental USA and Canada. -
Page 5: Preparing For Installation
Inexpensive static dissipating work mats are readily-available that will steadily and safely drain off any charges built up on parts or circuit boards placed on them. They are supplied with a lead that connects the mat to the common workbench ground. Also, metal cabinets on test equipment used on the bench should be tied together and connected to the common ground. -
Page 6: Parts Included
Parts Included The following parts should be included in your kit. Check to ensure you have them all. If any parts are damaged or missing, contact Elecraft for replacements (see Customer Service and Support, page 3). ELECRAFT ILLUSTRATION DESCRIPTION QTY. -
Page 7: Removing The Krx3 Subreceiver Module
If your K3 is equipped with the optional KRX3 Subreceiver, you must remove the subreceiver module to install the KBPF3 in either the main receiver or the subreceiver. The KRX3 subreceiver module is the “L” shaped metal enclosure (see Figure 2). Remove the subreceiver module as follows: Remove the chassis stiffener bar that runs across the top of the K3 chassis and is attached to the side panels. -
Page 8: Installing The Kbpf3 In The Krx3 Subreceiver
K3 RF board. Remove them and put them in a safe place. Installing the KBPF3 in the KRX3 Subreceiver If you are not installing a KPBF3 in the subreceiver, go directly to Installing the KBPF3 in the K3 Main Receiver on page 11. -
Page 9: Installing Kbpf3 Standoffs On Krx3 Board
Check to see if the KBPF3 standoffs are already mounted at the locations shown in Figure 5. if so, go directly to Installing the KBPF3 on the KRX3 Board on page 10 Otherwise continue with Installing KBPF3 Standoffs on KRX3 Board below. -
Page 10: Installing The Kbpf3 On The Krx3 Board
P44E on the KRX3 board. The screw holes will line up with the standoffs when the board is positioned correctly (see Figure 5). Secure the KBPF3 board two 4-40 1/4” (6.4 mm) pan head screws and #4 split lock washers as shown. -
Page 11: Installing The Kbpf3 In The K3 Main Receiver
Secure the top with the knurled nuts, tightened only enough to hold the cover in place so it isn’t loose. If you are installing another KBPF3 in the main K3 receiver, go to Installing the KBPF3 in the K3 Main Receiver below. - Page 12 Remove both bottom covers from the K3 by removing the screws shown in Figure 10. REMOVE ALL THE ESD SENSITIVE! SCREWS INDICATED AND LIFT THE WEAR A GROUNDED BOTTOM COVERS WRIST STRAP OR TOUCH OFF. AN UNPAINTED METAL GROUND BEFORE HANDLING THE RF BOARD. NOTE: THESE THREE SCREWS ARE 1/4"...
-
Page 13: Installing The Kbpf3 Board On The K3 Rf Board
This will align the connectors. Press down on the KBPF3 board to mate the while checking to ensure that the holes in the board are aligned with the holes in the standoffs. Note that simply installing the mounting screws will not ensure the 3-pin connectors are fully mated. -
Page 14: Reassembly
Reassembly If your K3 is equipped with the KRX3 Subreceiver, turn to your KRX3 Subreceiver Installation and Operation manual, Installing the KRX3 Subreceiver Module section to replace the KRX3 module. Be especially careful to do the following as described in that procedure: Be sure the cover on battery BT1 on the K3 RF board is in place. -
Page 15: Enable The Kbpf3 Module
Enable the KBPF3 for either the main or subreceiver using the menu as described in the Owner’s C O N F I G Manual. The KBPF3 will not operate until this is done! This completes the installation of the KBPF3 module(s) in your K3 transceiver.
Need help?
Do you have a question about the KBPF3 and is the answer not in the manual?
Questions and answers