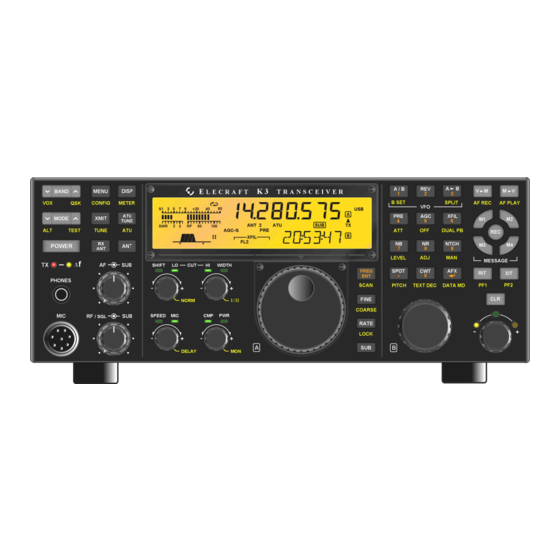
ELECRAFT K3 Application Note
Alc
Hide thumbs
Also See for K3:
- Assembly manual (84 pages) ,
- Owner's manual (82 pages) ,
- Installation and operation manual (55 pages)
Table of Contents
Advertisement
Quick Links
Background
The K3's synthesizer has an ALC loop that holds the VCO output relatively constant over a wide range of
frequencies and L/C ratios. At high operating temperatures, on some bands, the ALC loop may not provide
adequate current to the oscillator transistor, Q1. This can cause the PLL to lose lock, resulting in ERR VCO
during VCO CAL, or ERR PL1/ERR PL2 messages on the LCD display when tuning or changing bands.
Reducing the value of resistor R10 from 82 K to 56 K establishes a higher minimum VCO current. This keeps
the VCO output above 1.0 V pp even at very high operating temperatures (tested to > 50 C). The result is that
the PLL never loses lock.
This modification requires some simple soldering to install a resistor on the KSYN3 board. You may install a
conventional leaded 180 K resistor in parallel with the existing SMD resistor R10 or, if you have the tools, you
may replace the SMD resistor with a 56K unit. A leaded 180 K resistor can be provided by Elecraft.
The KRX3 subreceiver has a separate KSYN3 synthesizer board. If your K3 is equipped with the KRX3, you
should modify both synthesizers.
Was the Change Incorporated in My K3 At the Factory?
You can check your K3 by removing the top cover and inspecting the KSYN3 board(s). If a fixed resistor as
shown in Figure 3 is present, that KSYN3 board has been modified. If the resistor is not present, the KSYN3
board may have a 56 K SMD resistor installed at R10. Check the resistance across the solder pads where the
leaded resistor would have been installed. If the resistance is near 56 K, this modification is not required. Boards
that need to be modified will show a resistance near 82 K.
Procedure
Observe ESD precautions when working inside your K3. Wear an ESD wrist strap or touch an
unpainted, metal ground frequently while working.
Remove the K3 top cover as shown in Figure 1.
Sometimes one screw binds when the other screws are tightened. If one screw seems too tight
to loosen without damaging it, first loosen the other screws..
E
Application Note
LECRAFT
K3 Synthesizer ALC
Revision A, December 23, 2008
Copyright © 2008, Elecraft, Inc., All Rights Reserved
Figure 1. Removing the Top Cover.
Elecraft
•
www.elecraft.com
•
831-662-8345
Advertisement
Table of Contents

Summary of Contents for ELECRAFT K3
- Page 1 Was the Change Incorporated in My K3 At the Factory? You can check your K3 by removing the top cover and inspecting the KSYN3 board(s). If a fixed resistor as shown in Figure 3 is present, that KSYN3 board has been modified. If the resistor is not present, the KSYN3 board may have a 56 K SMD resistor installed at R10.
- Page 2 Remove the KSYN3 board(s) shown in Figure 2.Each board plugs into a connector on the RF board that covers the bottom of the K3 and is held in place with two screws at the top of each board. Once the screws are loosened, you can tip the board away from the front panel shield to remove the split lock washers from the screws (if used).
- Page 3 Thread each screw into the PEM nut on the front panel shield. Be sure the split lock washer is still in place between the board and the PEM nut. Figure 4. TMP Cable Connections Elecraft Application Note – K3 Synthesizer ALC Page 3 of 4...
- Page 4 Hold the top cover above the K3, route the speaker wire under the stiffener bar and plug it into P25 on the KIO3 board at the left rear of the K3 as shown in Figure 5. Figure 5. Connecting Speaker Cable.


Need help?
Do you have a question about the K3 and is the answer not in the manual?
Questions and answers