
Related Manuals for ELECRAFT KXV3


Summary of Contents for ELECRAFT KXV3
- Page 1 ® LECRAFT 160 – 6 M ERFORMANCE ETER RANSCEIVER KXV3 I NTERFACE PTION NSTALLATION NSTRUCTIONS Rev C, June 24, 2008 Copyright © 2008, Elecraft, Inc. All Rights Reserved...
-
Page 2: Table Of Contents
Removing the Top Cover ............................ 6 Removing the KRX3 Subreceiver Module ......................7 Removing the Bottom Covers and KIO3 Board ....................8 Installing the KXV3 Board ..........................10 Reinstalling the KIO3 Board..........................13 Reinstalling the KRX3 Subreceiver Module..................... 14 Replacing the Top Cover ..........................15... -
Page 3: Introduction
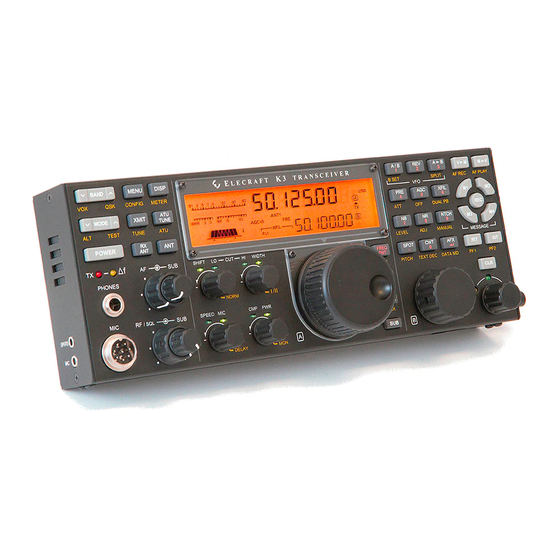
Introduction The KXV3 Interface provides a separate receive antenna input and output, inputs and outputs for use with an external transverter, and a buffered i.f. output. Complete details for using the KXV3 are included in the K3 Owner’s manual. This manual covers the installation of the KXV3 Interface option in your K3 transceiver. -
Page 4: Preventing Electrostatic Discharge Damage
Preventing Electrostatic Discharge Damage There is no climate or work location where the components of your K3 are safe from Electrostatic Discharge (ESD) unless you take specific steps to prevent such damage. Many of the components in your K3 can be damaged by static discharges of only a few volts: far too little for you to notice. -
Page 5: Preparing For Installation
We strongly recommend you take the following anti-static precautions (listed in order of importance) to avoid trouble: • Leave ESD-sensitive parts in their anti-static packaging until you install them. The packaging may be a special plastic bag or the component’s leads may be inserted in conductive foam. Parts which are especially ESD-sensitive are identified in the parts list and in the assembly procedures. -
Page 6: Parts Included
If you were directed here by the K3 Kit Assembly Manual to install your KXV3 Module, inventory the parts in this kit against the list under Parts Included on page 6 then begin installation at the step indicated on page 10. -
Page 7: Removing The Krx3 Subreceiver Module
Removing the KRX3 Subreceiver Module If your K3 is equipped with the optional KRX3 Subreceiver, you must remove the subreceiver module to install the KXV3. The KRX3 subreceiver module is the “L” shaped metal enclosure (see Figure 2). Remove the subreceiver module as follows: Remove the chassis stiffener bar that runs across the top of the K3 chassis and is attached to the side panels. -
Page 8: Removing The Bottom Covers And Kio3 Board
In the following steps you will handle small TMP coaxial connectors. These are friction- fit connectors shown in Figure 3. Handle the connectors by the grips as shown. Do not pull on the coaxial cable. Figure 3. TMP Cable Connectors. Hold the KRX3 module by the two brass knurled nuts on the top, and lift it straight up to gain access to the small TMP coaxial connectors plugged into the module. - Page 9 CAUTION: The KIO3 Main board is ESD sensitive. Put it in a safe place until you reinstall it. Remove the blank panel covering the space for the KXV3 module (see Figure 4). This panel will not be replaced. Turn the K3 upside down and remove the bottom covers (see Figure 6).
-
Page 10: Installing The Kxv3 Board
The KXV3 board is ESD sensitive. Wear a grounded wrist strap or touch an unpainted metal ground before handling it. Remove the KXV3 board assembly from its packaging. If the black panel is mounted on the assembly, remove it. Set the screws and washers aside to be installed later. - Page 11 Thread the square connector on the TMP cable through the gap between Q3 and the side of the RF board, then plug the KXV3 board assembly into J66 on the RF board with the four BNC connectors facing out through the rear panel (see Figure 9).
- Page 12 Adjust the depth the KXV3 board connector mates J66 on the RF board so the KXV3 connector panel is parallel with the back panel. The pins on the KXV3 board connector do not go all the way into J66 as shown in Figure 11.
-
Page 13: Reinstalling The Kio3 Board
The Audio I/O board fits just over the KXV3 board assembly and the TMP cable passes through the space between the edge of the KXV3 board and the KIO3 board. Ensure the KIO3 connectors are fully mated so the standoffs line up with the holes in the rear panel. -
Page 14: Reinstalling The Krx3 Subreceiver Module
Install the KIO3 Digital I/O daughter board as shown in Figure 15. Be careful to support the KIO3 main board as shown while pressing the daughter board in place. Figure 15. Installing the KIO3 Digital I/O Board. Install the KIO3 rear panel as shown in Figure 16. Figure 16. -
Page 15: Replacing The Top Cover
Enabling the KXV3 Module Your KXV3 will not operate correctly until the following steps are completed! Reconnect power and antenna (or dummy load) to your K3 and turn it on.
Need help?
Do you have a question about the KXV3 and is the answer not in the manual?
Questions and answers