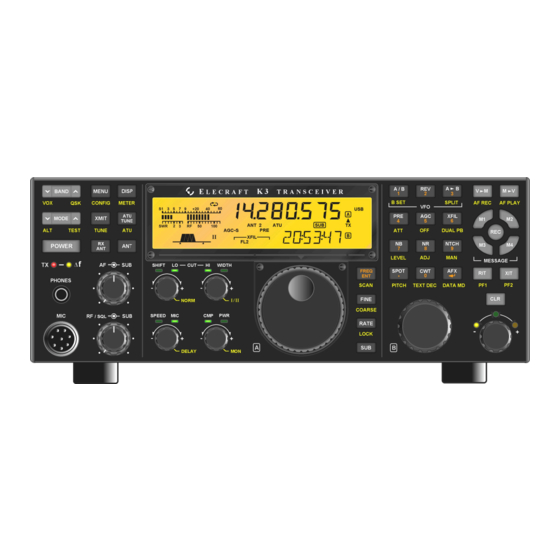
ELECRAFT K3 Modification
External alc modification
Hide thumbs
Also See for K3:
- Assembly manual (84 pages) ,
- Owner's manual (82 pages) ,
- Installation and operation manual (55 pages)
Advertisement
Introduction
MCU firmware release from 1.99 with DSP firmware release from 1.76 provide the capability to use
external, negative-going ALC voltage to reduce the transmit drive level from the K3.
We strongly recommend that external ALC only be used to protect your amplifier during operation
into a failed load or other serious condition. In fact, most amplifiers have such protection built in, and do
not need or specify the use of ALC. ALC should not be used as a way to clip or compress fast voice
peaks. The K3's ALC uses a moderate attack time specifically to prevent signal distortion due to ALC
action, so it is the responsibility of the operator to keep drive below this level.
Do not set the K3's power level to maximum and adjust the amplifier output using the amplifier's
ALC control! This will result in splatter and key clicks. Instead, adjust the drive on each band so it's just
below the level where ALC starts to activate. K3 firmware provides per-band power control to make this
practical.
Before you use the External ALC feature, you must make the following modifications to your K3. If
you apply an ALC voltage to the K3 without making these modifications, you risk damage to the K3 DSP
module!
Modification Procedure
Using external ALC involves four steps:
•
Install the MCU and DSP firmware.
•
•
Enable the EXT ALC function.
•
Connect the K3 ALC input to your amplifier or transverter.
Let's take them in order.
K3 E
ALC M
XTERNAL
Revision B, February 14, 2009
Copyright © 2009, Elecraft, Inc.
All Rights Reserved
ODIFICATION
Advertisement
Table of Contents

Summary of Contents for ELECRAFT K3
- Page 1 Before you use the External ALC feature, you must make the following modifications to your K3. If you apply an ALC voltage to the K3 without making these modifications, you risk damage to the K3 DSP module! Modification Procedure Using external ALC involves four steps: •...
- Page 2 Install MCU and DSP Firmware Use K3 Utility to perform the firmware update. The new firmware does not require the modifications to the K3 if you are not going to use external ALC. To use external ALC, you must install the new firmware.
- Page 3 Remove the top cover from your K3. Remove the cover plate from the KIO3. You must remove the jackscrews on the DE-9 and DE-15 connectors to remove the cover plate. Remove the Digital IO board. This is the board with the DE-9 and DE-15 connectors.
- Page 4 (4) 2.2K (red-red-red-gold) resistors to pull up pins 7, 8, 9 and 14 as shown in the photo below: Replace the Digital IO board, the KIO3 cover plate and the K3 top cover. Testing External ALC To use external ALC you must wire up a cable with ALC to pin 15 and COMMON to pin 12 of the DE- 15 ACC connector on the KIO3.
- Page 5 WARNING! Do not attempt to use external ALC with an unmodified K3! You may damage the K3 DSP board if you do. Once the mods have been made, attach the appropriate cable from the K3 ACC connector to the ALC output of your amplifier or transverter.


Need help?
Do you have a question about the K3 and is the answer not in the manual?
Questions and answers