Table of Contents
Advertisement
Quick Links
Advertisement
Table of Contents

Related Manuals for Jet M-708640


Summary of Contents for Jet M-708640
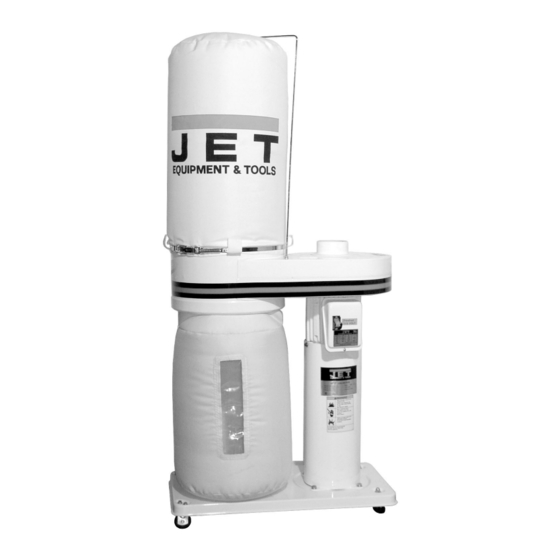
- Page 1 OWNER'S MANUAL DC-650A Dust Collector WMH TOOL GROUP Consumer/Light Industrial Products Division P.O. BOX 1349 Auburn, WA 98071-1349 Ph: 1-800-274-6848 Fax: 1-800-274-6840 E-mail: jet@wmhtoolgroup.com www.wmhtoolgroup.com M-708640 2/03 Copyright © WMH Tool Group...
-
Page 2: Warranty And Service
Completely read the safety and maintenance instructions before operating or servicing the machine. To obtain maximum life and efficiency from your Dust Collector, and to aid in using the machine safely, read this manual thoroughly and follow instructions carefully. -
Page 3: Warnings
Use only as described in this manual. Use only manufacturer’s recommended attachments. Do not use with damaged cord or plug. If Dust Collector is not working as it should, has been dropped, damaged, left outdoor, or dropped in water, return it to a service center. -
Page 4: 115V Operation
115 Volt Operation As received from the factory, your dust collector is ready to run at 115 volt operation. This dust collector, when wired for 115 volts, is intended for use on a circuit that has an outlet and a plug that looks the one illustrated in Figure A. -
Page 5: 230V Operation
1. Disconnect the machine from the power source. 2. This dust collector is supplied with four motor leads that are connected for 115V operation, as shown in Figure A. Reconnect these four motor leads for 230V operation, as shown in Figure B. -
Page 6: Table Of Contents
Turning the Machine On & Off ... 10 Maintenance... 10 Removing the Collector Bag... 10 Motor... 10 Connecting the Dust Collector to a Machine ... 10 Grounding the Dust Collection System... 10 Parts Breakdown and Parts List ... 11-12 Wiring Diagram ... 13 The specifications in this manual are given as general information and are not binding. -
Page 7: Unpacking Dc-650A
Unpacking Remove all contents from the shipping carton. Report any damage to your distributor. Do not discard any shipping material until after the dust collector has been assembled and is running properly. Contents of the Shipping Carton DC-650A 1. Base 1. -
Page 8: Assembly
5. Mount support canister (L, Fig. 4) to base (M, Fig. 4) with four M8x12 hex cap bolts and four flat washers (N, Fig. 4). 6. Turn the dust collector over onto the casters. Note: Make sure the base and housing are relatively parallel. -
Page 9: Cleaning The Filter Bag
7. Thread a M6 hex nut onto the filter bag support rod, follwed by a M6 flat washer and M6 lock washer (A, Fig. 5). support rod (B, Fig. 5) into the motor/fan housing and tighten nut against housing. 8. Place the retaining strap (C, Fig. 5) through the loops on the filter bag and hang the filter bag from the hook. -
Page 10: Electrical Connections
A dedicated circuit to the dust collector will give you the best results since dust collectors are generally used at the same time other tools are running. -
Page 11: Parts Breakdown And Parts List
Parts Breakdown for DC-650A Dust Collector... - Page 12 Parts List for the DC-650A Dust Collector Index Part Description 1...422109W ... Impeller Housing..1 2...MH422001 ... Motor ..1 ...CA020010 ... Starting Capacitor (not shown)...200MFD, 125V... 1 ...DC1100-52... Centrifugal Switch (not shown)..1 ...DC1100-53... Centrifugal Switch Rotor (not shown) ..1 ...411051...
-
Page 13: Wiring Diagram
Wiring Diagram...
Need help?
Do you have a question about the M-708640 and is the answer not in the manual?
Questions and answers