
Related Manuals for Gefen EXT-HDMI-EDIDP


Summary of Contents for Gefen EXT-HDMI-EDIDP
- Page 1 ® HDMI Detective Plus E X T - H D M I - E D I D P U S E R U S E R M A N U A L M A N U A L www.gefen.com...
- Page 2 Notice Gefen Inc. reserves the right to make changes in the hard ware, packaging and any accompanying doc u men ta tion without prior written notice. The HDMI Detective Plus is a trademark of Gefen Inc. © 2010 Gefen Inc., All Rights Reserved...
-
Page 3: Table Of Contents
TABLE OF CONTENTS Introduction Features Panel Layout Connecting and Operating the HDMI Detective Plus Connecting and Operating the HDMI Detective Plus Using a Pre-Programmed EDID Using a Pre-Programmed EDID Pre-Programmed EDID Diagram Write Protecting the HDMI Detective Plus 10. Specifi cations 11. -
Page 4: Introduction
How It Works The Gefen HDMI Detective Plus attaches to the HDTV display’s HDMI input connector for initial programming. Power is applied and the HDMI Detective Plus reads and stores the attached displays EDID to the internal memory. Then the HDMI Detective Plus is attached to your source HDMI output and it will never lose EDID again. -
Page 5: Features
FEATURES Features • Quick and easy saving of EDID information from HDTV displays • Compact unit hides well behind equipment • Selection of preset EDIDs • Maintains 1920 x 1200, 1080p, and 2k resolution video • No power required after initial programming step •... -
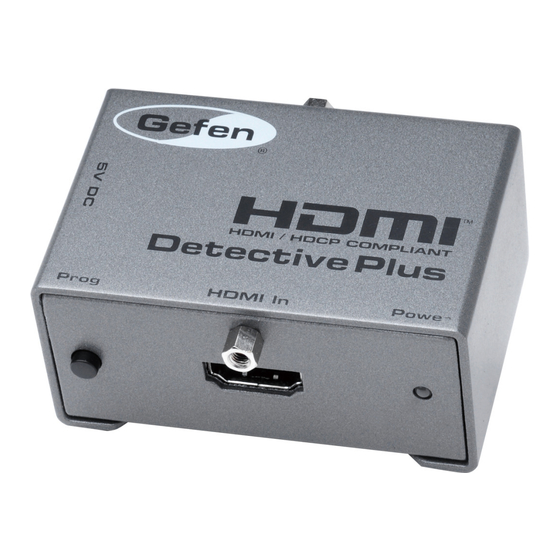
Page 6: Panel Layout
PANEL LAYOUT Front Panel Power LED Programming Indicator Button HDMI Input Back Panel EDID & HDCP Switches Write Protection Switch HDMI Output... -
Page 7: Connecting And Operating The Hdmi Detective Plus
CONNECTING AND OPERATING THE HDMI DETECTIVE PLUS Before proceeding, please ensure that the write protect switch is in the E (write enabled) position and all SETTING DIP SWITCHES are in the OFF (up) position Please see the diagram on the page 8. Connect the display to the HDMI Out port on the HDMI Detective Plus. -
Page 8: Connecting And Operating The Hdmi Detective Plus
CONNECTING AND OPERATING THE HDMI DETECTIVE PLUS Once a successful EDID record is complete, remove the 5V DC power supply from the HDMI Detective Plus. At this time, it is recommended that you write protect the HDMI Detective Plus to prevent an accidental overwrite. Please see page 9 for instructions on this procedure. -
Page 9: Using A Pre-Programmed Edid
USING A PRE-PROGRAMMED EDID The HDMI Detective Plus includes 5 built-in manually-selectable generic EDIDs (display identities) for forcing several standard home theater setups with multi- channel audio and standard HDTV resolutions. This functionality is vital when equipment reaches a state of indeterminate function and will not respond to signals or controls properly, and a certain resolution size with specifi... -
Page 10: Using A Pre-Programmed Edid
USING A PRE-PROGRAMMED EDID EDID Resolutions - Aspect Ratio Refresh Rate Audio Setting DIP SWITCHES 720 x 480p 16:9 1440 x 480p 16:9 Linear PCM 8 1280 x 720p 16:9 1920 x 1080p 16:9 59.94/60 hz Channel 1920 x 1080i 16:9 (native) 720 x 480p 16:9 1440 x 480p 16:9 Linear PCM 2... -
Page 11: Pre-Programmed Edid Diagram
PRE-PROGRAMMED EDID DIAGRAM Pre-Programmed EDID DIP SWITCHES... -
Page 12: Write Protecting The Hdmi Detective Plus
WRITE PROTECTING THE HDMI DETECTIVE Write protection switch Once the HDMI Detective Plus is programmed and working, you can write protect the unit to prevent an accidental overwrite. This is done by simply moving the write protect switch to the D (write disabled) position. By default, the unit is shipped in the E (write enabled) position. -
Page 13: Specifi Cations
SPECIFICATIONS Video Amplifi er Bandwidth ................340 MHz Input DDC Signal ................5 volts p-p (TTL) Maximum Single Link Range ............1920 x 1200 x 60hz HDMI Input/Output Connector Type ......... Type A 19-pin Female Power Consumption ................5 Watts (max.) Power Supply ....................
Need help?
Do you have a question about the EXT-HDMI-EDIDP and is the answer not in the manual?
Questions and answers