Advertisement
Quick Links
Advertisement

Related Manuals for BeefEater Signature Trolley


Summary of Contents for BeefEater Signature Trolley
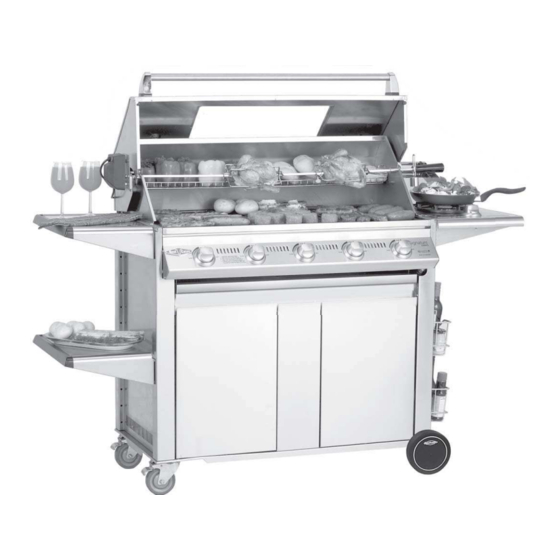
- Page 1 AUSTRALIA USA/CANADA BeefEater Signature Trolley Assembly Instructions...
-
Page 2: Parts List
Parts List cross brace 2 x magnets 48 x screws, washers and nuts (Allen head screw M6x12mm, washer & nut M6) may not all be required 2 x rotating castors 2 x fixed 2 back panels (identical) wheels right side panel left side panel 2 x hubcaps 2 x circlips... -
Page 3: Assembly Instructions
Assembly Instructions Before You Start Note the tools you will need before you begin. Check for damaged or missing parts, and consult your retailer if necessary. Allen key adjustable Phillips Head spanner/wrench Screwdriver Many components and panels are covered with a protective sheet of plastic. You will need to remove this plastic covering from all surfaces, especially where two panels join. - Page 4 Assembly Instructions The right side has holes for the gas hose 3) Fit The Right And Left Side Panels Use 5 Allen head screws, washers and nuts on each panel. You may find it easier to lay the cart on its side for this step. Only hand tighten at this stage - You will wrench/spanner tighten at a later step.
- Page 5 Assembly Instructions 6) Fit The Lower Back Panel Both back panels are identical. Screw one of the back panels to the base and side panels using 7 Allen head screws, washers and nuts. Hand tighten only at this stage. 7) Fit The Upper Back Panel Screw the other back panel to the side panels.
- Page 6 Assembly Instructions 8) Fit The Side Shelves Use 4 Allen head screws, nuts and washers for each side shelf. Get in underneath the side shelf and screw the shelf to the side panel. The screws go into the slotted holes as shown.
- Page 7 Assembly Instructions 10) Fit The Infill Panel (5 burner models only) 5 burner models require an infill panel between the two doors. Use 4 Allen head screws, washers and nuts to secure the panel between the front cross brace and the base plate. Hand tighten only at this stage.
- Page 8 Assembly Instructions 12) Fit The Storage Racks (Optional) If you purchased any optional storage racks, they slide easily into the holes on the right or left side panel. 13) Fit The Hose Protector Squeeze the rubber hose protector and fit it into one of the holes in the side panel.
- Page 9 Assembly Instructions 15) Fit The Hose To The Barbecue You need to connect the proper hose to the barbecue inlet before the barbecue is in place in the cart. You should follow the separate barbecue instructions for directions on methods of connection and leak testing. If you purchased a side burner: Pass hose a through the side hole (arrow 1) and connect to the barbecue.
- Page 10 Assembly Instructions 17) Finish Screwing In The Barbecue The barbecue should be secured using 4 Allen head screws, washers and nuts, as shown. If you have a side burner, the right side of the barbecue will already be secured. 18) Slide The Drip Tray Into Place Ensure the drip tray slides along the top of the tracks underneath the...
- Page 11 Signature Cart Spare Parts Listing 4 Burner 5 Burner Description Code Code Base panel 180376 180379 Left hand side panel 180378 180378 Right hand side panel 180377 180377 Side shelf 180217W 180217W Side shelf end plastic 224801 224801 10GX1/2” self tap screw 030126 030126 Cross brace...
-
Page 12: Accessories Available
Accessories Available Your retailer can advise on the range of BeefEater accessories available to help you take full advantage of the barbecue cooking opportunities available with your roasting hood. Mitt Set - handle baking Poly Cover - protect your Meat Thermometer - takes...
Need help?
Do you have a question about the Signature Trolley and is the answer not in the manual?
Questions and answers