
Subscribe to Our Youtube Channel
Related Manuals for BeefEater SL4000s Series


Summary of Contents for BeefEater SL4000s Series
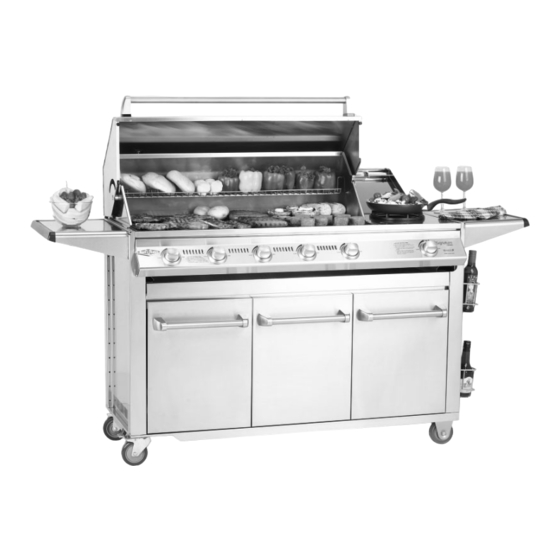
- Page 1 BeefEater SL4000s Series Stainless Steel Barbecues Assembly And Operating Instructions For outdoor use only AUSTRALIA USA/CANADA Certified ISO 9001 : 2000 by...
-
Page 2: Safety Warnings
Safety Warnings Check Gas Type Check that the gas type is correct for your type of gas,. You will find the gas type label on the underside of your side burner. If your side burner is of the incorrect gas type, or if you are unsure, consult your dealer before going any further. - Page 3 DO NOT • Lean over barbecue when lighting. • Leave cooking food unattended. • Delay lighting burners after turning gas on. • Spray or store aerosols in vicinity of barbecue whilst in operation. • Store combustible materials, gasoline or flammable liquids or vapours within 450mm (18”) of barbecue.
-
Page 4: Before You Start
Assembly Of Main Barbecue Before You Start Note the tools you will need before you begin. Remove any protective plastic from stainless steel components. Check for damaged or missing parts, and consult your retailer if necessary. Attach the Side Shelves Attach the side shelves to the top of the cart using the four screws provided with each side shelf kit. - Page 5 Assembly Of Main Barbecue Fit The Heat Reflectors The reflectors fit between each burner. They reflect heat from the burners, upwards to the cooking surfaces. The tabbed ends of the heat reflectors face forward to the front of the barbecue frame. The tabs fit into the slots in the front end of the barbecue behind the control panel.
- Page 6 Assembly Of Main Barbecue Fit Cooking Plates And Grates We recommend fitting the plate to the left-hand side of the barbecue frame (with the drain hole to the extreme left). The grates can be fitted to the right hand side of the barbecue frame. The grates must always be positioned over the Vaporizers.
- Page 7 Assembly Of Rotisserie Assemble The Main Shaft Assemble the shaft in the order shown. The knurled nut, counterbalance and handle go on the threaded end. Fit The Motor First attach the motor mounting bracket to the roasting hood. Then slide the motor onto the bracket.
- Page 8 Assembly Of Accessories Fit the Baskets The storage racks and condiment baskets can be fitted directly, without the use of screws. Ensure they locate properly into their respective holes. Fit the towel rack First, unscrew and remove the plastic end caps from the towel rack.
-
Page 9: Installation
Installation LPG/Propane Cylinder If your barbecue is to be connected to a portable LPG cylinder, you should position it in the far right drawer. Place the prefitted mat down first, then position the cylinder on top. Secure the cylinder by wrapping the strap around the cylinder and clipping it to the bracket slots highlighted in the illustration. -
Page 10: Before You Begin
Secure all joints spanner (wrench) tight but do not over-tighten. Fixed Installation - Portable LP Gas/Propane BeefEater propane barbecues are designed to operate at 2.75Kpa (11”WC). . Connect the gas supply line to the barbecue inlet located on the right side of the appliance using either hard plaumbing, or a flexible hose connected to a bayonet point. - Page 11 (Natural Gas installation should be carried out by a qualified gas fitter) BeefEater Natural Gas barbecues are designed as low- pressure appliances (4.0” WC, 1.00KPa). Fit the natural gas regulator supplied directly to the barbecue inlet located on the right side of the appliance using either hard plaumbing, or a flexible hose connected to a bayonet point.
-
Page 12: Using Your Barbecue
Using Your Barbecue Before You Light The Barbecue Perform the following checks • Make sure all gas connections are tight and leak tested. • Ensure the cooking surfaces are clean and hygienic • Check the control knobs are on the off position •... -
Page 13: After Use
Using Your Barbecue Controlling The Burners The control knob can now be turned to the desired heat setting, Low, Medium or High. The control knob does not need to be pushed in while selecting the heat setting. To Turn Off The Burner Push in and hold the control knob while turning in a clockwise direction until the off position is reached. -
Page 14: Getting The Most From Your Barbecue
Getting The Most From Your Barbecue Preheating Your Barbecue Like an oven, preheating your barbecue before cooking produces better results. Because your hood retains heat so efficiently, preheating your barbecue is quicker with the hood down. Turn the outside two burners to high. Close the hood, and allow to preheat for about 8 minutes, Then reduce the burner settings to achieve and maintain the required temperature, by following these guidelines. -
Page 15: Indirect Cooking
Getting The Most From Your Barbecue Direct Cooking Method Commonly used for traditional barbecuing. Place food over the lit grill section. Excess flaring may occur and so care must be taken while cooking. Check inside the roasting hood regularly. We do not recommended this method for roasts unless you place a baking dish under the roast, this will allow flammable fats and juices to be isolated away from the flame. -
Page 16: Cleaning Your Barbecue
• After use, remove all solid material from the cooking surfaces using a brass bristle brush or plastic scourer. Brushes specifically designed for this purpose can be purchased from your BeefEater retailer. Wipe off remaining residue with a paper towel. -
Page 17: Storing Your Barbecue
Cleaning Your Barbecue To Remove The Fat Tray For Cleaning The fat tray is held to the runners using four tabs as shown. To release the tray, pull the tray over the tabs at each of the four points. Storing Your Barbecue When storing barbecue for extended periods, be certain all controls and cylinder valves are turned off. -
Page 18: Troubleshooting Guide
Trouble Shooting Guide Problem Barbecue will not light Barbecue lights but goes out soon after starting Burners will not cross light from one to the other Low flame level or low heat output Stainless steel discolours Technical Specifications LPG/Propane Natural Gas Cause Check Ignition system not working... -
Page 19: Warranty
Warranty BeefEater Barbecues Warranty Terms Barbecue Barbecue Frame Stainless Steel burners Valves ‘Quartz Start’ Ignition System Vaporizer Grids and Reflectors All Other Parts Cooktops / Cooking Surfaces Stainless Steel Grills Roasting Hoods Body All other parts Side Burners Side Burner Frame... - Page 20 Beefeater Barbecues Warranty Conditions Should any part fail due to defective workmanship or faulty materials within the specified period from the date of purchase, BeefEater or its distributor will repair or, (at distributors option), replace the defective part free of charge.
-
Page 21: Accessories Available
Accessories Available Your retailer can advise on the range of BeefEater accessories available to help you take full advantage of the barbecue cooking opportunities available with your roasting hood. Mitt Set - handle baking dishes and other hot items safely and with confidence...
Need help?
Do you have a question about the SL4000s Series and is the answer not in the manual?
Questions and answers