Table of Contents

Related Manuals for Oricom TP30


Summary of Contents for Oricom TP30
-
Page 1: User Guide
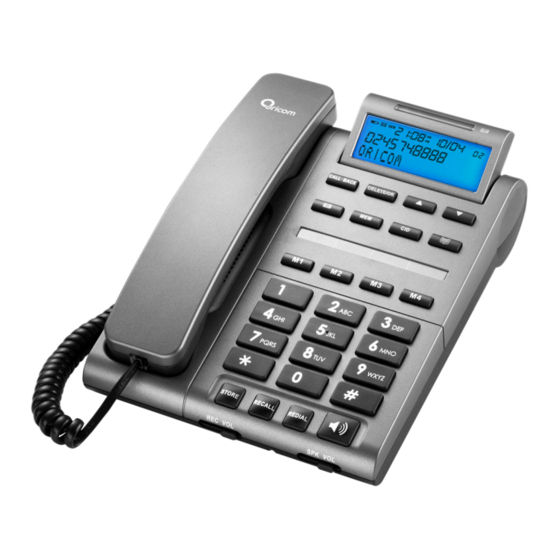
TP30 Amplified Speakerphone User Guide Please keep this user guide for future reference. -
Page 3: Table Of Contents
Table of contents General Information ...............2 Installation ................4 Wall Mounting ................5 Location of controls ...............6 Basic settings ................8 Operation ................9 The Phone Book ..............13 Memory ................15 Caller ID ................17... -
Page 4: General Information
General Information General Information It is very important that you read the User Guide carefully as it contains detailed information on WARNING installation, programming and operational issues which you will need to be aware of to ensure the Phone operates properly. Following is a list of some of the important issues and warnings which you need to be aware of. - Page 5 General Information Notes for operation in New Zealand The grant of a Telepermit for any item of terminal equipment indicates only that Telecom has accepted that the item complies with the minimum conditions for connection to its network. It indicates no endorsement of the product by Telecom, nor does it provide any sort of warranty.
-
Page 6: Installation
If you connect your telephone to a line with a broadband connection, you must connect an in line filter (not supplied) between the telephone socket and your phone base to ensure that your broadband and TP30 will work properly. If you do not install the filter you will experience interference on the cordless phone and your Broadband may suffer dropouts. -
Page 7: Wall Mounting
Wall Mounting Wall Mounting Desk Mounting Fit the bracket as shown in the illustration. Insert the brackets three tabs into the matching slots on the bottom of the phone and click into place. Bracket postion for desk mounting Caution: Before installing or changing the battery, make sure that the telephone is not connected to the telephone network or the mains power. -
Page 8: Location Of Controls
Location of controls CALL BACK DELETE/OK MUTE MUTE STORE RECALL REDIAL... - Page 9 Location of controls RINGER RECALL HI LOW OFF 600/100 V-/V+/HV/RINGERV REC VOL SPK VOL 1. Hook switch 15. / Buttons 2. Handset hook 16. DELETE/OK button 3. Mute button 17. Call back button 4. Store button 18. Display 5. Recall button 19. Ring LED indicator 6. Redial button 20.
-
Page 10: Basic Settings
Basic settings Basic settings 1. After installing the batteries, the display should flash the word ENGLISH. If not press and hold for approximately 4 seconds. or . Press DELETE/OK button. 2. Select the desired language using 3. Select the desired contrast setting (2=Default) using or . Press DELETE/OK button. or . -
Page 11: Operation
Operation Operation When the telephone is not in use, the date and time, number of new and total number of calls STORED in the Caller ID MEM will be shown in the display. The display will show the caller number (and name if available). Making a call 1. Pick up the handset or press button (the speaker LED will light) and wait for a dial tone. -
Page 12: Redial Function
Operation If you want to talk to the caller: 1. Pick up the handset or press button to answer the call. 2. At the end of the call, return the handset to the cradle or press Redial function The last number dialled will be saved in the telephone automatically. To use the redial facility, proceed as follows: 1. Lift the handset or press button . -
Page 13: Ringer Volume Control
Operation Take two different calls at the same time During a call, you will hear two loud beeps periodically to notify you of another incoming call. If you wish to answer this call 1. Press Recall button listen for dial tone then Press 2 to put the current call on hold and talk with the second caller. 2. -
Page 14: Message Waiting Indicator
Hearing Aid Compatibility This unit is compatible with most inductively coupled hearing aids on the market. However due to the wide range of hearing aids available we cannot guarantee that the TP30 will function error free with every model. -
Page 15: The Phone Book
The Phone Book The Phone Book The Phone Book will store 32 telephone numbers (22 digits max) and their associated names (16 characters max) with entries arranged alphabetically. A stored phone number can be dialled using fewer keystrokes than if dialled manually. If you subscribe to a Caller ID service, the name/number of the caller will be shown when you receive an incoming call. -
Page 16: Deleting A Phone Book Entry
The Phone Book Changing phone numbers/names 1. Press . 2. Scroll to the required memory location using or . 3. Press STORE EDIT? is displayed. Press STORE. 4. Changes to the displayed telephone number can be made using DELETE/OK. Press STORE. 5. Changes to the displayed name can be made using DELETE/OK 6. -
Page 17: Memory
Memory Memory The telephone also has 4 one-touch, 10 two-touch memories and a mailbox button for frequently dialled telephone numbers. When a number is stored into Memory you only press one or two buttons dependent on location to make a call. The one-touch memories are (mail box), M1-M4, the two-touch memories are accessed using the telephone keypad digits 0-9. - Page 18 Memory Storing two-touch Memories 1. Press STORE button. 2. Enter the telephone number to be stored (up to 22 digits). Press STORE button. 3. Enter the name (up to 16 characters). Press the corresponding number button one or more times for the first letter. Press STORE button. 4. “location ?” is display.
-
Page 19: Caller Id
Caller ID Caller ID Caller ID allows you to see who is calling before you answer a call and to see who has called in your absence. If the number is stored in the indirect memory, its associated name will be displayed instead. The CID memory will store up to 32 name/telephone numbers stored chronologically. The sequence number is shown in the top right-hand side of the display. When the memory is full, the oldest number will be deleted automatically as the new call is logged. -
Page 20: Cid Call Types
Caller ID CID Call Types Besides showing telephone numbers, the display can show a number of messages: OUT OF AREA It is an International call or a call from a PBX (no information received). PRIVATE Information on the number is blocked. The call could also be from a PBX. - Page 21 Spare parts are warranted to be free from defects in material or workmanship for thirty (30) days or for the remainder of the Warranty Period of the Oricom branded product in which they are installed, whichever is longer. During the Warranty Period, Oricom will where possible repair and if not replace the faulty product or part thereof.
- Page 22 Oricom. Oricom will not be in breach of a warranty expressly set out in this User Guide or under the Competition and Consumer Act 2010 and...
- Page 23 Competition and Consumer Act 2010 applies to this Warranty and which may not be so excluded, restricted or modified. For warranties that cannot be excluded, restricted or modified, Oricom limits the remedies available to those specified in the relevant legislation.
-
Page 24: Customer Support
Take a few moments to register your product online: www.oricom.com.au New Zealand Australia Email: support@oricom.co.nz Oricom International Pty Ltd Phone: 0800 674 266 Locked Bag 658 (Monday to Friday 10am to 7pm South Windsor, NSW 2756 NZST) Australia Web: www.oricom.co.nz...
Need help?
Do you have a question about the TP30 and is the answer not in the manual?
Questions and answers