Table of Contents
Advertisement
Quick Links
Download this manual
See also:
User Manual
Advertisement
Table of Contents

Related Manuals for Oricom TP30


Summary of Contents for Oricom TP30
-
Page 1: User Guide
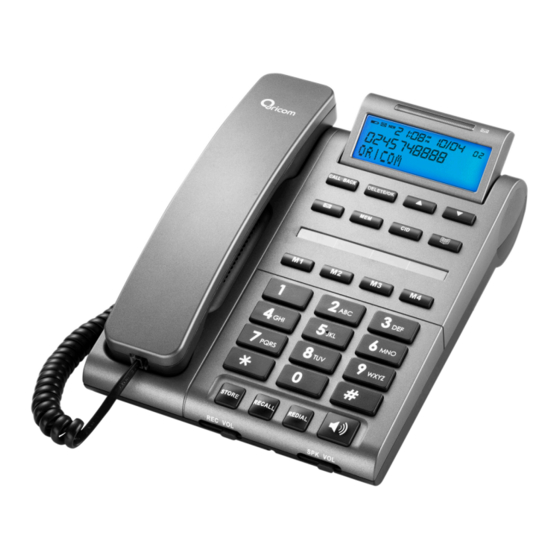
TP30 Amplified Speakerphone User Guide Please keep this user guide for future reference. Keep this user guide for future reference. Always retain your proof of purchase in case of warranty service and register your product on line at: AUSTRALIA: www.oricom.com.au... -
Page 3: Table Of Contents
Memory ................15 Caller ID ................17 Customer Support ..............19 Warranty Terms and Conditions (Australia) ......20 Need Help? If you need assistance setting up or using your Oricom product now or in the future, call Oricom Support. Australia 1300 889 785 www.oricom.com.au Mon-Fri 8am –... -
Page 4: General Information
General Information General Information It is very important that you read the User Guide carefully as it contains detailed information on WARNING installation, programming and operational issues which you will need to be aware of to ensure the Phone operates properly. Following is a list of some of the important issues and warnings which you need to be aware of. -
Page 5: General Information
General Information Notes for operation in New Zealand The grant of a Telepermit for any item of terminal equipment indicates only that Telecom has accepted that the item complies with the minimum conditions for connection to its network. It indicates no endorsement of the product by Telecom, nor does it provide any sort of warranty. -
Page 6: Installation
If you connect your telephone to a line with a broadband connection, you must connect an in line filter (not supplied) between the telephone socket and your phone base to ensure that your broadband and TP30 will work properly. If you do not install the filter you will experience interference on the cordless phone and your Broadband may suffer dropouts. -
Page 7: Wall Mounting
Wall Mounting Wall Mounting Desk Mounting Fit the bracket as shown in the illustration. Insert the brackets three tabs into the matching slots on the bottom of the phone and click into place. Bracket postion for desk mounting Caution: Before installing or changing the battery, make sure that the telephone is not connected to the telephone network or the mains power. -
Page 8: Location Of Controls
Location of controls CALL BACK DELETE/OK MUTE MUTE STORE RECALL REDIAL... -
Page 9: Location Of Controls
Location of controls RINGER RECALL HI LOW OFF 600/100 V-/V+/HV/RINGERV REC VOL SPK VOL 1. Hook switch 15. / Buttons 2. Handset hook 3. Mute button 17. Call back button 4. Store button 5. Recall button 6. Redial button 20. Mute button (on handset) 7. -
Page 10: Basic Settings
Basic settings Basic settings 1. After installing the batteries, the display should flash the word ENGLISH. If not press and hold for approximately 4 seconds. 2. Select the desired language using or . Press DELETE/OK button. or . Press DELETE/OK button. 4. -
Page 11: Operation
Operation Operation When the telephone is not in use, the date and time, number of new and display. The display will show the caller number (and name if available). Making a call 1. Pick up the handset or press wait for a dial tone. you are dialling. - Page 12 Operation If you want to talk to the caller: 1. Pick up the handset or press button to answer the call. 2. At the end of the call, return the handset to the cradle or press Redial function The last number dialled will be saved in the telephone automatically. To use the redial facility, proceed as follows: 1.
-
Page 13: Ringer Volume Control
Operation Take two different calls at the same time another incoming call. If you wish to answer this call 1. Press Recall button listen for dial tone then Press 2 to put the current call on hold and talk with the second caller. 2. -
Page 14: Message Waiting Indicator
Hearing Aid Compatibility This unit is compatible with most inductively coupled hearing aids on the market. However due to the wide range of hearing aids available we cannot guarantee that the TP30 will function error free with every model. -
Page 15: The Phone Book
The Phone Book The Phone Book The Phone Book will store 32 telephone numbers (22 digits max) and their associated names (16 characters max) with entries arranged alphabetically. A stored phone number can be dialled using fewer keystrokes than if of the caller will be shown when you receive an incoming call. - Page 16 The Phone Book Changing phone numbers/names 1. Press . 2. Scroll to the required memory location using or . 3. Press STORE STORE. 4. Changes to the displayed telephone number can be made using DELETE/OK. Press STORE. 5. Changes to the displayed name can be made using DELETE/OK 6.
-
Page 17: Memory
Memory Memory The telephone also has 4 one-touch, 10 two-touch memories and a mailbox button for frequently dialled telephone numbers. When a number is stored into Memory you only press one or two buttons dependent on location to make a call. The one-touch memories are (mail box), M1-M4, the two-touch memories are accessed using the telephone keypad digits 0-9. - Page 18 Memory Storing two-touch Memories 1. Press STORE button. 2. Enter the telephone number to be stored (up to 22 digits). Press STORE button. 3. Enter the name (up to 16 characters). Press the corresponding number button one or more times for the first letter. Press STORE button. 5.
-
Page 19: Caller Id
Caller ID Caller ID see who has called in your absence. If the number is stored in the indirect will store up to 32 name/telephone numbers stored chronologically. The sequence number is shown in the top right-hand side of the display. When the memory is full, the oldest number will be deleted automatically as the new call is logged. - Page 20 Caller ID CID Call Types Besides showing telephone numbers, the display can show a number of messages: OUT OF AREA It is an International call or a call from a PBX (no information received). PRIVATE Information on the number is blocked. The call could also be from a PBX.
-
Page 21: Customer Support
If you have any problems setting up or using this product you will find useful tips and information in the Troubleshooting section of this user guide as well as “Frequently Asked Questions” on our website www.oricom.com.au. If you have further questions about using the product after reviewing the resources above or would like to purchase replacement parts or accessories please call our Customer Support Team. -
Page 22: Warranty Terms And Conditions (Australia)
Please note that if a Customer Support Team member advises that your product does not qualify for return, this warranty does not apply to your product. Products that are authorised to be returned to Oricom in Australia must include all of the following:... - Page 23 Warranty Terms and Conditions (Australia) Warranty Information (Australia) This Warranty is provided by Oricom International Pty Ltd ABN 46 086 116 369, Unit 1, 4 Sovereign Place, South Windsor NSW 2756, herein after referred to as “Oricom”. Oricom makes no other warranties or conditions, express or implied, including as to acceptable quality and fitness for a particular purpose, except as stated in this Warranty.
- Page 24 No change to the conditions of this Warranty is valid unless it is made in writing and signed by an authorised representative of Oricom. Oricom will not be in breach of a warranty expressly set out in this User Guide or under the Competition and Consumer Act 2010 and excludes any...
- Page 25 Competition and Consumer Act 2010 applies to this Warranty and which may not be so excluded, restricted or modified. For warranties that cannot be excluded, restricted or modified, Oricom limits the remedies available to those specified in the relevant legislation.
- Page 27 Phone: 1300 889 785 (Monday to Friday 8am to 6pm AEST) Web: www.oricom.com.au Fax: (02) 4574 8898 Contact details for Oricom support and warranty claims in New Zealand Email: support@oricom.co.nz Phone: 0800 674 266 (Monday to Friday 10am to 8pm NZST) Web: www.oricom.co.nz...
Need help?
Do you have a question about the TP30 and is the answer not in the manual?
Questions and answers