Table of Contents
Advertisement
CONTENTS
1.
Warnings and Operation Notes ..................................................
2.
Installation ............................................................................
3.
Initial Network Settings .........................................................
4.
Accessing the Camera ...........................................................
5.
IP Settings ................................................................8
6.
Changing Camera View ...........................................................
7.
Image Quality .........................................................10
8.
Factory Default ..........................
9.
Specifications ........................................................................12
Before attempting to connect or operate this product, read these instructions carefully.
Save this manual for future use.
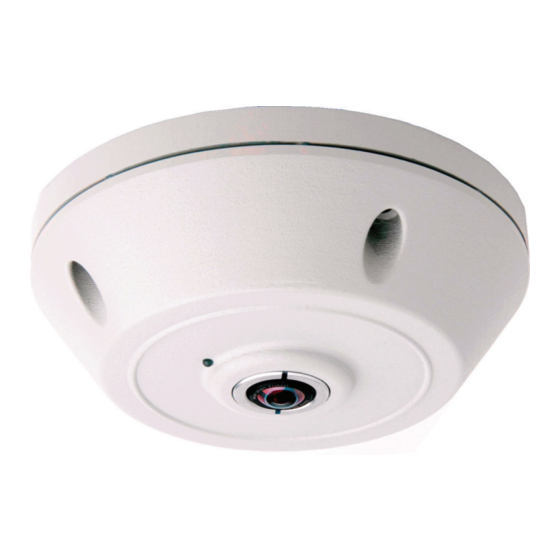
Ax36-series Megapixel 360º Cameras
............................................11
Quick Start Guide
.3
.5
.6
.7
.9
Advertisement
Table of Contents

Subscribe to Our Youtube Channel
Related Manuals for i3 International Ax36 series


Summary of Contents for i3 International Ax36 series
-
Page 1: Table Of Contents
Ax36-series Megapixel 360º Cameras Quick Start Guide CONTENTS Warnings and Operation Notes ..........Installation ................Initial Network Settings ............Accessing the Camera ............Changing IP Settings ..............8 Changing Camera View ............Optimizing Image Quality ............10 Factory Default ..............11 Specifications ................12 Before attempting to connect or operate this product, read these instructions carefully. - Page 2 Annexxus 36-series Camera Quick Start Guide COPYRIGHT © 2012 by i³ International, Inc. All rights reserved. No part of this manual may be reproduced or transmitted in any form or by any means, electronic or mechanical, including but not limited to, photocopying, recording, or by any information storage or retrieval system, without the prior written permission of the copyright owner and the publisher.
-
Page 3: Warnings And Operation Notes
1. Warnings and Operation Notes Thank you for purchasing i³ Annexxus 36-series camera. If the system needs to be modified or repaired, contact a certified i³ International Dealer/Installer. When serviced by unauthorized technician, the system warranty will be voided. Should you have any problems or questions regarding our products, contact your local i³... -
Page 4: Step
Power Supply Ensure the supplied voltage meets the power consumption requirements of this camera before powering the camera on. Incorrect voltage may cause irreparable damage to the video camera and will effectively void the camera warranty. Cleaning • For maximum optical clarity, the camera or lens must remain clean. Use a soft, dry cloth to remove finger prints and dust from the dome cover. -
Page 5: Installation
2. Installation Starting Up Working [flashes ON/OFF] Option 1 Power over Ethernet Device Option 2 Local Power Supply Class2 PSU 12V DC 5W i3-TRNG-CAMS-Ax36D.indd Rev. 120402... -
Page 6: Initial Network Settings
Initial Network Settings Camera Default Settings DHCP if supported by network, otherwise: IP Address: 192.168.1.100 Netmask: 255.255.255.0 Gateway: 192.168.1.1 NETWORK PC / Laptop Settings IP Address: 192.168.1.xxx Netmask: 255.255.255.0 Gateway: 192.168.1.1 i3-TRNG-CAMS-Ax36D.indd Rev. 120402... -
Page 7: Accessing The Camera
Accessing the Camera From the Disk that came with your camera, run the Install.exe file to install Ax36 Camera Utility. You may be asked to restart your system after installation. Once the Camera Utility has been installed: Double-click the 360 Camera Utility shortcut on the Desktop of your system to launch the program Rediscover Click... -
Page 8: Changing Ip Settings
Changing IP Settings Step 2 Step 1 Step 3 Step 4 Step 5 Step 6 After completing steps above, repeat instructions in the ‘Accessing the Camera’ section on page 7 using the new IP address. Or type in IP address into your PC / laptop web browser. -
Page 9: Changing Camera View
Changing Camera View Pan / Tilt / Zoom Controls (PTZ) or click the image to pan or tilt and use mouse scroll wheel to zoom (except IE) View Select i3-TRNG-CAMS-Ax36D.indd Rev. 120402... -
Page 10: Optimizing Image Quality
Optimizing Image Quality Per-view Adjustments Camera Adjustments i3-TRNG-CAMS-Ax36D.indd Rev. 120402... -
Page 11: Factory Default
Factory Default Remove camera from installed location (leave powered on) Remove screw entirely (highlighted below) Insert pin/paperclip and hold for approximately 10 seconds (LED will turn off) Camera will then reboot (this will take approximately 2 minutes) Repeat instructions in the ‘Accessing the Camera’ section on page 7 i3-TRNG-CAMS-Ax36D.indd Rev. -
Page 12: Specifications
Specifications Camera The specifications are subject to change without notice Image Sensor ½. ” CMOS 5MP Lens F2.0 185º Fisheye Responsiveness 1.4 V/lux-sec Max Resolution 2144x1944 Preset Positions Privacy Zones Video Compression MJPEG, MPEG-4, H.264 Frame-rate 12.5 fps at Max. Resolution Streaming Multiple simultaneous ePTZ and Panoramic streams Video Streams... - Page 13 NOTES: i3-TRNG-CAMS-Ax36D.indd Rev. 120402...
- Page 14 i³ INTERNATIONAL INC. 1.866.840.0004 U.S.A. 1967 Wehrle Drive, Canada 780 Birchmount Road, www.i3international.com Suite 1, PMB# 034 Buffalo Unit 16, Scarborough, NY, 14221 ON, M1K 5H4...
Need help?
Do you have a question about the Ax36 series and is the answer not in the manual?
Questions and answers