i3 International Ax47R Series Quick Start Manual
1.3/3mp infrared mini outdoor ip dome camera
Hide thumbs
Also See for Ax47R Series:
- User manual (2 pages) ,
- Quick start manual (2 pages) ,
- User manual (2 pages)
Advertisement
Quick Links
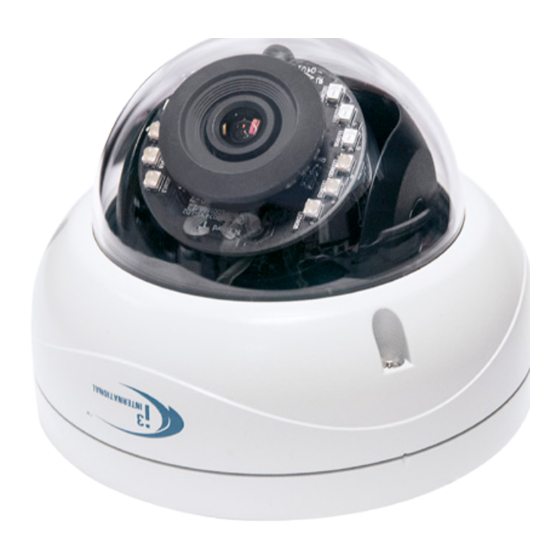
1.3/3MP Infrared Mini Outdoor IP Dome Camera
SAFETY
When installing your Ax47R/Ax67R camera be sure to avoid:
•
excessive heat, such as direct sunlight or heating appliances
•
contaminants such as dust and smoke
•
strong magnetic fields
•
moisture and humidity
•
areas with mechanical vibrations
•
fluorescent lamps or objects that reflect light and unstable light sources
•
temperatures below -20° C (-4° F) and above 50° C (122° F
To avoid electrical shock and to preserve the product warranty, DO NOT disassemble the
camera. Refer servicing to qualified personnel only.
POWER SUPPLY
This camera accepts PoE power.
Ensure the supplied voltage meets the power consumption requirements of this camera
before powering the camera on. Incorrect voltage may cause irreparable damage to the
video camera and will effectively void the camera warranty.
CLEANING
•
For maximum optical clarity, the camera dome or lens must remain clean. Use a soft,
dry cloth to remove finger prints or dust from the dome cover.
•
Use a blower to remove dust from the lens.
•
Do not use volatile solvents such as alcohol, benzene, or thinners, as they may dam-
age the surface finishes.
PACKAGE CONTENTS
Ensure that the items received match those listed on the order form and the packing slip.
In addition to this manual and a fully assembled camera, the dome camera packing box
includes:
1. Surface Mount template x1
2. Desiccant (attach to the inside of the Inner Liner).
3. Security torx bit x1
4. Round Head Screw (Tapping Type) x3
5. Plastic Anchor x3
6. Standard RJ45 Connector x2
2
3
Scan this QR code or visit www.i3international.com to view and download the full
User Manual for this camera.
Also available for download is the AnnexxusConfigurationTool
program used to locate and configure your cameras with your
SRX-Pro software.
Please contact our Technical Support team if you have any
questions or concerns regarding camera installation or you
require software services or support. Technical support can be
reached by email at: support@i3International.com or by
phone toll free 1.877.877.7241.
i3-TRNG-CAMS-Ax47R_67R-QSG.indd
Rev. 190717
).
3-Ø4.5 holes
(for plastic anchor)
Cable hole
Logo Direction
1
4
5
6
QR Code for Complete
User Manual and ACT
Quick Start Guide
CAMERA PARTS AND DEFINITIONS
1
1
5
6
7
8
13
14
1. Mounting holes (x3)
2. Dome bubble housing / Dome cover
3. Screws securing the dome bubble housing to camera module (x3, silver)
4. Lexan bubble
5. Screws attaching camera module to the camera base (x4, black)
6. Tilt bracket with two locking screws. Loosen the screws and tilt to adjust
lens angle.
7. Inner Liner / Shroud. Attach the desiccant to the inside of the Inner Liner, without
obstructing the lens movement.
8. IR board
9. Camera Lens Assembly. Pan to adjust lens angle.
10. Lens base. Rotate to adjust lens angle.
11. Camera lens.
12. RJ45 Ethernet PoE Port with waterproof RJ45 connector assembly.
Insert an Ethernet cable into the port for network connection as well as PoE
(Power over Ethernet) power. To maintain water-resistant rating in outdoor
installations, make sure to use the included waterproof RJ45 Connector assembly.
13. Reset/Default button. Press for 1 second to reboot the camera. Press for 6
seconds to restore camera settings to factory defaults.
14. MicroSD Card slot for on-camera video storage. (MicroSD card sold separately).
Ax47R/67R
110.97 mm
1
9
10
11
12
2
3
4
Advertisement

Related Manuals for i3 International Ax47R Series


Summary of Contents for i3 International Ax47R Series
-
Page 1: Quick Start Guide
Quick Start Guide 1.3/3MP Infrared Mini Outdoor IP Dome Camera Ax47R/67R CAMERA PARTS AND DEFINITIONS SAFETY 110.97 mm When installing your Ax47R/Ax67R camera be sure to avoid: • excessive heat, such as direct sunlight or heating appliances • contaminants such as dust and smoke •... -
Page 2: Installing The Camera
You should be able to see the camera image on the screen. If you do not see Tilt the camera lens within the certain range the camera image on the screen, call i3 International technical support team (20° - 90°) to your desired field of view.
Need help?
Do you have a question about the Ax47R Series and is the answer not in the manual?
Questions and answers