
Related Manuals for StarTech.com SAT3510BU2E


Summary of Contents for StarTech.com SAT3510BU2E
- Page 1 3.5” eSATA/USB 2.0 Removable SATA Hard Drive Enclosure SAT3510BU2E Instruction Manual...
- Page 2 StarTech.com. Where they occur these references are for illustrative purposes only and do not represent an endorsement of a product or service by StarTech.com, or an en- dorsement of the product(s) to which this manual applies by the third-party company in question.
-
Page 3: Table Of Contents
Instruction Manual Instruction Manual Table of Contents Introduction ..............1 Package Contents ...............1 Hardware Guide ............... 2 Rear Panel ...................2 Hardware Installation ............2 Inserting a Hard Drive ..............2 Removing a Hard Drive ...............4 Recognizing the Hard Drive ........... 5 Windows XP ................5 USB 2.0 ...................5 eSATA ..................5... -
Page 4: Introduction
Instruction Manual Introduction Thank you for purchasing a StarTech.com InfoSafe 3.5” eSATA/USB 2.0 Removable SATA HD Enclosure. Supporting the latest generation of hard drive storage (up to 1TB SATA hard drives), this enclosure allows the use of any 3.5” SATA II (SATA /300) or SATA (SATA /150) and can be con- nected to a host computer using either eSATA or USB. -
Page 5: Hardware Guide
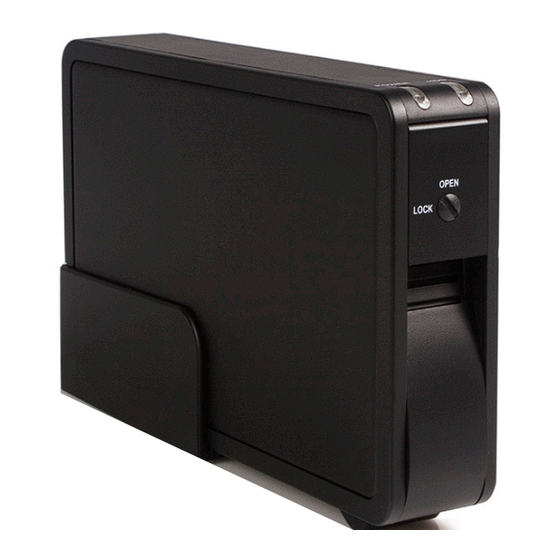
Instruction Manual Hardware Guide Rear Panel Power Button DC Power Adapter Input USB Output eSATA Output Hardware Installation Inserting a Hard Drive Unlock the keylock situated on the front of the SAT3510BU2E. - Page 6 Lift the handle on the front panel and pull the front panel door out from the body (as shown below). Place the hard drive into the SAT3510BU2E. The printed label on the hard drive should be on the right hand side, with the SATA connector on the lower half of the drive.
-
Page 7: Removing A Hard Drive
Instruction Manual Removing a Hard Drive Unlock the key lock. Lift the handle on the front panel and pull the front panel door out from the body. Carefully remove the hard drive from the enclosure. -
Page 8: Recognizing The Hard Drive
If you are using the USB 2.0 interface to connect the hard drive to your computer, no setup is required. Simply plug the hard drive into an avail- able USB port and turn the power on to the SAT3510BU2E. When you open My Computer the drive should be visible under the heading Devices with Removable Storage. - Page 9 Turn on the SAT3510BU2E. Once the power indicator is illuminated, click the Scan button. The Device Manager will scan for plug and play hardware. Once it has completed the scan, your drive should be visible below the Disk Drives heading.
-
Page 10: Windows Vista
If you are using the USB 2.0 interface to connect the hard drive to your computer, no setup is required. Simply plug the hard drive into an avail- able USB port and turn the power on to the SAT3510BU2E. Open My Computer and the drive should be visible under the heading “Devices with Removable Storage.”... -
Page 11: Safe Drive Removal
Instruction Manual In the left pane of the Computer Management window, select “Device Manager.” Turn on the SAT3510BU2E. Once the power indicator is illuminated, click the “Scan” button. Scan button The Device Manager will begin an installation of the necessary driver software. -
Page 12: Specifications
Instruction Manual Specifications Specification SAT3510BU2E Connector Types 1 x eSATA Plug 1 x USB B Female Chipset INIC 1611 Data Transfer Rate 3Gb/s (eSATA) 480Mbps (USB 2.0) Drive Capacity Support Up to 1 TB Drive Type Compatibility SATA 300 (SATA II) -
Page 13: Technical Support
Limitation of Liability In no event shall the liability of StarTech.com Ltd. and StarTech.com USA LLP (or their officers, directors, employees or agents) for any damages (whether direct or indirect, special, punitive, incidental, consequential, or... - Page 14 StarTech.com has been making “hard-to-find easy” since 1985, providing high quality solutions to a diverse IT and A/V customer base that spans many channels, including government, education and industrial facilities to name just a few. We offer an unmatched selection of computer parts, cables, A/V products, KVM and Serv-...
Need help?
Do you have a question about the SAT3510BU2E and is the answer not in the manual?
Questions and answers