Advertisement
Quick Links
Advertisement

Related Manuals for Gefen 4x2 DVI Switcher


Summary of Contents for Gefen 4x2 DVI Switcher
- Page 1 4x2 DVI Switcher U S E R M A N U A L www.gefen.com...
- Page 2 Notice Gefen Inc. reserves the right to make changes in the hard ware, packaging and any accompanying doc u men ta tion without prior written notice. The 4x2 DVI Switcher is a trademark of Gefen Inc. Macintosh is a trademark of Apple Computer Inc.
-
Page 3: Table Of Contents
TABLE OF CONTENTS Introduction Front Panel Descriptions Back Panel Descriptions How To Connect The 4x2 DVI Switcher RMT-4IR System Specifi cations Warranty... -
Page 4: Operation Notes
READ THESE NOTES BEFORE IN STALL ING OR OPERATING THE 4X2 DVI SWITCHER • If two monitors are connected to the switcher, both monitors must have the same na- tive resolution. • The 4x2 DVI Switcher is housed in a metal box for better RF shielding. -
Page 5: Introduction
USB keyboard and mouse. The 4x2 DVI Switcher is switched using the RMT-4IR. The 4x2 DVI Switcher saves space – there’s no need to work on a desk crowded with four monitors, keyboards and mouse devices. It saves time – there’s no need to move from one monitor to another to access different computers. -
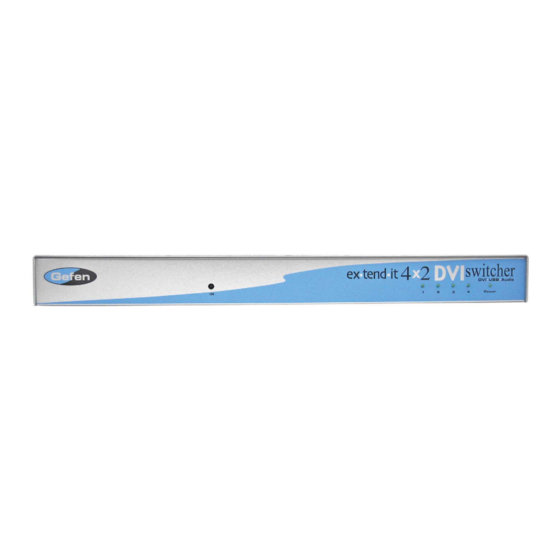
Page 6: Front Panel Descriptions
FRONT PANEL DESCRIPTIONS... -
Page 7: Back Panel Descriptions
BACK PANEL DESCRIPTIONS... -
Page 8: How To Connect The 4X2 Dvi Switcher
HOW TO CONNECT THE 4X2 DVI SWITCHER Connect your computers DVI, USB, and audio to the 4x2 DVI Switcher inputs using the supplied cables. Connect one or two DVI monitor to the DVI Out. If only one monitor is connect you must use DVI Out 1. -
Page 9: Rmt-4Ir
RMT-4IR 1. Remove battery cover from the back of the RMT4-IR remote. 2. Verify that dip switches 1 & 2 are in the down (OFF) position. 3. Insert the battery, hold the battery so that you can see the positive side facing up. The side that is not marked must be facing down. - Page 10 4X1 DVI/ADC WIRING DIAGRAM...
- Page 11 SPECIFICATIONS Video Amplifi er Bandwidth ................. 1.65 GHz Single Link Range ..................1920 x 1200 Vertical Frequency Range ..................60 Hz DVI Input/Output Connector Type ................DVI-I USB Input Connector ..................Type “B” USB Output Connector ..................Type “A” Power Consumption ................15 Watts (max.) Power Supply ......................
-
Page 12: Warranty
Gefen Inc. warrants the equipment it manufactures to be free from defects in material and workmanship. If equipment fails because of such defects and Gefen Inc. is notifi ed within one (1) year from the date of shipment, Gefen System will, at its option, repair or replace the equipment, provided that the equipment has not been subjected to mechanical, electrical or other abuse or modifi...
Need help?
Do you have a question about the 4x2 DVI Switcher and is the answer not in the manual?
Questions and answers