Advertisement
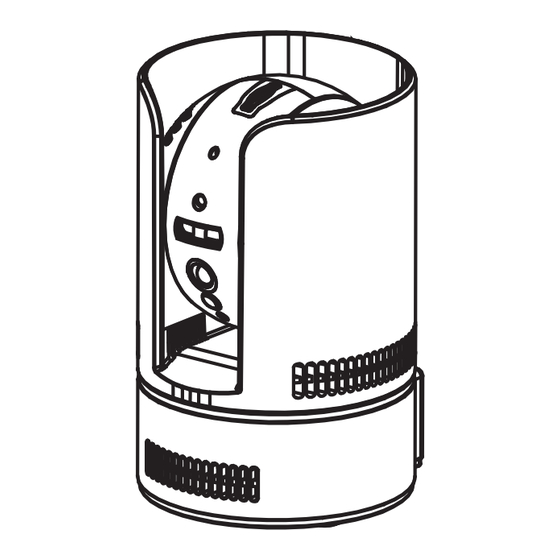
LNC250 LOREX PING SERIES
QUICK START GUIDE
1A
ETHERNET SETUP
(RECOMMENDED)
A: Connect the power adapter to the camera
and connect the other end to a power outlet.
B: Connect an Ethernet cable (included) to the NET
port on the camera and connect the other end to
your router (not included).
Internet
LAN
C: Download the free Lorex Ping app, and
tap the Lorex Ping icon to open the app.
D: Press + to add a camera.
E:
Name your camera
Press the QR code button
and scan the QR code on the
bottom of the camera
CamID #
Or, you can read the CamID number from the bottom
of your camera, and enter the number manually.
For software and instruction manual:
QUICK MOBILE GUIDE
IPHONE
®
F:
Lorex Camera
Enter the camera password.
The password is lorex the
first time you connect to
the camera. Press Done
G:
Tap the camera to
connect
You will be asked to create
your own password. Tap OK
Enter a new password
and then tap OK/Done
H: Tap the name of the camera in Camera List
again to connect to the camera. Lorex Ping
streams live video from your camera.
To update your software or change camera
NOTE
settings, you use a separate admin user ID and
!
password (for security).
Default admin user ID: admin
Default admin password: ______ (leave blank)
OPTIONAL WIFI SETUP
A: From the Camera List, tap
.
B: Tap Camera Settings and enter the admin user
ID/password above.
C: Tap Network>WiFi Network.
D: Slide Wi-Fi to ON or check Wi-Fi and select
your WiFi network. Enter the password and tap
OK. Wait for the update to complete.
E: Remove the Ethernet cable from the camera and it
will connect to the WiFi network.
1
Visit www.lorextechnology.com
2
Search your product's model number
/ IPAD
/ ANDROID™
®
1B
WIFI SETUP
A: Connect the power adapter to the camera
and connect the other end to a power outlet.
Do not connect the Ethernet cable.
OR
B: Connect your smartphone or tablet to your WiFi
network.
C: Download the free Lorex Ping app, and
tap the Lorex Ping icon to open the app.
D:
Press Wifi Setup
E:
A QR code appears on the screen with your WiFi
network details.
F:
Press the WPS button on the
camera. The LEDs will start flashing
3
Select your product from the search results
G: Hold your phone or tablet about 1ft (30cm) in
front of your camera, and show your camera the
QR code.
1ft (30cm)
The camera scans the QR code on your device to connect to the WiFi
network and beeps once it is successfully scanned. In a few seconds,
the connection starts and a message appears on your device.
NOTE: If the QR code does not scan, complete option 1B and then
complete the Optional WiFi setup instead.
H:
Lorex Camera
I:
Then
Press Next
Enter the password
for your WiFi network
and press OK
J: Tap the name of the camera in Camera List again
to connect to the camera. Lorex Ping streams live
video from your camera.
To update your software or change camera
NOTE
settings, you use a separate admin user ID and
!
password (for security).
Default admin user ID: admin
Default admin password: ______ (leave blank)
4
Click on the Downloads tab
Name your camera and
press OK
Tap the camera to
connect
You will be asked to create
your own password. Tap OK
Enter a new password
and then tap OK/Done
LNC250_Series_QSG_EN_R2
Advertisement
Table of Contents

Related Manuals for FLIR Lorex LNC250 PING Series


Summary of Contents for FLIR Lorex LNC250 PING Series
- Page 1 QUICK MOBILE GUIDE LNC250 LOREX PING SERIES QUICK START GUIDE IPHONE / IPAD / ANDROID™ ® ® WIFI SETUP ETHERNET SETUP (RECOMMENDED) G: Hold your phone or tablet about 1ft (30cm) in A: Connect the power adapter to the camera A: Connect the power adapter to the camera front of your camera, and show your camera the and connect the other end to a power outlet.
- Page 2 LNC250 LOREX PING SERIES QUICK PC/MAC GUIDE QUICK START GUIDE CONNECTING ON OPTIONAL— PC/MAC SETUP—CONNECTING THE CAMERA PC OR MAC PC / MAC WIFI SETUP A: Connect the power adapter to the camera and connect the other end to a power outlet. A: Download the A: Install L-View on a PC in your local network (must L-View software from...
Need help?
Do you have a question about the Lorex LNC250 PING Series and is the answer not in the manual?
Questions and answers