Advertisement
Table of Contents
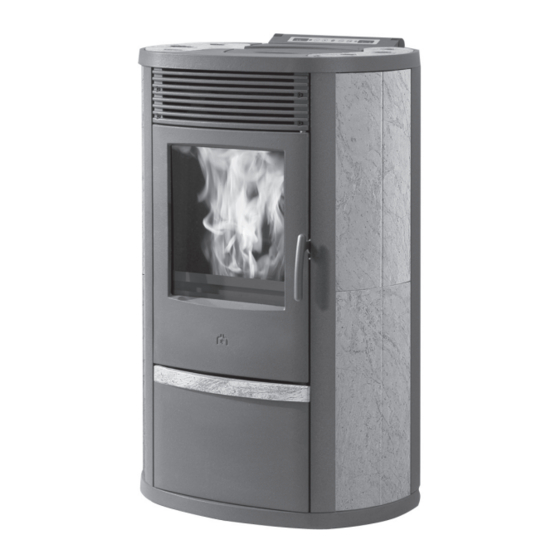
EdilKamin Pellet Fire Installation & Operation Manual
Iris Plus & Little Models
Important information .................................... 2
Operation and fuel ......................................... 3
Technical specifications ................................. 4
Assembly & installation .................................. 5
Pellet fire vent systems .................................. 6
Dimensions ................................................... 8
Installation clearances .................................... 9
Control panels & weekly timer ................. 10-13
Troubleshooting ...................................... 14-15
Cleaning and maintenance .......................... 15
FEBRUARY 2011
Advertisement
Table of Contents


Need help?
Do you have a question about the Iris Plus and is the answer not in the manual?
Questions and answers
Witam Posiadają Państwo zapalarkę do pieca Edilkamin lilia?
Yes, EdilKamin offers igniters (heating elements) designed for pellet stoves, including models like EdilKamin Lilia. The igniters are used to light pellets and wood chips for stoves, boilers, and burners.
This answer is automatically generated