Table of Contents
Advertisement
Quick Links
Advertisement
Table of Contents

Related Manuals for Grundig MASQ RRCD 9100 PLL


Summary of Contents for Grundig MASQ RRCD 9100 PLL
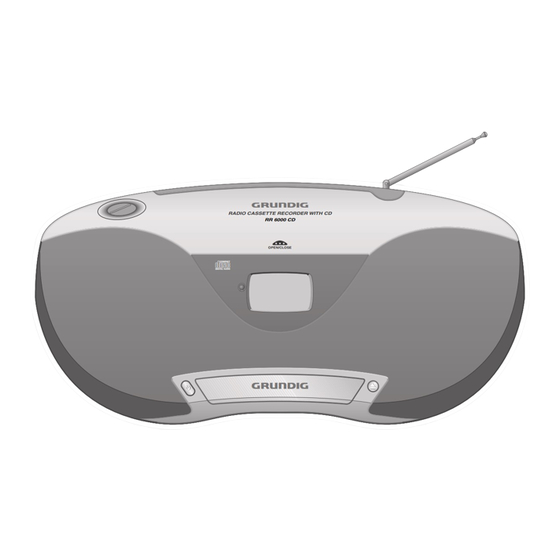
- Page 1 RADIO CASSETTE RECORDER WITH CD MASQ RRCD 9100 PLL...
-
Page 2: Care And Safety
CARE AND SAFETY ______________________________ ENGLISH To ensure that this device provides you with long-term satisfaction and enjoyment, please observe the following instructions. This device is designed for the recording and playback of audio signals. Any other use is expressly prohibited. Protect the device, the CDs and cassettes from rain, moisture (dripping or splashing water), sand and heat. - Page 3 OVERVIEW ___________________________________________ Controls RADIO CASSETTE RECORDER WITH CD RR 6000 CD OPEN/CLOSE PHONES General Switches the device to and from stand-by mode. For opening and closing the cover panel on the OPEN/CLOSE OPEN/CLOSE top of the device. Switches surround sound on and off. SURROUND SOUND Selects the sound settings »FLAT«, »CLASSIC«, »POP«, »JAZZ«...
- Page 4 OVERVIEW ____________________________________________ SURROUND SOUND PROGRAM/ RANDOM TIME INTRO/ TIMER REPEAT STOP TAPE F.FWD F.RWD PAUSE PLAY F.FWD STOP RECORD RECORD PLAY F.FWD STOP PAUSE PHONES Radio unit Telescopic antenna for FM reception. ANTENNA Selects the tuner as input source. Band selector TUNER/BAND TIME »...
- Page 5 OVERVIEW ____________________________________________ Plays the start of a CD track. INTRO/REPEAT Repeats a track or the whole CD. TIMER PROGRAM/ TIME RANDOM INTRO/ TIMER REPEAT STOP Ends CD playback. STOP Deletes the track memory for the CD. F.FWD F.RWD Tape unit Selects the Tape input source.
-
Page 6: The Remote Control
OVERVIEW ____________________________________________ In standby mode - displays the time. 88:88 In tuner mode - displays the frequency. In CD mode - displays the total playing time and the current playing time. 10 VOL. Displays the volume (scale from »0« to »40«). MHz, kHz Frequency display for »FM«, »MW«... -
Page 7: Power Supply
POWER SUPPLY ___________________________________ Mains operation Note: Check that the mains voltage on the type plate (on the bottom of the device) corresponds to your local mains supply. If this is not the case, contact your specialist dealer. Plug the mains cable supplied (in the battery compartment) into the »AC «... -
Page 8: Inserting Batteries In The Remote Control
_______________________________ POWER SUPPLY Inserting batteries in the remote control Open the battery compartment by pushing down the lid of the battery compartment. When inserting the batteries (micro type, for example AAA, R 3, UM4), observe the polarity marked on the base of the battery compartment. Note: If the device no longer reacts properly to remote control commands, the batteries may be flat. -
Page 9: Setting The Clock
SETTINGS ______________________________________________ Setting the clock When the device is connected to the mains supply and the time has not been set, the time display flashes. The following settings can only be carried out in stand-by mode. 12HR To set the 12-hour format, briefly press »TIME«. –... - Page 10 ______________________________________ SETTINGS Automatic station search Press »TUNER/BAND« to switch on the device. FLAT – Display: »TUNER«, then the waveband and the frequency. 100.6 Select desired waveband (FM, MW or LW) with »TUNER/ BAND«. TUNER – Display: »FM«, »MW« or »LW«. Activate the station search by pressing »TUNING «...
-
Page 11: General Functions
GENERAL FUNCTIONS ________________________ Switching on and off Press » « to switch on the device from stand-by mode. FLAT – The last input source used is automatically selected. 100.6 Note: TUNER The following buttons on the device can also be used to switch on the stereo system: »TUNER/BAND«... -
Page 12: Tuner Mode
TUNER MODE _______________________________________ Antennas For FM stations (VHF) extend the telescopic antenna »ANTENNA «. Note: If the FM signal is too strong, it is advisable to push in the telescopic antenna. The radio recorder has a built-in rod antenna for MW and LW reception. Turn the radio recorder to point the antenna. -
Page 13: Selecting The Cd Input Source
CD MODE _________________________________________ The device is suitable for CD-DAs, CD-Rs and CD-RWs. Only use CD-DAs which bear the logo shown here. If the device is unable to scan CDs perfectly, use a standard commercially available cleaning CD to clean the laser optics. Other cleaning methods may damage the laser optics. -
Page 14: Searching For A Passage Within A Track
CD MODE _____________________________________________ Searching for a passage within a track During playback, press » « or » « and hold it down until you find the passage you want to hear. – When » « or » « are released, playback begins. Note: During the search the volume is reduced. - Page 15 _____________________________________________ CD MODE Creating a track memory This function enables you to store up to 32 tracks on the current CD in a cer- tain order and then play them back in that sequence. The same track may be stored more than once. Selecting, storing and playing back tracks Place a CD in the CD compartment.
- Page 16 _____________________________________________ CD MODE Changing the track selection To replace a stored track, keep pressing »PROGRAM/PROG.« until FLAT PROGRAM its memory position appears in the display. 06 P - 08 Select the new track number with » « or » «. Press »PROGRAM/PROG.«...
-
Page 17: Tape Mode
TAPE MODE __________________________________________ Selecting Tape as input source Select tape as the input source with » TAPE« on the device. FLAT 16:23 – Display: » TAPE« and the time. TAPE Press » « on the device to open the tape compartment. Insert a tape in the compartment with the tape side facing outwards and the full reel on the left. -
Page 18: Recording From The Radio
TAPE MODE ___________________________________________ Recording from the radio Place a tape with the protection tabs intact in the tape compartment and use » « or » « on the device to find the correct position on the tape. Select the tuner as input source with »TUNER/BAND« and tune into the radio station. -
Page 19: Timer Mode
TIMER MODE ________________________________________ Your radio recorder has a switch-on timer, which turns the device on and off at a pre-set time. Setting the switch-on timer Note: The clock on the device must already be set. If, when setting the time, no button is pushed for a period of longer than 10 seconds, the system will end the process automatically. -
Page 20: Cleaning The Tape Drive
INFORMATION _____________________________________ Cleaning the tape drive To guarantee good recording and playback quality, clean the parts shown (1, 2, 3) after every 50 hours of use, or once a month. Open the tape compartment, moisten a cotton swab with alcohol or a speci- al head-cleaning fluid and clean the idler (3), the capstan (2) and the magnetic heads (1). -
Page 21: Additional Information For Units Sold In The Uk
“E”, earth symbol “ ”, coloured green, or green & yel- low. Replacement mains lead sets can be obtained from your local dealer, or by contacting Grundig Consumer Relations (01788 570088) Moulded 3-pin lead set, suitable for UK use: Ref: Leadset UK 8290-991-224... -
Page 22: Rectifying Minor Problems
________________________________ INFORMATION Rectifying minor problems If a fault occurs, first refer to this information before you take the device for repair. If you are unable to rectify the fault using the information given here, contact your local dealer or service specialist. Under no circumstances should you attempt to repair the radio recorder yourself, as this would invalidate the guarantee. - Page 23 Grundig AG Beuthener Str. 41 • D-90471 Nürnberg • http://www.grundig.com 72011-401.2000 •...
Need help?
Do you have a question about the MASQ RRCD 9100 PLL and is the answer not in the manual?
Questions and answers