Table of Contents

Related Manuals for Electrolux EOB 53102


Summary of Contents for Electrolux EOB 53102
- Page 1 Built in oven EOB 53102...
-
Page 2: Table Of Contents
2 electrolux Electrolux. Thinking of you. Share more of our thinking at www.electrolux.com Contents Safety information What to do if… Product description Technical data Before first use Installation Operation Technical Assistance and Spare Parts Helpful hints and tips Care and cleaning... -
Page 3: Product Description
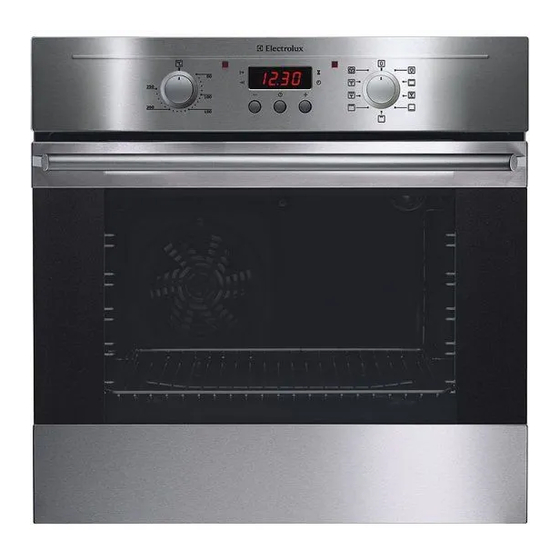
3 • This oven was made as a single appliance • This appliance is not intended for use by or as a combination appliance with elec- children or other persons whose physical, trical hotplate, depending on the model, sensory or mental capabilities or lack of for single-phase connection to 230 V. - Page 4 4 electrolux 11. Telescopic shelf runner The oven is provided with push-pull control 12. Rating plate knobs. You can sunk the push-pull control knobs inside the control panel when the oven Accessories is off. Turn the push-pull control knobs clockwise Dripping pan to set the temperature and the oven function.
-
Page 5: Before First Use
5 Symbols Oven light - The oven light will be on without any cooking function Conventional cooking - The heat comes from both the top and bottom element, ensuring even heating inside the oven. Fan assist cooking Top heating element - The heat comes from the top of the oven only. -
Page 6: Operation
6 electrolux Warning! To open the oven door, Ensure the room is well ventilated. 1. Set the thermostat control knob to always hold the handle in the centre. 250°C. 2. Switch the oven function control knob to fan forced cooking 3. - Page 7 7 To reset the correct time of day: To switch off the acoustic alarm, press 1. Press button any button. repeatedly to select the Turning the acoustic alarm off will reset the “Time of day” function. The relevant pilot oven to manual, and if the oven function and lamp will start flashing.
- Page 8 8 electrolux will come on and the display will revert to the time of day. 3. When cooking time is over, the oven will be switched off automatically and an acoustic alarm will be heard, and the pilot lamp will start flashing. Turn the oven function and the thermostat control knob to zero.
-
Page 9: Helpful Hints And Tips
9 To switch off the display 1. Press two programmer push buttons at the same time and keep them pressed for about 5 seconds. The display will switch off. 2. To switch on the display, press any but- ton. - Page 10 10 electrolux Place the shelf or the grill pan on the tele- White meat, poultry and fish instead require scopic shelf supports, then gently push them low-temperature cooking (150 °C-175 °C) all inside the oven. The ingredients for the accompanying sauce...
-
Page 11: Roasting Table
11 ditions for the same dishes you will of course Roasting Table obtain similar results. Timings do not include pre-heating. The Only experience will enable you to make the empty oven should always be pre-heat- appropriate changes to values given on ed for 10 minutes. -
Page 12: Thermal Grilling
12 electrolux Grilling TYPE OF DISH Quantity Grilling Cooking time in minutes Pieces temp. 1st side 2nd side °C Fillet steaks 12~15 12~14 Beef-steaks 10~12 Sausages 12~15 10~12 Pork chops 12~16 12~14 Chicken (cut in 1000 30~35 25~30 two) Kebabs... -
Page 13: Care And Cleaning
13 TYPE OF DISH Pizza Function Cooking time in mi- NOTES nutes temp.°C Bread rolls 15~25 on baking tray The temperatures quoted are guide- lines. The temperatures may have to be adapted to personal requirements. Care and cleaning Warning! Before any cleaning,... - Page 14 14 electrolux Replacing the oven light Important! Separate the appliance from the power supply by switching off the fuse. If the oven bulb needs replacing, the new The oven door bulb must have the following specifications: The oven door consists of two panes of –...
- Page 15 15 4. Hold the door by the side edges and close it slowly but not COMPLETELY 5. Pull the door forward, removing it from its seat 8. Turn the 2 fasteners 90° and extract them from their seats 6. Place the door on a stable surface pro-...
-
Page 16: What To Do If
What to do if… If the appliance is not working correctly, please check the following before contacting the Electrolux Service Centre. PROBLEM SOLUTION • The oven does not switch on. • Check whether a cooking function and temper- ature have been selected •... -
Page 17: Technical Data
17 PROBLEM SOLUTION • The internal oven light does not come on. • use the oven controller to select a function. • check the bulb and replace if necessary (see “Replacing the oven light”). • It takes too long to cook the dishes or they cook •... - Page 18 18 electrolux suitable power socket. If you require a direct In accordance with the regulations in force, connection to the electric network (mains), it all parts which ensure the shock protection will be necessary to fit between the appliance of live and insulated parts must be fastened...
-
Page 19: Technical Assistance And Spare Parts
19 1. Open the oven door. 2. Fasten the oven to the cabinet placing the four distance holders provided with the appliance ( A ) which fit exactly into the holes in the frame and then fit four wood screws ( B ). - Page 20 20 electrolux on the oven dataplate. The dataplate is loca- ted on the outside of the oven and is visible, opening the door, in the place shown in the Figure. Original spare parts, certified by the product manufacturer, and identified by this mark, are only available at our Technical Assistance Centres and Authorised Spare Parts Shops.
- Page 21 21...
- Page 22 22 electrolux...
- Page 23 23...
- Page 24 356999351-A-122008...
Need help?
Do you have a question about the EOB 53102 and is the answer not in the manual?
Questions and answers