Table of Contents
Advertisement
Quick Links
Advertisement
Table of Contents

Related Manuals for Gefen 4x4 HDTV KVM Matrix


Summary of Contents for Gefen 4x4 HDTV KVM Matrix
- Page 1 4x4 HDTV KVM Matrix U S E R M A N U A L www.gefen.com...
-
Page 2: Asking For Assistance
Chatsworth CA 91311 www.gefen.com support@gefen.com Gefen Inc. reserves the right to make changes in the hard ware, packaging and any accompanying doc u men ta tion without prior written notice. The 4x4 HDTV KVM Matrix is a trademark of Gefen Inc. -
Page 3: Table Of Contents
Introduction / Operation Notes Features Panel Layout Using the 4x4 HDTV KVM Matrix RMT16-IR Installation Dip Switch Guidelines IR Codes RS-232 Interface 4x4 HDTV KVM Matrix Rack Mount Diagram Specifi cations Terminology Warranty TABLE OF CONTENTS... -
Page 4: Introduction / Operation Notes
• When powering the sources, the display needs to point to the source input. • The 4x4 HDTV KVM Matrix is housed in a metal box for better RF shielding. • The 4x4 HDTV KVM Matrix works with all DVI and HDMI displays. -
Page 5: Features
• Supports resolutions up to 1080p, 2K, and 1920 x 1200 • Supports DDWG standards for DVI monitors • Includes rack ears • HDCP Compliant Includes: (1) 4x4 HDTV KVM Matrix (1) RMT-16IR (1) 24V Power Supply (1) 5V Power Supply (4) 6ft Audio Cables... -
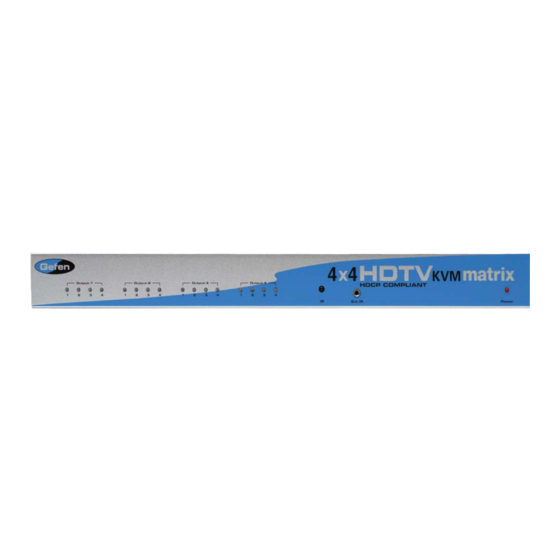
Page 6: Panel Layout
PANEL LAYOUT... -
Page 7: Using The 4X4 Hdtv Kvm Matrix
USING THE 4X4 HDTV KVM MATRIX Connect all the sources to the DVI inputs on the 4x4 HDTV KVM Matrix, using the supplied cables. Connect the HDMI/DVI displays to the outputs on the 4x4 HDTV KVM Matrix. Connect the 24VDC power supply to the 4x4 HDTV KVM Matrix. -
Page 8: Rmt16-Ir Installation
RMT16-IR INSTALLATION 1. Remove battery cover from the back of the RMT16-IR remote. 2. Verify that dip switches 1 & 2 are in the down (OFF) position. 3. Insert the battery, hold the battery so that you can see the positive side facing up. The side that is not marked must be facing down. -
Page 9: Dip Switch Guidelines
To access the Dip Switches, remove all screws from the bottom and sides of the Gefen unit. Remove the hex screw heads from each side of the RS-232 and DVI ports. Carefully slide the unit apart. The 8 Bank of Dip Switches are located on the main PCB. -
Page 10: Ir Codes
4. Dip Switches 1 and 2 in the RMT16-IR correspond with Dip Switches 3 and 4 inside the 4x4 HDTV KVM Matrix respectively. Switch the switches inside the 4x4 HDTV KVM Matrix to match the same Remote Channel as the RMT16-IR. The 4x4 HDTV KVM Matrix is now set to a new IR Code. -
Page 11: Rs-232 Interface
Binary Table ASCII Corresponding RMT16-IR Button Additional control of the EDID modes and IR channel are possible using the RS-232 interface. For any of these modes to be successfully written to the EEPROM, all Dip Switches must be in the OFF position. ASCII EDID Mode OK is printed out on screen when a mode has successfully been changed. -
Page 12: 4X4 Hdtv Kvm Matrix Rack Mount Diagram
4X4 HDTV KVM MATRIX RACK MOUNT DIAGRAM... -
Page 13: Specifi Cations
SPECIFICATIONS Video Amplifi er Bandwidth...1.65 Gbps Input Video Signal...1.2 volts p-p Input DDC Signal...5 volts p-p (TTL) Single Link Range...1080p/1920 x 1200 DVI Connector...DVI-I 29 pin female (digital only) USB Input Connectors...Type “B” USB Output Connectors...Type “A” Audio Connectors...3.5mm mini stereo Power Supply...24V DC Power Supply...5V DC Power Consumption...80 watts (max) -
Page 14: Terminology
TERMINOLOGY Short form for Display Data Channel. It is a VESA standard for communication between a monitor and a video adapter. Using DDC, a monitor can inform the video card about its properties, such as maximum resolution and color depth. The video card can then use this information to ensure that the user is presented with valid options for confi...
Need help?
Do you have a question about the 4x4 HDTV KVM Matrix and is the answer not in the manual?
Questions and answers